A clear outline makes a small heart useful on many different projects. This crochet heart applique pattern has rounded upper lobes, a pointed bottom, and a final border that follows the shape.
The heart is worked in three rounds. The first establishes the outline, the second expands it, and the third adds a mostly single-crochet edge. A double crochet at the bottom emphasizes the point.
Choose a color that stands out against the receiving fabric, especially if you plan to sew the heart onto a textured crochet background.
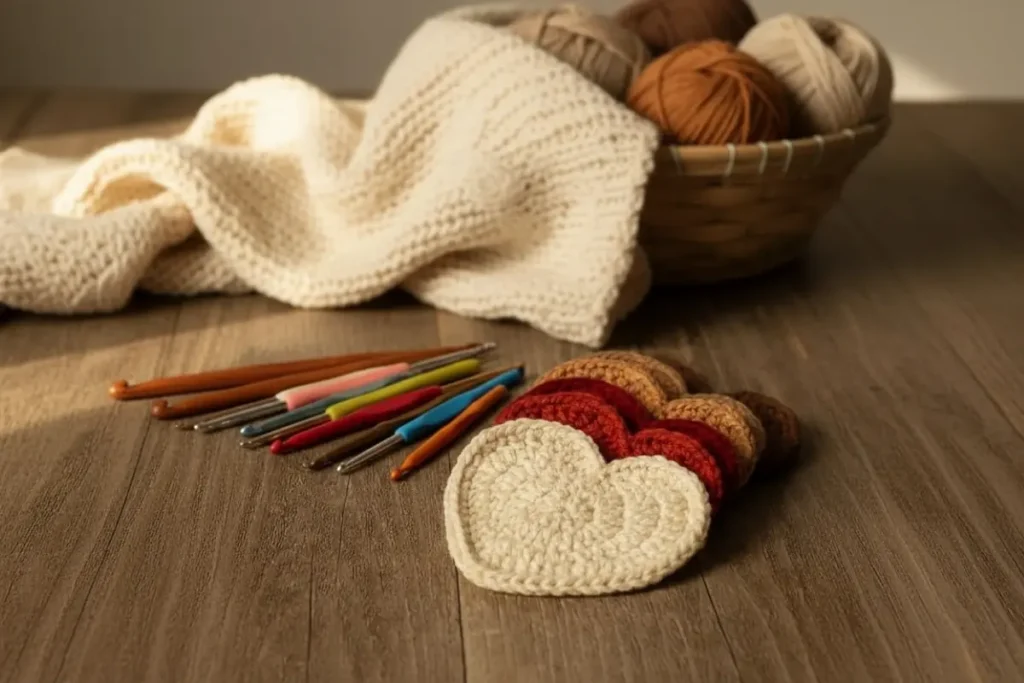
Materials and Preparation
You will need:
- A small amount of yarn.
- A crochet hook suited to that yarn.
- Yarn needle.
- Scissors.
- A stitch marker for the bottom point.
- Optional blocking equipment.
Cotton and acrylic are both options, but they can produce different firmness and drape. Choose yarn with care instructions compatible with the item you want to decorate.
Skill level: Confident beginner. You should be comfortable working double and treble crochet and placing several stitches into one stitch.
Finished dimensions depend on your materials and tension. Complete one heart before planning the spacing for a larger arrangement.
US Crochet Terms
| Abbreviation | Meaning |
|---|---|
| MR | magic ring |
| ch | chain |
| sl st | slip stitch |
| sc | single crochet |
| dc | double crochet |
| tr | treble crochet |
| st / sts | stitch / stitches |
Treble crochet: Yarn over twice, insert the hook, yarn over and draw up a loop. Yarn over and pull through two loops three times.
The Craft Yarn Council’s crochet abbreviation guide provides standard abbreviations and US–UK comparisons.
The ch-3 sections in this pattern are not counted as double or treble crochet stitches. They form the slopes beside the upper indentation.
Do not turn between rounds.
Crochet Heart Applique Pattern: Three Rounds
Round 1 — Establish the Heart
Make a magic ring.
Work the following sequence into the ring:
- Ch 3.
- Work 3 tr.
- Work 4 dc.
- Work 1 tr for the bottom point.
- Work 4 dc.
- Work 3 tr.
- Ch 3.
- Sl st into the ring.
Gently pull the ring closed.
Count: 15 stitches — 7 tr and 8 dc — plus two ch-3 sections.
Mark the single treble crochet between the two groups of four double crochets. This is the bottom point, not one of the upper-lobe stitches.
Do not fasten off.
Round 2 — Expand the Lobes
Ch 3.
Work into the tops of the actual stitches from Round 1. Do not work into its beginning chain.
First lobe:
- Work 2 tr into the first tr.
- Work 3 tr into the next tr.
- Work 2 tr into the next tr.
First side:
- Dc in each of the next 4 dc.
Bottom point:
- Work (dc, tr, dc) into the marked point stitch.
- Move the marker to the new central tr.
Second side:
- Dc in each of the next 4 dc.
Second lobe:
- Work 2 tr into the next tr.
- Work 3 tr into the next tr.
- Work 2 tr into the final tr.
Ch 3 and sl st into the upper center indentation at the closing slip stitch of Round 1.
Count: 25 stitches — 15 tr and 10 dc — plus two ch-3 sections.
Each upper lobe now contains seven treble crochets.
Visual Guide: Three Round Heart Counts
Use this schematic to compare three round heart counts with the written steps.
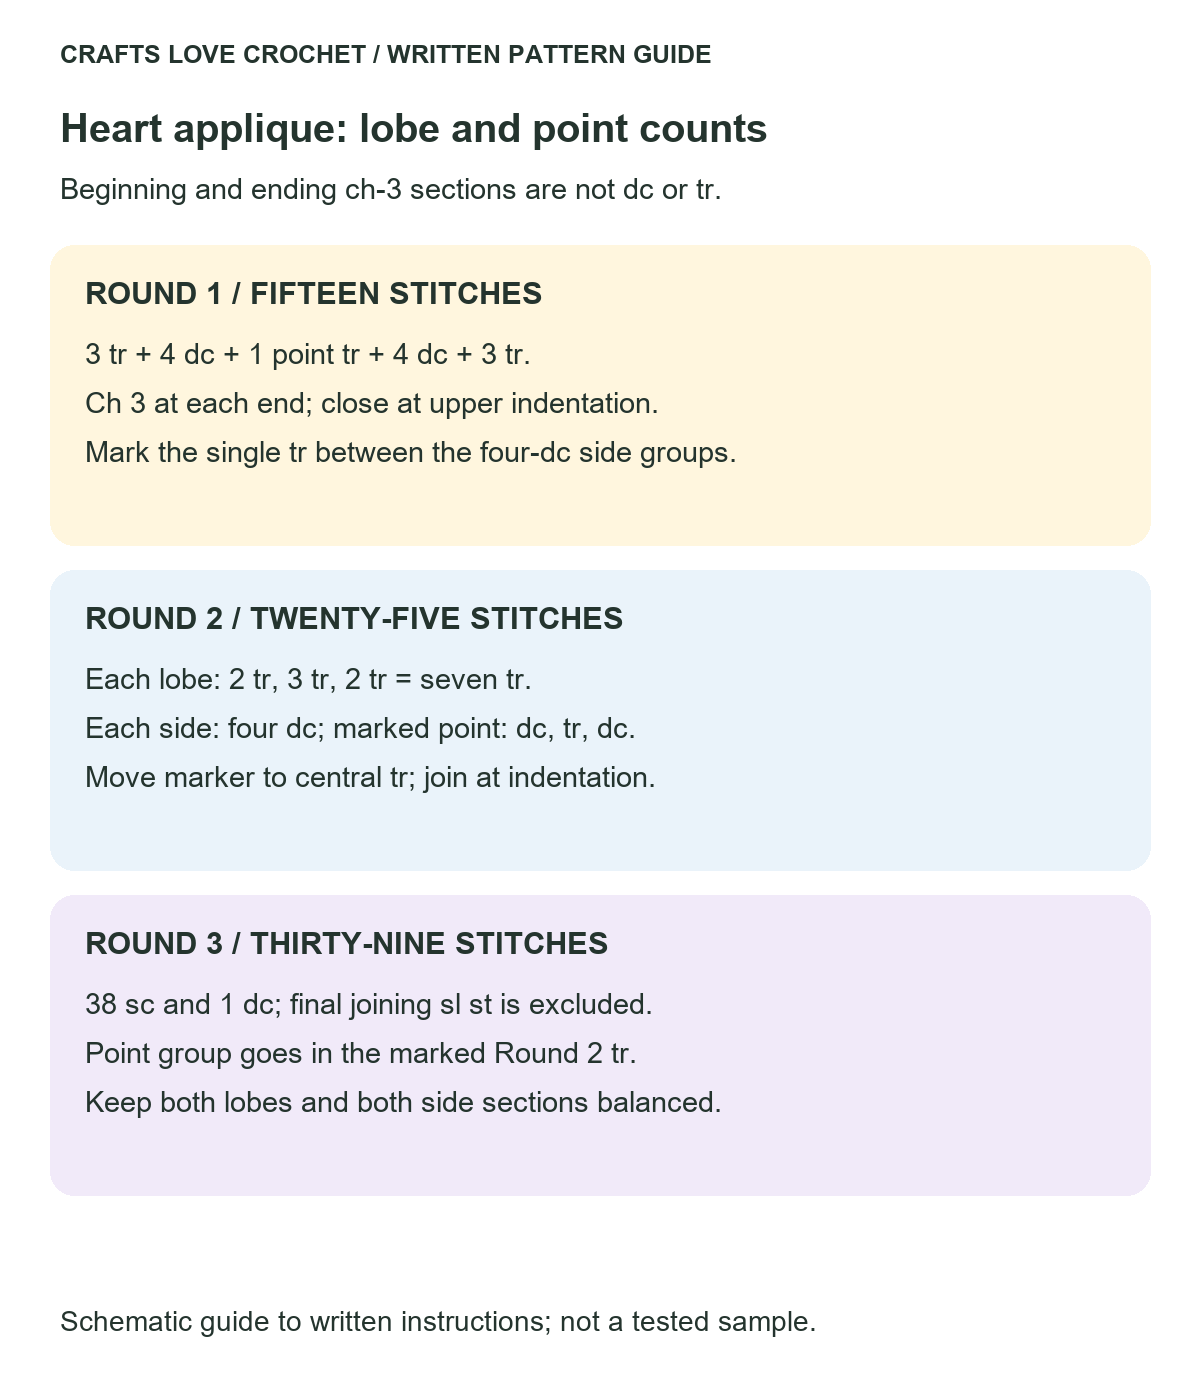
Open this guide at a larger size.
Round 3 — Outline the Heart
Work 2 sc around the beginning ch-3 section of Round 2. Insert the hook around the chain section rather than into its individual chains.
First lobe:
Work (2 sc in next st, sc in next st) three times, then work 2 sc in the next st.
This uses all seven treble crochets of the first lobe and produces eleven single crochets.
First side:
Sc in each of the next 5 stitches.
These are the four side double crochets plus the first double crochet from the previous point group.
Bottom point:
In the marked tr, work (sc, dc, sc).
Second side:
Sc in each of the next 5 stitches.
Second lobe:
Work (2 sc in next st, sc in next st) three times, then work 2 sc in the final lobe stitch.
Work 2 sc around the ending ch-3 section of Round 2.
Sl st into the upper center indentation.
Fasten off, leaving a sewing tail if you plan to attach the heart to another item.
Count: 39 stitches — 38 sc and 1 dc — excluding the final joining slip stitch.
Round Count Reference
| Round | Count, excluding chain sections and joining slip stitches |
|---|---|
| 1 | 15 stitches |
| 2 | 25 stitches |
| 3 | 39 stitches |
The point marker helps separate the two sides. In Round 3, there should be five side stitches before the point and five after it.
Visual Guide: Final Heart Border Route
Use this schematic to compare final heart border route with the written steps.
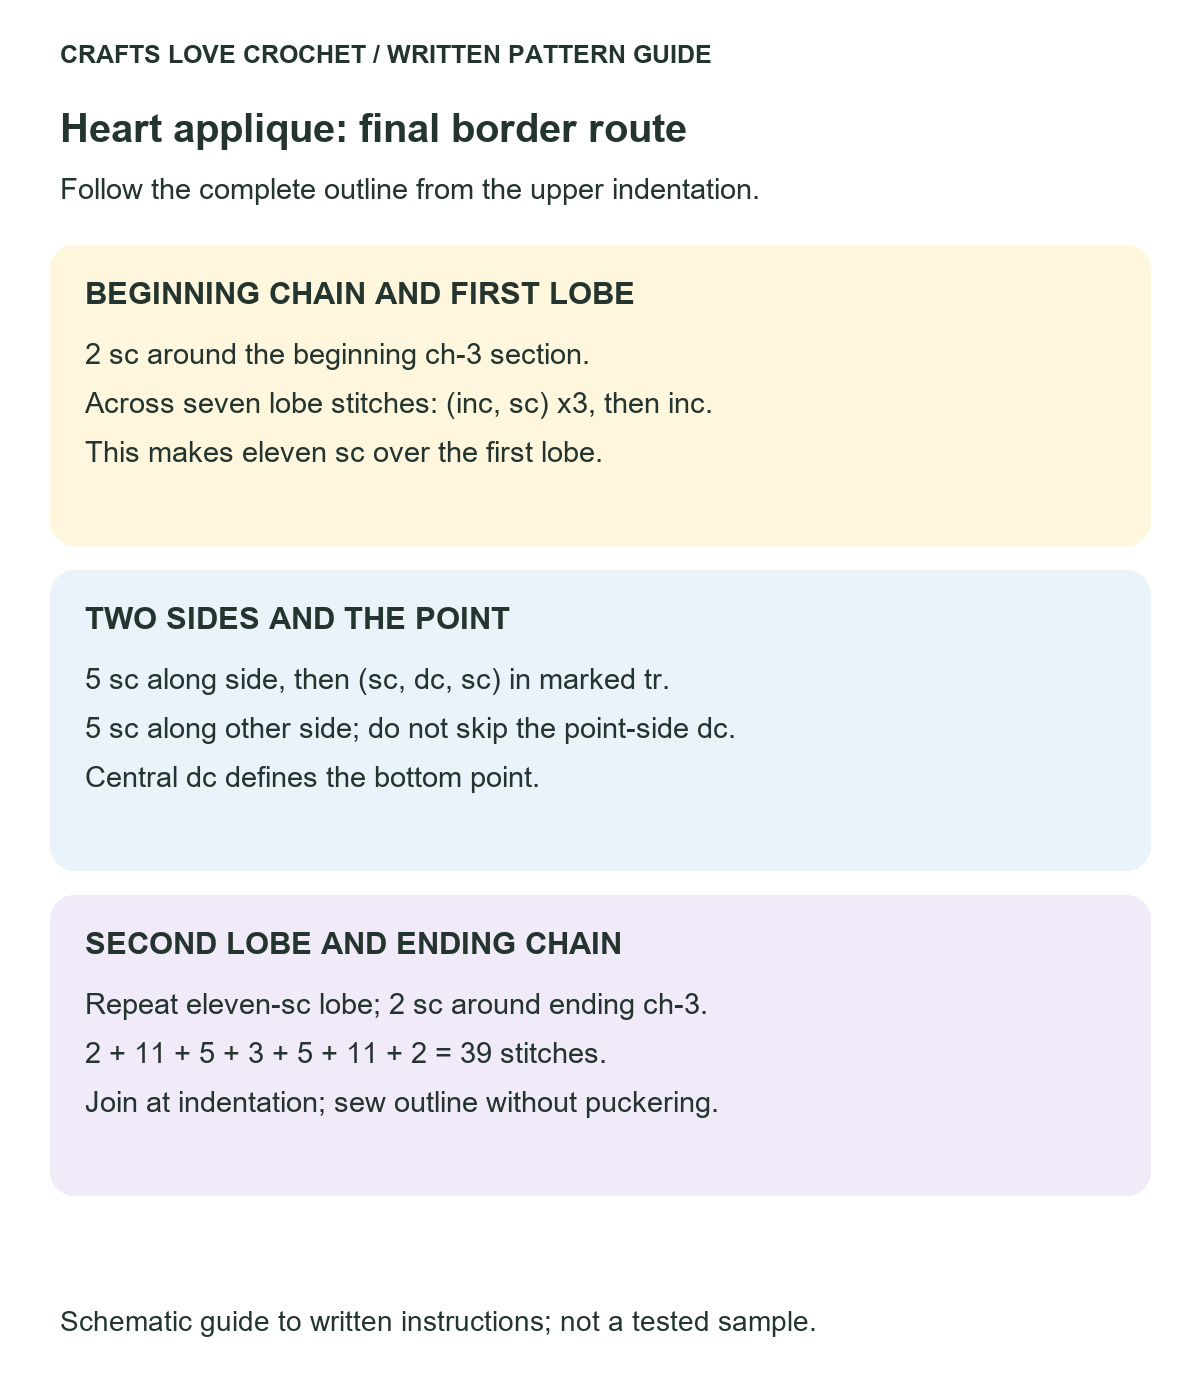
Open this guide at a larger size.
Inspect the Shape Before Finishing
Lay the heart on a flat surface and arrange the lobes gently.
Check that both lobes have matching stitch groups. If one looks fuller, count its stitches before trying to stretch the other side.
The bottom point should contain one central double crochet in the final round. If it looks off-center, check that the Round 3 point group was worked into the marked treble from Round 2.
Secure the magic-ring tail through the backs of several stitches, changing direction before trimming. Tightening the ring alone does not secure it against later movement.
Sew the Heart onto Your Project
Position the heart on its background and hold it temporarily with suitable pins or removable basting stitches.
Sew around the perimeter with matching yarn or suitable sewing thread. Keep the sewing tension relaxed so the background does not pucker.
Pay particular attention to:
- The upper indentation.
- The outer curves of both lobes.
- The bottom point.
Attaching these areas helps preserve the outline during handling.
Keep the heart unstuffed for a flat appliqué. Leave enough room around it that its outline remains visible against neighboring stitches or decorations.
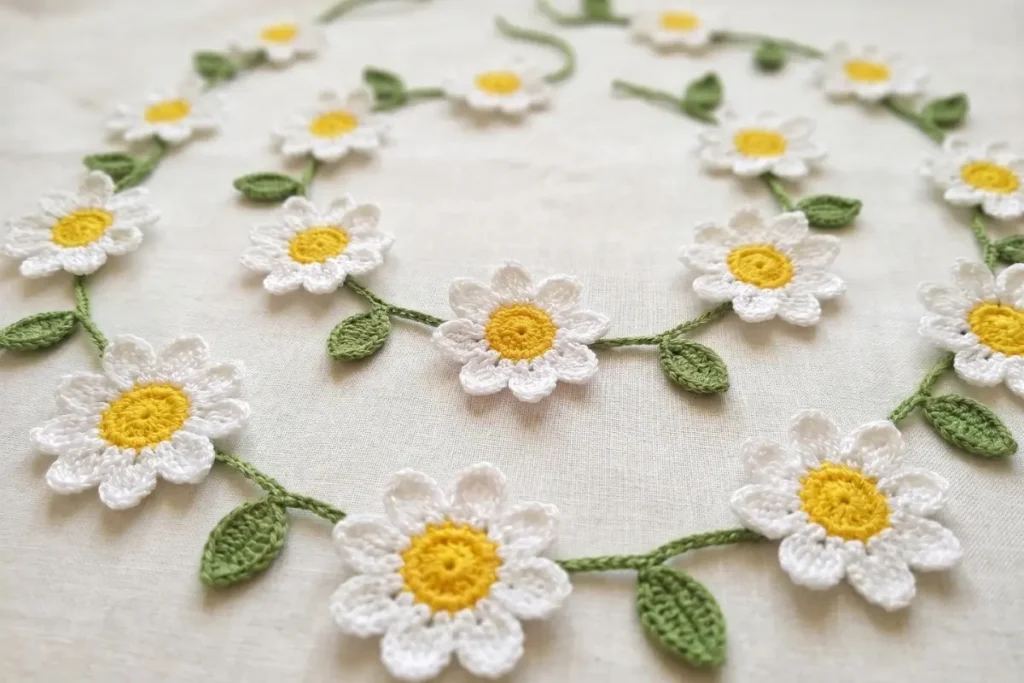
For another motif on a coordinating fabric panel, the daisy flower crochet appliqué pattern adds a stemmed floral shape.
Practical Tips for a Neat Finish
Distinguish chains from stitches. Round 2 starts in the first treble crochet of Round 1. Round 3 works around the two ch-3 sections from Round 2.
Keep the tall stitches consistent. Uneven treble-crochet tension can make one lobe appear larger even when the counts match.
Do not tighten the final join excessively. A tight slip stitch at the indentation can pull the upper edges inward.
Weave tails away from one another. Spreading them through different areas prevents a bulky patch behind the center.
Treat blocking as a finishing step. If the yarn permits damp blocking, gently shape the heart and let it dry completely. Pronounced curling or ruffling should be checked for stitch errors or a yarn-and-hook mismatch first.
These checks are more useful than forcing the crochet heart applique pattern into a shape that the stitches are not naturally supporting.
Frequently Asked Questions
Is this crochet heart applique pattern suitable for beginners?
It is suitable for crocheters who know double and treble crochet and can identify stitch tops. The most important part is distinguishing the upper lobes from the bottom point.
Why does Round 3 have five stitches along each side?
Each side includes four double crochets from the previous side section and one double crochet beside the previous round’s central point.
Can I use leftover yarn?
Yes, provided there is enough to complete the heart and secure the ends. Keep the same yarn thickness throughout unless you are intentionally exploring a different effect.
Can I make a smaller heart?
Finer yarn with an appropriate hook will reduce the scale while preserving the written structure. Check the finished size before planning its placement.
Does every heart need blocking?
No. If it already lies as intended, simple finger shaping may be enough. Follow the yarn’s care instructions if you decide to damp-block it.
Arrange More Than One Heart
A single heart can sit near a pouch corner or pocket edge. For a group, lay out all the motifs before sewing so you can compare their sizes and spacing.
If you want a hanging decoration, the crochet heart garland pattern uses a separate cord and explains how to distribute the motifs along it.
Keep the yarn label and note the hook used for your first heart. Those details make it easier to repeat the same size.
Share your color choice and where you attached the finished heart—its placement can be just as distinctive as the yarn itself.