This crochet angel ornament pattern combines a round head, an open halo, two small wings, and a dress that widens toward a scalloped hem. The pieces are made separately and sewn together to form a flat hanging decoration.
The dress alternates solid rows with openwork sections. Four shells finish the lower edge, while the separate wings sit behind the shoulders.
Making the components individually lets you check their proportions before sewing. Arrange the complete angel on a flat surface first, then adjust the overlap between the head, dress, halo, and wings.
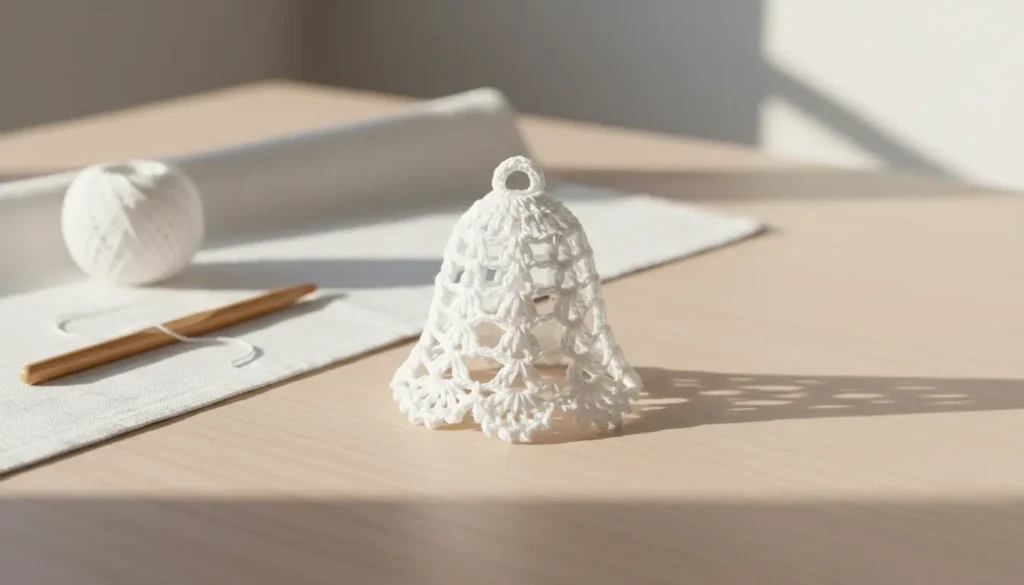
Materials for the Crochet Angel Ornament Pattern
- Sport- or DK-weight yarn in white, cream, or your preferred color.
- A 3.0 mm crochet hook as a starting option.
- A yarn needle.
- Scissors.
- Stitch markers, optional for counting and placement.
Use the same yarn and hook for the main components so their scale remains consistent.
No stuffing is required. This version is a flat decorative ornament.
Finished measurements and yarn quantities depend on the yarn, hook, and tension used. Measure one assembled sample before making a matching set.
Construction Notes
The crochet angel ornament pattern contains:
- One flat circular head.
- One halo.
- One dress.
- Two wings.
- One hanging loop.
The head and halo use joined rounds. The dress uses turned rows.
Beginning chains do not count as stitches unless specifically stated. Work the first stitch of a turned row into the first actual stitch of the previous row.
The chains at the beginning and end of each wing form part of its outline, but they are not included in the treble crochet count.
Abbreviations — US Terms
- MR: magic ring.
- ch: chain.
- sl st: slip stitch.
- sc: single crochet.
- dc: double crochet.
- tr: treble crochet.
- st / sts: stitch / stitches.
- ch-1 space: the opening beneath one chain.
For a US treble crochet, yarn over twice before inserting the hook.
For terminology help, consult the Craft Yarn Council’s crochet abbreviation reference, which also compares US and UK terms.
Crochet Angel Ornament Pattern: Head
Round 1
Make a magic ring.
Ch 1, then work 6 sc into the ring.
Tighten the ring and join with a sl st to the first sc.
Count: 6 sc.
Round 2
Ch 1.
Starting in the stitch at the base of the chain, work 2 sc into each stitch around.
Join with a sl st to the first sc.
Count: 12 sc.
Round 3
Ch 1.
Starting in the stitch at the base of the chain, repeat the following six times:
- Work 1 sc into the next stitch.
- Work 2 sc into the following stitch.
Join with a sl st to the first sc.
Count: 18 sc.
Round 4
Ch 1.
Starting in the stitch at the base of the chain, repeat the following six times:
- Work 1 sc into each of the next two stitches.
- Work 2 sc into the following stitch.
Join with a sl st to the first sc.
Count: 24 sc.
Fasten off with a sewing tail.
Keep the head flat. Do not gather its outer edge.
Halo
Ch 12.
Without twisting the chain, join with a sl st to the first chain to form a ring.
Ch 1.
Work 18 sc into the ring, placing the stitches around the chain rather than into individual chain stitches.
Join with a sl st to the first sc.
Count: 18 sc.
Fasten off with a sewing tail.
Distribute the stitches around the ring. The halo will be attached partly behind the head rather than suspended above it on its own.
Lace Dress
The dress begins at the narrow neckline and widens toward the hem.
Foundation
Ch 5.
Row 1 — Neckline
Starting in the third chain from the hook, work 1 dc into each remaining chain.
Count: 3 dc.
The two skipped chains do not count as a stitch.
Row 2
Ch 2, turn.
Work 2 dc into the first stitch, 1 dc into the next stitch, and 2 dc into the last stitch.
Count: 5 dc.
Row 3
Ch 2, turn.
Work 2 dc into the first stitch, 1 dc into each of the next three stitches, and 2 dc into the last stitch.
Count: 7 dc.
Row 4
Ch 2, turn.
Work 2 dc into the first stitch, 1 dc into each of the next five stitches, and 2 dc into the last stitch.
Count: 9 dc.
Row 5 — First Openwork Row
Ch 2, turn.
Work 2 dc into the first stitch.
Repeat the following three times:
- Ch 1.
- Skip the next stitch.
- Work 1 dc into the following stitch.
Ch 1, skip the next stitch, and work 2 dc into the final stitch.
Count: 7 dc and 4 ch-1 spaces.
These provide 11 positions for the following row.
Row 6
Ch 2, turn.
Work 2 dc into the first dc.
Continue across, working 1 dc into every remaining dc and 1 dc into every ch-1 space, until only the final dc remains.
Work 2 dc into that final stitch.
Count: 13 dc.
Row 7 — Second Openwork Row
Ch 2, turn.
Work 2 dc into the first stitch.
Repeat the following five times:
- Ch 1.
- Skip the next stitch.
- Work 1 dc into the following stitch.
Ch 1, skip the next stitch, and work 2 dc into the final stitch.
Count: 9 dc and 6 ch-1 spaces.
These provide 15 positions for the following row.
Row 8
Ch 2, turn.
Work 2 dc into the first dc.
Continue across, working 1 dc into every remaining dc and 1 dc into every ch-1 space, until only the final dc remains.
Work 2 dc into that final stitch.
Count: 17 dc.
Row 9 — Four-Shell Hem
Ch 1, turn.
Work 1 sc into the first stitch.
Repeat the following sequence four times:
- Skip the next stitch.
- Work 5 dc into the following stitch.
- Skip the next stitch.
- Work 1 sc into the following stitch.
The starting sc uses one base stitch. Each repeat uses four more, accounting for all 17 stitches from Row 8.
Completed hem: four shells, containing 20 dc and 5 sc.
Fasten off and weave in the ends.
No additional edging is worked along the sides of the dress.
Visual Guide: Dress Rows and Four Shells
Use this schematic to compare dress rows and four shells with the written steps.
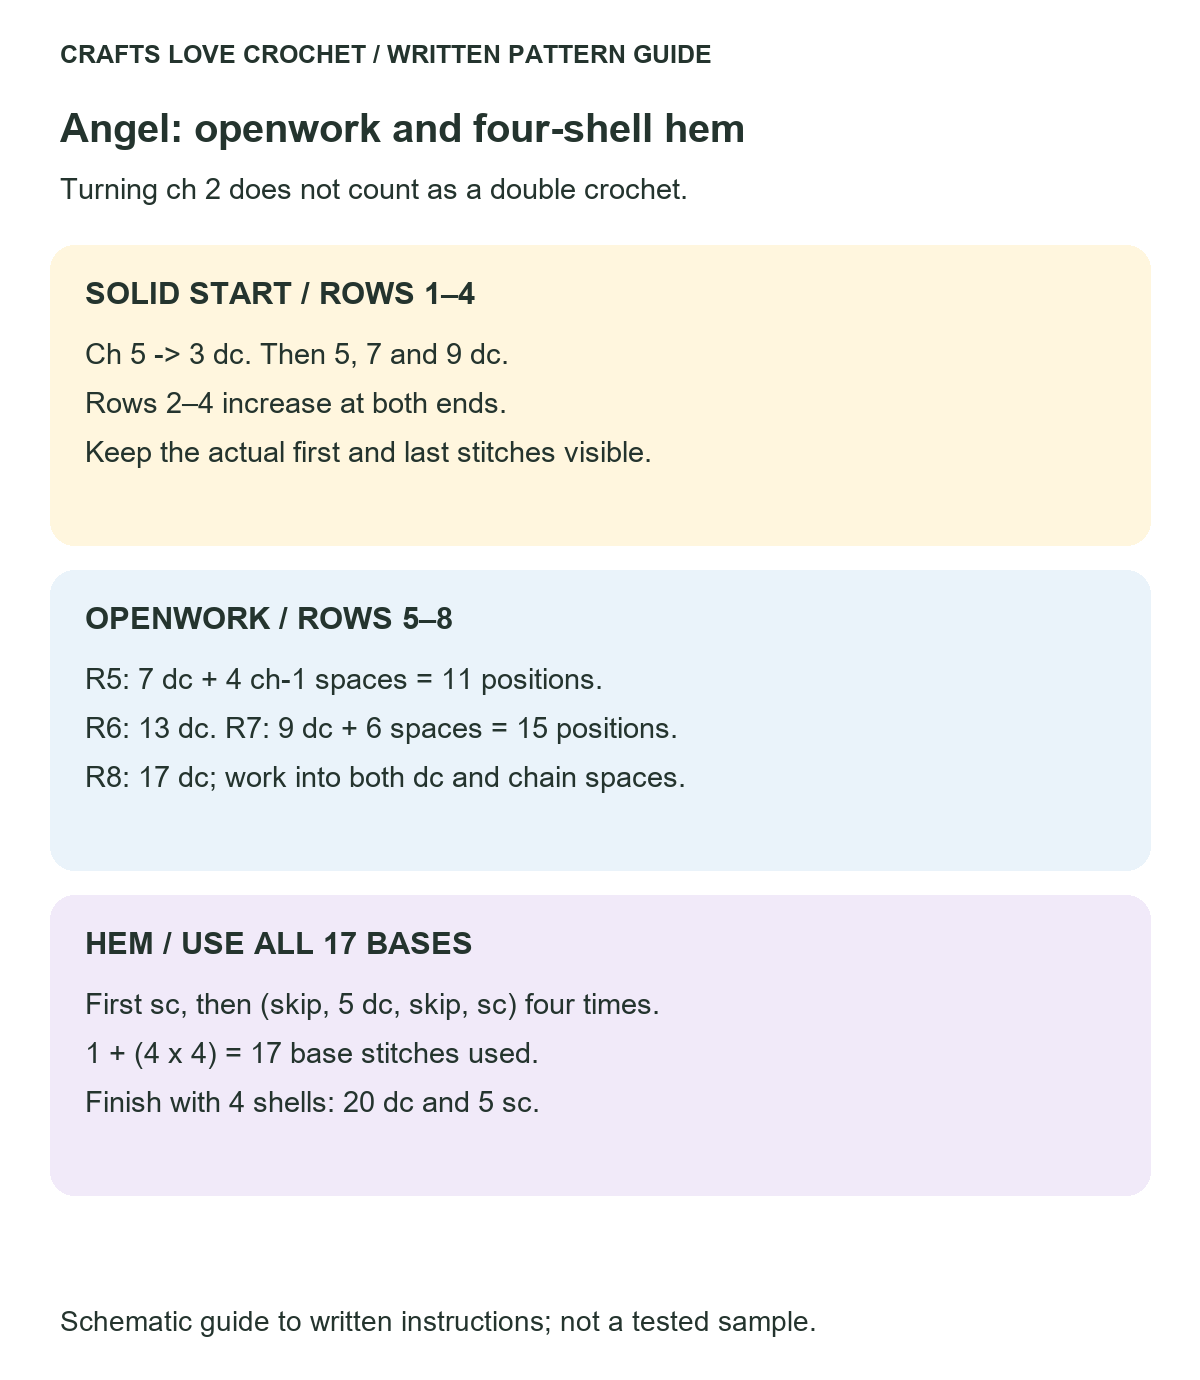
Open this guide at a larger size.
Wings — Make Two
Make a magic ring.
Ch 4, then work 6 tr into the ring.
Ch 4 and sl st into the ring.
Tighten the ring gently so the stitches form a fan.
Each wing contains 6 tr between two ch-4 edges.
Fasten off with a sewing tail.
The gathered ring is the attachment point near the shoulder. The taller stitches form the outer wing.
Make the second wing in the same way. Compare the two before assembly.
Assemble the Crochet Angel Ornament Pattern
Arrange the Pieces
Lay the dress with its narrow neckline at the top.
Place the head above the neckline, overlapping its lower edge slightly with the first dress row.
Position the wings behind the upper dress, one on each side. Their gathered bases should sit near the shoulders, with their fans extending outward.
Place the halo partly behind the top of the head, leaving its upper curve visible.
Check the complete arrangement before sewing. Matching materials help maintain scale, but the proportions still depend on your tension.
Sew the Head to the Dress
Using the head’s sewing tail, attach its lower edge to the neckline.
Catch several stitches across the connection rather than fastening the pieces at a single point.
Keep the head centered and avoid pulling the neckline into a tight fold.
Attach the Wings
Sew each wing base to the back of the upper dress.
Add a few stitches along the adjacent inner edge of each wing if needed to control its angle.
Do not sew the outer fans flat against the dress. Check that both wings remain visible from the front.
Attach the Halo
Sew the lower portion of the halo to the back of the upper head.
Use several attachment points to keep it from rotating.
The halo should be supported by its overlap with the head. Do not leave it attached by only one loose strand.
Visual Guide: Angel Assembly and Hanging Loop
Use this schematic to compare angel assembly and hanging loop with the written steps.
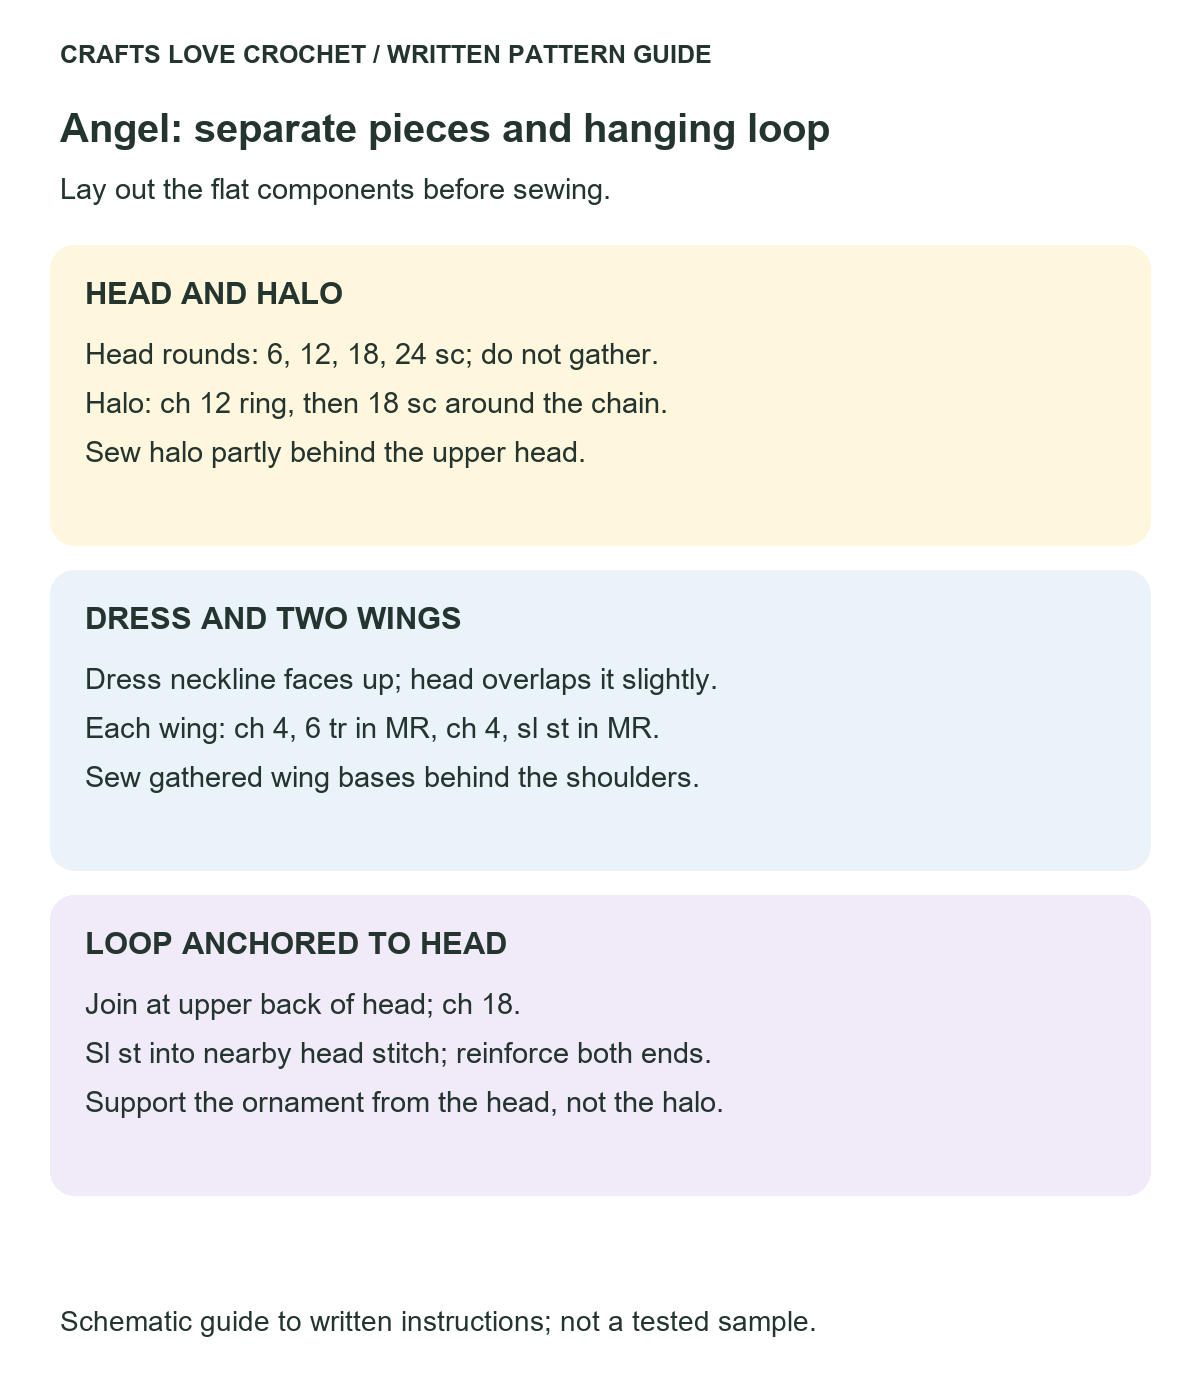
Open this guide at a larger size.
Hanging Loop
Join yarn on the back of the head near its upper center, below the visible halo curve.
Ch 18.
Sl st into a nearby head stitch to form the loop.
Fasten off with a tail.
Use the two tails to reinforce the loop ends across several stitches on the back of the head. Keep the sewing hidden from the front.
Suspend the ornament briefly to check its balance before finishing the tails. Adjust the attachment position if the angel leans strongly to one side.
The hanging loop supports the ornament itself; it is not intended as a carrying strap.
Practical Tips
Count Before Each Openwork Row
Row 5 begins with nine base stitches, and Row 7 begins with thirteen. Confirm these counts before adding chains and skipped stitches.
Work into the Chain Spaces
In Rows 6 and 8, place one dc beneath each ch-1 arch rather than into the individual chain stitch.
Keep the Turning Chains Separate
Beginning ch-2 does not count as dc. Working into it at the end of a row would add an unintended stitch.
Compare the Wings Before Sewing
Place them side by side and check their size. Tightening one magic ring more firmly can change how its fan spreads.
Test the Hanging Position
The halo is decorative. Anchor the loop into the head so the ornament’s weight is not concentrated on the halo seam.
Finishing and Care
Weave in all ends and check each attachment.
If blocking is appropriate for the yarn, follow its care instructions. Arrange the dress, wings, and halo gently without stretching them firmly into position.
Allow the piece to dry fully before hanging.
Avoid direct heat or steam unless permitted by the yarn manufacturer. Optional fabric stiffener should only be used according to its instructions and after checking compatibility with the yarn.
More Decorative Crochet Projects
For another dimensional embellishment, explore the Crochet Flower Motif Pattern, which uses separate petal layers around a central ring.
If you enjoy shaped edges and openwork, visit the Crochet Bow Pattern for a different construction featuring scalloped wings and lace tails.
Frequently Asked Questions
Is This Crochet Angel Ornament Pattern Worked in One Piece?
No. The head, halo, dress, and two wings are made separately and sewn together.
Does the Head Need Stuffing?
No. This version uses a flat circular head and contains no stuffed components.
How Many Shells Are in the Hem?
There are four shells. Each contains five dc, with single crochet anchors between the shells and at both ends.
Can I Change the Yarn Weight?
Changing yarn and hook size changes the dimensions and fabric. Use consistent materials across the components and check their proportions before sewing.
Does the Angel Need Stiffener?
Not necessarily. The result depends on the yarn and how much structure you want. Assess the assembled ornament first; stiffener does not correct counting or assembly errors.
Share Your Angel Ornament
Record the yarn, hook, finished height, and any placement adjustments when making this crochet angel ornament pattern.
Share your color choice and assembly observations in the comments. If a step needs clarification, mention the component and row or round number.
Where can I find a picture of your angel? Ty