If you enjoy small decorative crochet projects, this Bell Flower Ornament Crochet Pattern is one of those charming designs that comes together quickly but still looks delicate and impressive.
I’ve made this little bell flower several times, especially when I want a quick handmade gift or a simple ornament to hang on bags, keychains, or seasonal decorations. The first time I tested this pattern, I was surprised how fast it worked up — the bell itself takes only a few minutes once you get into the rhythm of the stitches.
One thing I noticed while making a few of them is that the shape of the bell really pops when using slightly tighter tension. It keeps the flower firm and helps the ruffled edge hold its shape beautifully.
Whether you’re a beginner looking for a confidence-boosting project or an experienced crocheter wanting a quick decorative piece, this Bell Flower Ornament Crochet Pattern is a lovely little make.
What You’ll Need
To create this delicate ornament, you’ll only need a few simple supplies.
Materials
- Yarn in Purple (for the bell)
- Yarn in Green (for the stem and leaves)
- Crochet hook suitable for your yarn weight
- Tapestry / yarn needle
- Scissors
You can use cotton, acrylic, or even leftover yarn scraps. I often use cotton yarn because it helps the flower keep a crisp shape.
Abbreviations (US Crochet Terms)
MR — Magic Ring
CH — Chain
SC — Single Crochet
HDC — Half Double Crochet
DC — Double Crochet
INC — Increase (2 SC in the same stitch)
SL ST — Slip Stitch
ST(S) — Stitch(es)
RND — Round
Step-by-Step Instructions
This Bell Flower Ornament Crochet Pattern is divided into three small sections:
- The bell flower
- The leaves
- The hanging stem and final assembly
Each part is very beginner-friendly and easy to follow.
The Bell (Use Purple Yarn)
Work in continuous rounds. Do not join at the end of each round unless specified.
RND 1: Start with a Magic Ring, work 6 SC into the ring. Pull tight to close.
[6 sts]
RND 2: INC in each stitch around.
[12 sts]
RND 3: (1 SC in the next stitch, INC in the next stitch). Repeat from * to * 6 times total.
[18 sts]
RND 4 – 6: 1 SC in each stitch around.
[18 sts per round]
RND 7 (The Ruffle): In the first stitch, work:
(1 SC, CH 1, 1 SC) all into the exact same stitch.
Repeat this sequence in every single stitch around the entire edge.
[36 SC + 18 CH]
Finish:
Slip stitch into the next stitch to smooth the edge. Fasten off and weave in the purple ends.
The Leaves (Use Green Yarn – Make 2)
The leaf shape is simple but gives the ornament a natural botanical look.
Foundation: CH 8.
Row 1: Working back down the chain, skip the first chain from your hook.
SL ST in the 2nd chain.
SC in the next chain.
HDC in the next chain.
DC in the next 2 chains.
HDC in the next chain.
SC in the last chain.
Finish:
Fasten off, leaving a long tail for sewing the leaf to the stem.
Repeat to make the second leaf.
The Stem & Assembly (Use Green Yarn)
The Stem
CH 50 (or continue chaining until you reach your desired hanging length).
Fasten off, leaving a tail at both ends.
Attach Leaf 1
Count down from the top of your chain.
Using your tapestry needle and the yarn tail from a leaf, sew the first leaf securely to the 20th chain.
Attach Leaf 2
Sew the second leaf to the 22nd chain.
Weave in the leaf tails along the stem to hide them.
Attach the Bell
Take the bottom tail of your green stem chain and thread it onto your tapestry needle.
Push the needle down through the top center hole of the purple bell, right through the center of the Magic Ring.
Secure the Bell
Tie a thick, secure knot with the green yarn inside the bell so it cannot slip back out.
Weave in any remaining loose ends.
Your bell flower ornament is now finished.
Pattern Notes
- This Bell Flower Ornament Crochet Pattern works best with consistent tension so the bell holds its shape.
- Cotton yarn gives a crisp decorative finish.
- Acrylic yarn works well if you’re making several ornaments as gifts.
Because the pattern is small and quick, it’s perfect for using leftover yarn scraps.
My Experience & Practical Tips
After making a few of these bell flowers, I picked up some small tricks that really improve the final result.
- Keep the magic ring tight
If the magic ring is loose, the stem may slip through the bell. I always pull the ring extra tight before starting round two. - Don’t crochet the ruffle too tight
The ruffled edge in Round 7 looks best when the stitches are relaxed. If they’re too tight, the edge may curl inward instead of flaring out. - Use a slightly smaller hook for better shape
When I want the bell to look crisp and structured, I go down half a hook size. It helps the bell keep its shape without needing stuffing. - Secure the knot inside the bell firmly
This is important if you plan to use the ornament on a bag or keychain. A double knot inside the bell keeps everything in place. - Block the leaves if needed
Sometimes the leaves curl slightly. A quick steam block or light shaping with your fingers fixes this instantly.
Tips & Variations
This Bell Flower Ornament Crochet Pattern is very flexible, and you can easily customize it.
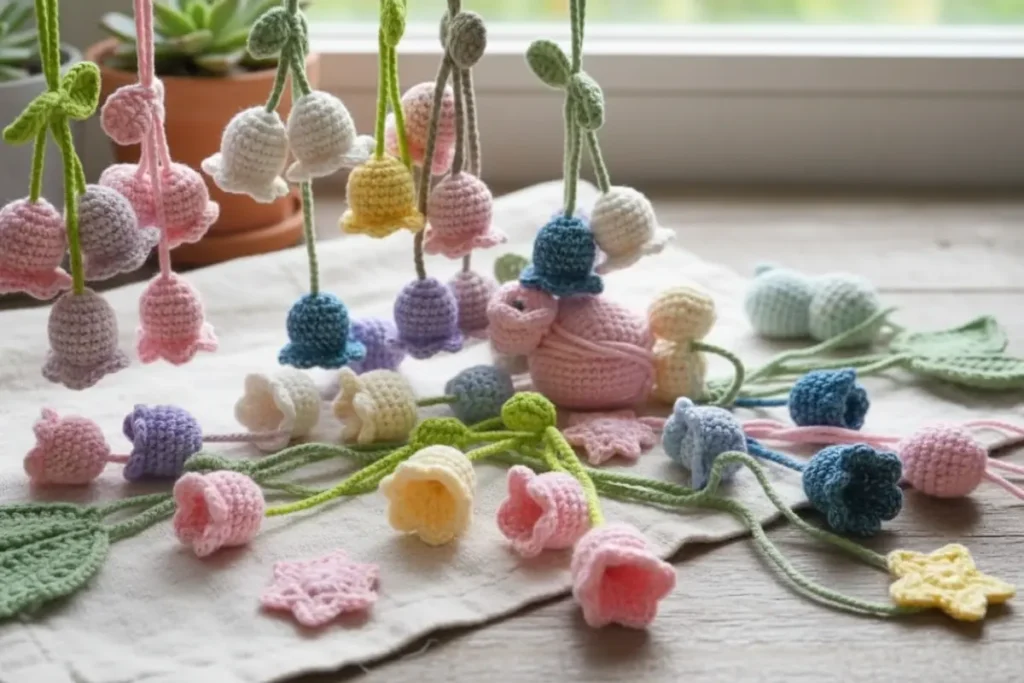
Try different color combinations
- Soft pastels for spring decorations
- Red and green for holiday ornaments
- White for wedding or baby shower favors
Turn it into other projects
You can easily transform this pattern into:
- Keychains
- Bag charms
- Gift toppers
- Car mirror decorations
- Crochet garlands
Making several bell flowers together also creates a beautiful decorative string.
Finishing Touches
Before calling your project finished, check these small details:
- Trim any loose yarn tails
- Gently shape the bell ruffle
- Adjust the leaves so they sit naturally
These tiny finishing touches really make your crochet piece look polished.
FAQ – Bell Flower Ornament Crochet Pattern
Is this Bell Flower Ornament Crochet Pattern beginner-friendly?
Yes. The pattern uses basic stitches like single crochet, half double crochet, and double crochet, making it great for beginners.
How long does this project take?
Most crocheters can complete the entire ornament in 20–30 minutes.
What yarn works best?
Cotton yarn gives the bell a crisp shape, but acrylic yarn also works well, especially if you’re making several ornaments.
Can I make this into a keychain?
Absolutely. Simply shorten the stem chain and attach a small keyring to the top loop.
Do I need to stuff the bell?
No stuffing is required. The structure of the stitches naturally creates the bell shape.
Internal Link Suggestions
You can link this pattern naturally to other helpful content on your site, such as:
- A beginner crochet stitches guide for new crocheters learning SC, HDC, and DC
- Other crochet flower patterns for readers who enjoy botanical designs
- Small crochet ornament projects that work well as handmade gifts
These related projects help readers continue exploring and building their crochet skills.
Conclusion
I truly enjoy making this Bell Flower Ornament Crochet Pattern whenever I want a small, relaxing crochet project. It’s quick, beginner-friendly, and incredibly versatile.
I’ve used these little bell flowers as gift toppers, seasonal decorations, and even small craft fair items — they’re always a hit because they look delicate but take very little time to make.
Once you make one, it’s very hard to stop at just one!
Loved this pattern? Share it with your crochet friends and inspire someone else to create their own bell flower ornament! 🧶🌸