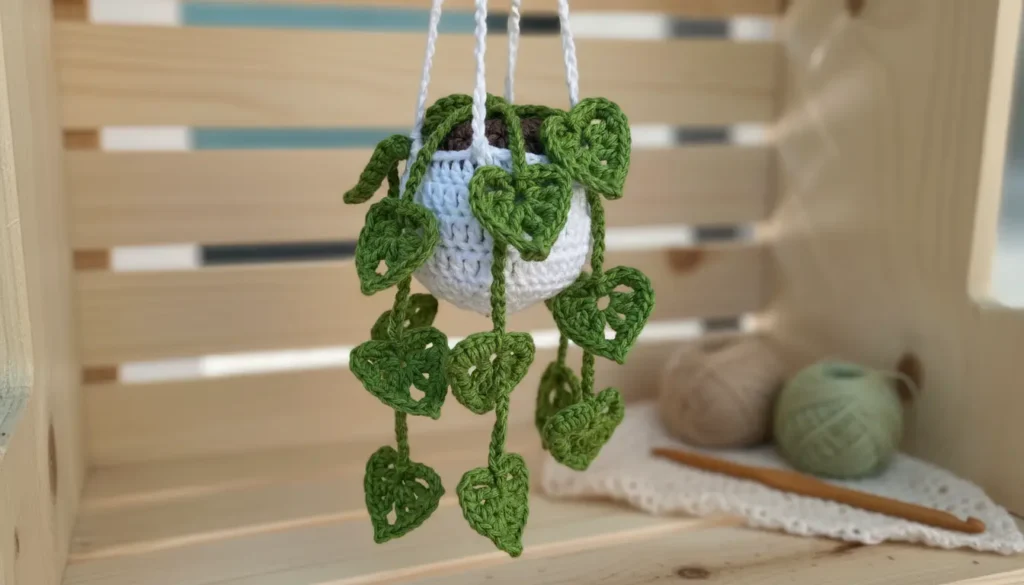
I’ve made this crochet hanging plant more times than I can count—sometimes as a last-minute gift, sometimes just to fill an empty corner at home. It’s one of those projects that always turns out charming, no matter how you tweak it.
What I love most is how forgiving it is. Even when my tension changes slightly or I experiment with different yarns, the final piece still looks natural and full of life. The cascading vines hide small imperfections beautifully, which makes it especially satisfying to work on.
In real use, this piece shines as home decor. I’ve hung mine on shelves, near windows, and even in a workspace to soften the look of the room. It takes me a relaxed afternoon to finish, and using cotton yarn with a slightly smaller hook (around 3.0 mm) gave me the cleanest, most defined stitches—especially for the leaves.
🧶 What You’ll Need
Before we begin, gather your materials. Using the right yarn really makes this crochet hanging plant shine.
- Worsted weight cotton yarn:
- Light blue (pot)
- Brown (soil)
- Green (leaves & vines)
- White (hanger)
- Crochet hook: 3.0–3.5 mm
- Stitch marker
- Yarn needle
- Fiberfill (optional, for shaping)
🪴 Step-by-Step Overview
This crochet hanging plant comes together in four relaxing stages:
- Creating the pot
- Adding the soil insert
- Making textured monstera-style leaves
- Building flowing vines and assembling everything
Take your time with each step—this is the kind of project meant to be enjoyed slowly.
🌿 Crochet Hanging Plant Pattern (US Terms)
📌 Abbreviations
ch = chain
sl st = slip stitch
sc = single crochet
hdc = half double crochet
dc = double crochet
tr = treble crochet
inc = increase (2 sc in same stitch)
dec = decrease (sc2tog)
st(s) = stitch(es)
rnd = round
🪴 POT (Light Blue)
Worked in continuous rounds
Rnd 1: MR, 6 sc (6)
Rnd 2: inc around (12)
Rnd 3: (sc, inc) repeat (18)
Rnd 4: (2 sc, inc) repeat (24)
Rnd 5: (3 sc, inc) repeat (30)
Rnd 6–10: sc around (30)
Top edge detail:
Work 1 round in back loop only sc to create a folded rim look.
Fasten off.
🌱 SOIL (Brown)
Rnd 1: MR, 6 sc (6)
Rnd 2: inc around (12)
Rnd 3: (sc, inc) repeat (18)
Rnd 4: (2 sc, inc) repeat (24)
Fasten off leaving a long tail.
Sew inside the pot (slightly recessed). Add light stuffing if desired.
🍃 LEAVES (Make 6–10)
Each leaf is worked flat, then attached to a vine.
Base Leaf Shape:
Ch 8
Row 1:
sc in 2nd ch from hook
hdc in next 2
dc in next 2
hdc
sc
ch 1, turn
Row 2 (working along other side of chain):
sc
hdc
dc in next 2
hdc in next 2
sc
Fasten off.
Monstera Cut-Out Effect:
Rejoin yarn:
sl st into leaf
ch 2, skip 1–2 stitches, sl st again
Repeat randomly to create holes
Fasten off and weave ends.
🌿 VINES (Make 6–8)
Ch 25–40 (vary lengths for realism)
Row 1:
sl st in each chain back
Fasten off leaving tail for sewing.
🔗 ATTACH LEAVES TO VINES
- Sew 1–3 leaves per vine
- Space them naturally (not evenly—this makes it look more real)
🪢 HANGER (White Cord)
Make 4 strands:
Ch 80–100 each
Optional:
sl st back along chain for sturdiness
Assembly of Hanger:
- Attach all 4 cords evenly around pot edge
- Gather at top and knot together
🧵 Assembly
Now your crochet hanging plant truly comes to life:
- Sew vines evenly around inside edge of pot
- Let them fall naturally—avoid symmetry
- Adjust leaf angles for a soft cascading effect
- Secure the hanger cords firmly
This is the moment where everything transforms from pieces into something beautiful.
🧵 My Experience & Practical Tips
After making this pattern several times, a few small details made a big difference:
- Watch your leaf tension: If your chains are too tight, the leaves curl inward more than expected. I like to loosen my starting chain slightly so the leaf lays flatter.
- Don’t overstuff the pot: A little fiberfill is enough. Too much will push the soil piece upward and make assembly harder.
- Vary vine lengths intentionally: It’s tempting to make them all the same, but uneven lengths are what give that natural, cascading look.
- Secure leaves firmly: Beginners often sew leaves too loosely, which makes them twist awkwardly over time. A couple of tight stitches at the base keeps them in place.
- Use a smaller hook for structure: If your piece feels floppy, going down 0.5 mm in hook size tightens everything nicely—especially with cotton yarn.
📝 Pattern Notes
- This crochet hanging plant is worked mostly in simple stitches, but the shaping and assembly make it ideal for intermediate crocheters
- Continuous rounds are used for the pot—mark your stitches to stay on track
- Leaves are intentionally organic—no two should look the same
🌟 Tips & Variations
- Use cotton yarn for crisp, defined stitches
- Twist vines slightly before sewing for a natural drape
- Mix shorter and longer vines for fullness
- Try different pot colors (terracotta, white, sage green)
- Add more cut-outs to leaves for a stronger monstera look
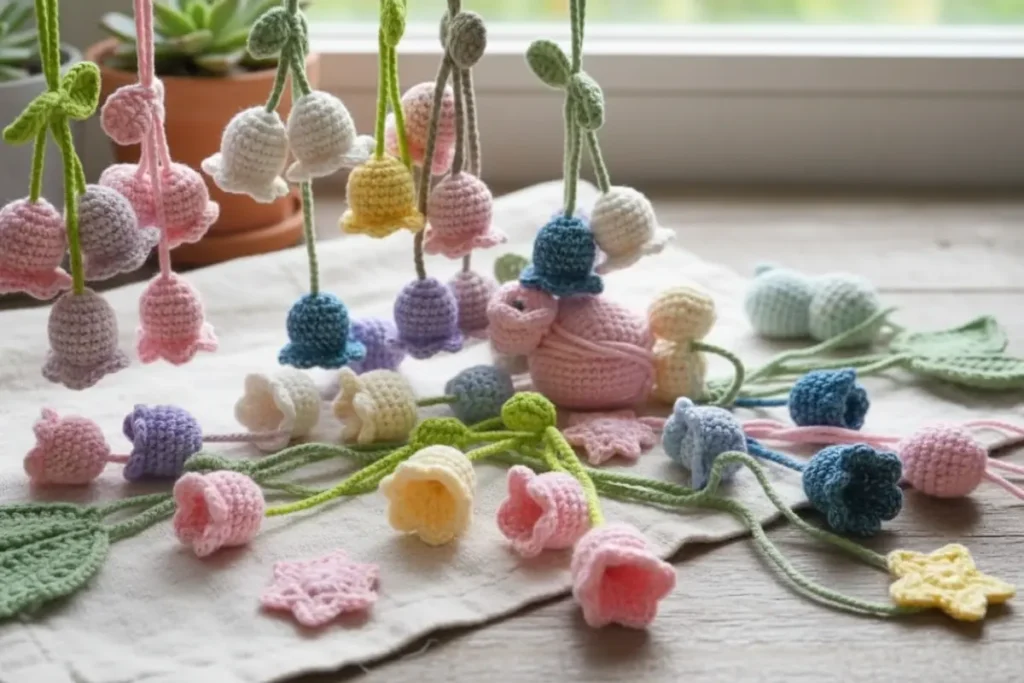
If you enjoy making decorative floral pieces, you might also love creating a tulip bouquet for a fuller display, or smaller projects like a daisy and sunflower bookmark for quick, giftable makes. Even textured designs like an African flower granny square pair beautifully with plant-themed decor.
✨ Finishing Touches
Lightly shape your leaves with your fingers or gentle blocking.
Trim any loose ends and adjust spacing until it feels just right.
Hang it near a window, on a shelf, or in a cozy corner—it instantly softens the space.
❓ FAQ (Schema Style)
Q: Is this crochet hanging plant beginner-friendly?
A: It’s best suited for confident beginners or intermediate crocheters due to shaping and assembly.
Q: Can I use acrylic yarn instead of cotton?
A: Yes, but cotton gives better structure and a more realistic finish.
Q: How do I make it look more realistic?
A: Vary vine lengths, space leaves unevenly, and twist vines slightly before attaching.
Q: Can I wash it?
A: Gently hand wash if needed, but avoid frequent washing to keep its shape.
This is one of those patterns I keep coming back to. I’ve tested it with different yarns, adjusted vine lengths, and even changed pot colors—and it always turns out beautifully.
It’s a reliable project whether you’re making items for a craft fair, putting together a thoughtful handmade gift, or simply adding something soft and green to your own space. There’s a quiet satisfaction in watching all the small pieces come together into something that feels alive.
And once you hang it up, it just stays there—looking fresh, no care needed, doing exactly what handmade pieces do best: making a space feel like home.