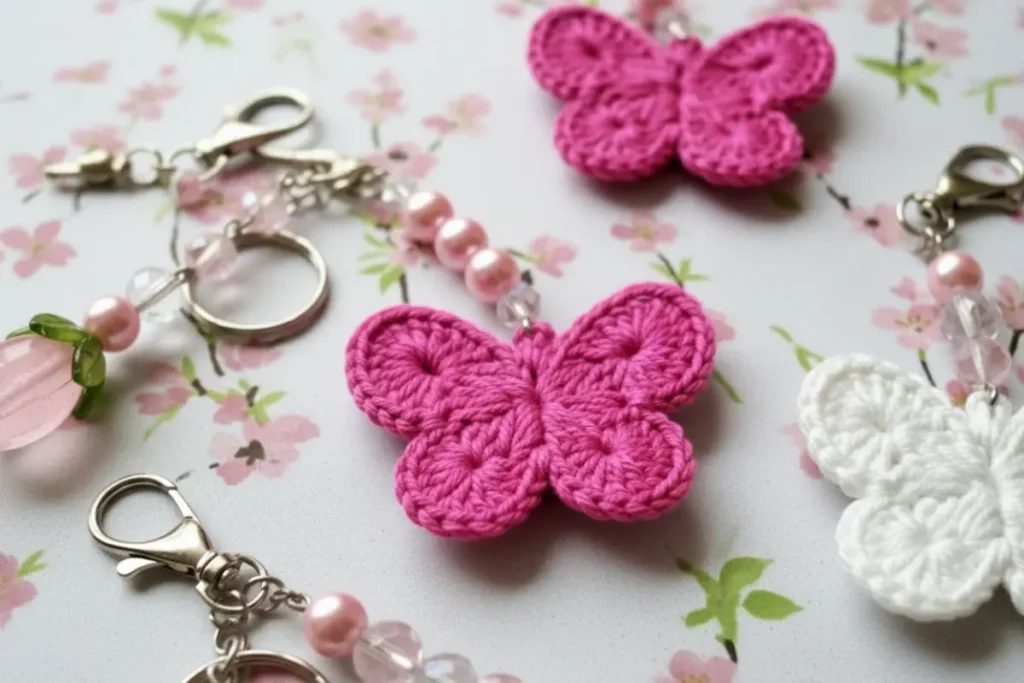
Four small floral motifs become the wings of this decorative butterfly. Two larger pieces form the upper pair, while two smaller pieces sit beneath them. A wrapped yarn body covers the central joins.
This crochet butterfly motif pattern uses cluster stitches surrounded by scalloped edges. The result is a stylized butterfly with textured, flower-like wings rather than smooth, solid wing panels.
Make the four pieces first and arrange them before sewing. Their position matters as much as their stitch counts: a little space around each wing helps the butterfly outline remain visible.
Choose Your Yarn and Colors
You will need:
- Yarn for the wings.
- Matching or contrasting yarn for the body and optional antennae.
- A crochet hook suited to your yarn.
- Yarn needle.
- Scissors.
- Removable stitch markers or pins for arranging the pieces.
Use yarns of similar thickness for all four wings. Changing yarn weight between the upper and lower pairs can alter their intended proportions.
Cotton is an option for clear stitch definition. Softer yarn will give the scallops a different drape.
Skill level: Intermediate, or a confident beginner comfortable with cluster stitches and sewing.
Finished size depends on your materials and wing placement. Measure the assembled motif rather than estimating its size from one wing alone.
US Crochet Terms
| Abbreviation | Meaning |
|---|---|
| MR | magic ring |
| ch | chain |
| sl st | slip stitch |
| sc | single crochet |
| hdc | half double crochet |
| dc | double crochet |
| 3dc-cl | three-double-crochet cluster |
| st / sts | stitch / stitches |
| sp | space |
The Craft Yarn Council’s crochet abbreviation guide provides standard terminology and US–UK comparisons.
Regular Three-Double-Crochet Cluster
Work the following three times into the same indicated ring or space:
Yarn over, insert hook, yarn over and draw up a loop, yarn over and draw through two loops.
Four loops remain on the hook.
Yarn over and draw through all four loops to complete the cluster.
Beginning Cluster
At the start of the first round:
- Ch 2.
- Work two unfinished double crochets into the ring, stopping each after drawing through the first two loops.
- Three loops remain on the hook.
- Yarn over and draw through all three loops.
The beginning ch 2 replaces the first partial double crochet. This entire group counts as one cluster.
Any ch 2 made after a completed cluster creates a space; it is separate from the beginning-cluster chain.
Crochet Butterfly Motif Pattern: Large Wings
Make two.
Round 1 — Cluster Center
Make a magic ring.
Work one beginning cluster, then ch 2.
Work (3dc-cl, ch 2) seven more times into the ring.
Gently close the ring and join with a sl st to the top of the beginning cluster.
Count: 8 clusters and 8 ch-2 spaces.
Do not count the starting ch 2 within the beginning cluster as an extra space.
Round 2 — Scalloped Edge
Sl st into the first ch-2 space. Ch 1; this does not count as a stitch.
In the same space, work:
Sc, hdc, 3 dc, hdc, sc.
Work the same seven-stitch group into each of the remaining seven ch-2 spaces.
Do not add stitches into the cluster tops between the spaces.
Join with a sl st to the first sc and fasten off, leaving a sewing tail.
Count: 8 scallops, with 7 stitches each — 56 stitches total.
Make the second large wing in the same way.
Small Wings
Make two.
Round 1 — Cluster Center
Make a magic ring.
Work one beginning cluster, then ch 2.
Work (3dc-cl, ch 2) five more times into the ring.
Close the ring and join to the top of the beginning cluster.
Count: 6 clusters and 6 ch-2 spaces.
Round 2 — Scalloped Edge
Sl st into the first ch-2 space. Ch 1.
In the same space, work:
Sc, hdc, 2 dc, hdc, sc.
Repeat that six-stitch group in each of the remaining five ch-2 spaces.
Join to the first sc and fasten off, leaving a sewing tail.
Count: 6 scallops, with 6 stitches each — 36 stitches total.
Make a second matching small wing.
Visual Guide: Large and Small Cluster Wings
Use this schematic to compare large and small cluster wings with the written steps.
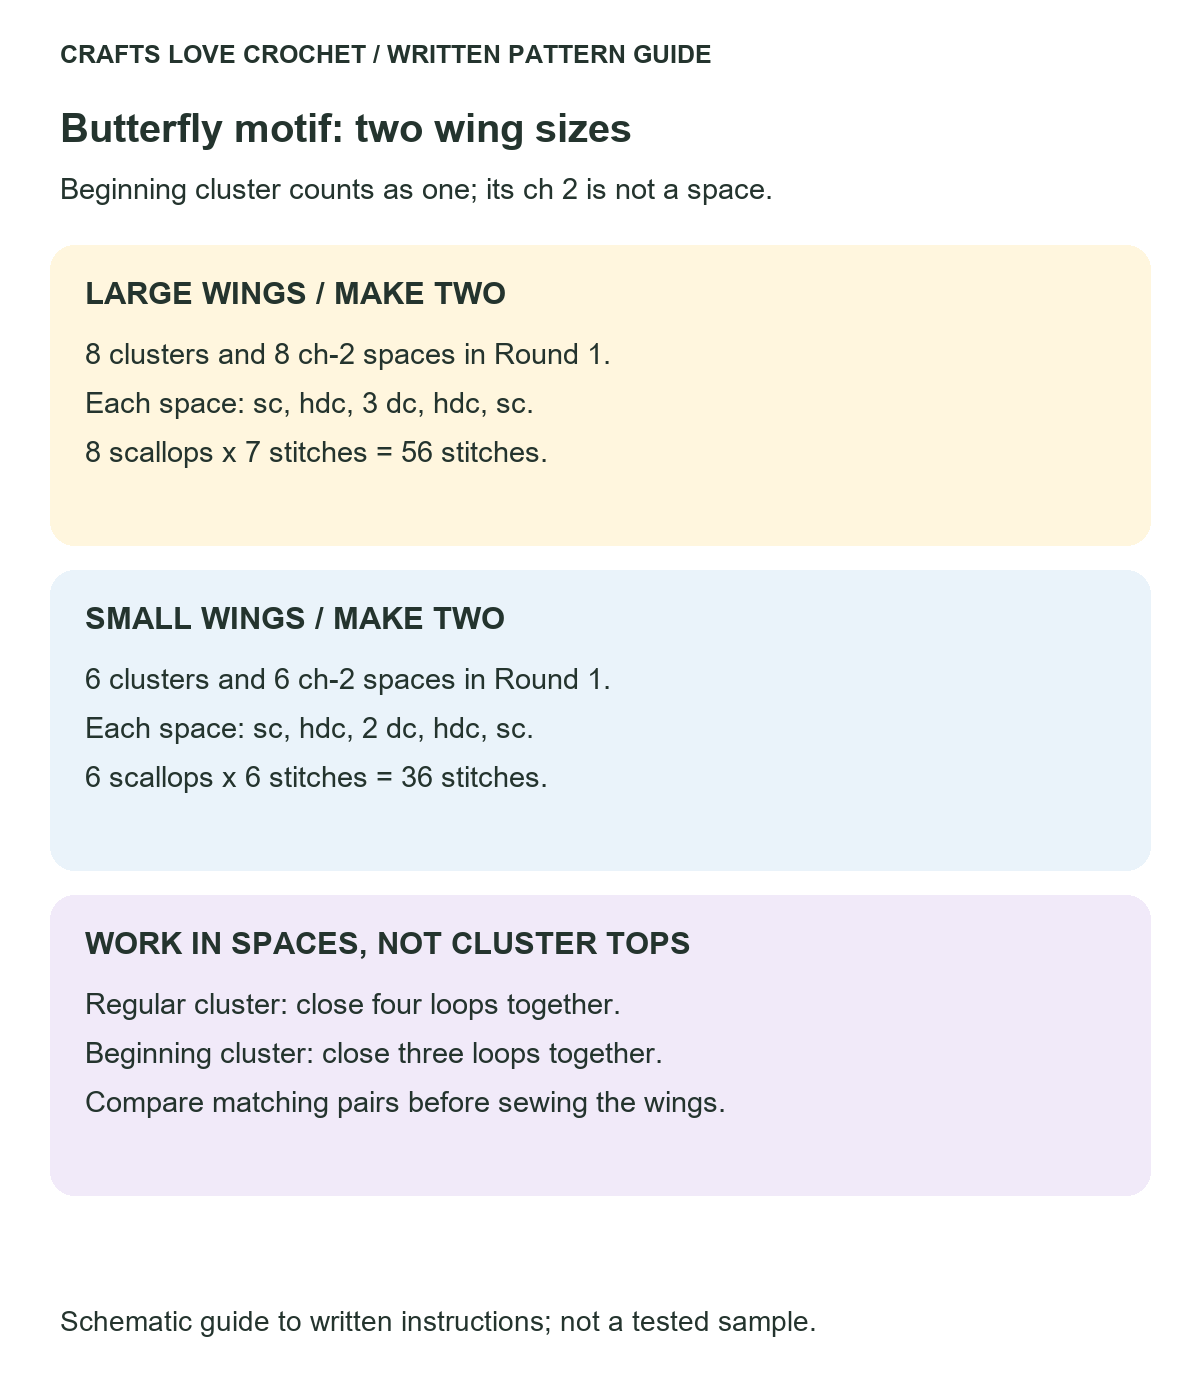
Open this guide at a larger size.
Compare the Pairs
| Wing size | Cluster count | Scallops | Final-round stitches |
|---|---|---|---|
| Large | 8 | 8 | 56 |
| Small | 6 | 6 | 36 |
Compare the two large wings with each other, then compare the two small wings.
If one piece differs noticeably, check both the cluster count and the number of stitches in each scallop before attempting to stretch it.
Arrange the Four Wings
Lay all pieces with their chosen front sides facing upward.
Place the large wings at the upper left and upper right. Position the small wings below them.
The magic-ring centers remain separate and visible within their own wings. Bring the inner edges toward one another rather than stacking all four centers.
Rotate the motifs until suitable sections of their inner edges meet. Overlap only enough fabric to create secure sewing areas.
Check the arrangement from a little distance. Too much overlap can hide the lower wings and make the piece look like a single layered flower.
Sew Before Wrapping
Join each upper wing to the smaller wing beneath it along a short inner-edge section.
Then join the left and right pairs through their overlapping central edges. Catch sturdy crochet stitches, not only loose chain sections.
The four wings should remain connected when you lift the assembly gently. The body wrapping will cover and support the join, but it should not be the only thing holding the wings together.
Secure the sewing tails neatly on the back.
Form the Wrapped Body
Use a length of matching or contrasting yarn.
Orient the butterfly with the larger wings at the top. Wrap the yarn vertically around the central joined area, passing over the front and around the back.
Keep each pass close to the previous one to form a narrow body.
Use enough tension to define the center without drawing the wings into a tight bundle. Stop before the wraps become bulky.
Secure the ends at the back, then stitch through the underside of the wraps and into the central join to keep the body from sliding.
The completed body should cover the sewing area while leaving all four wings identifiable.
Visual Guide: Wing Seams and Wrapped Body
Use this schematic to compare wing seams and wrapped body with the written steps.
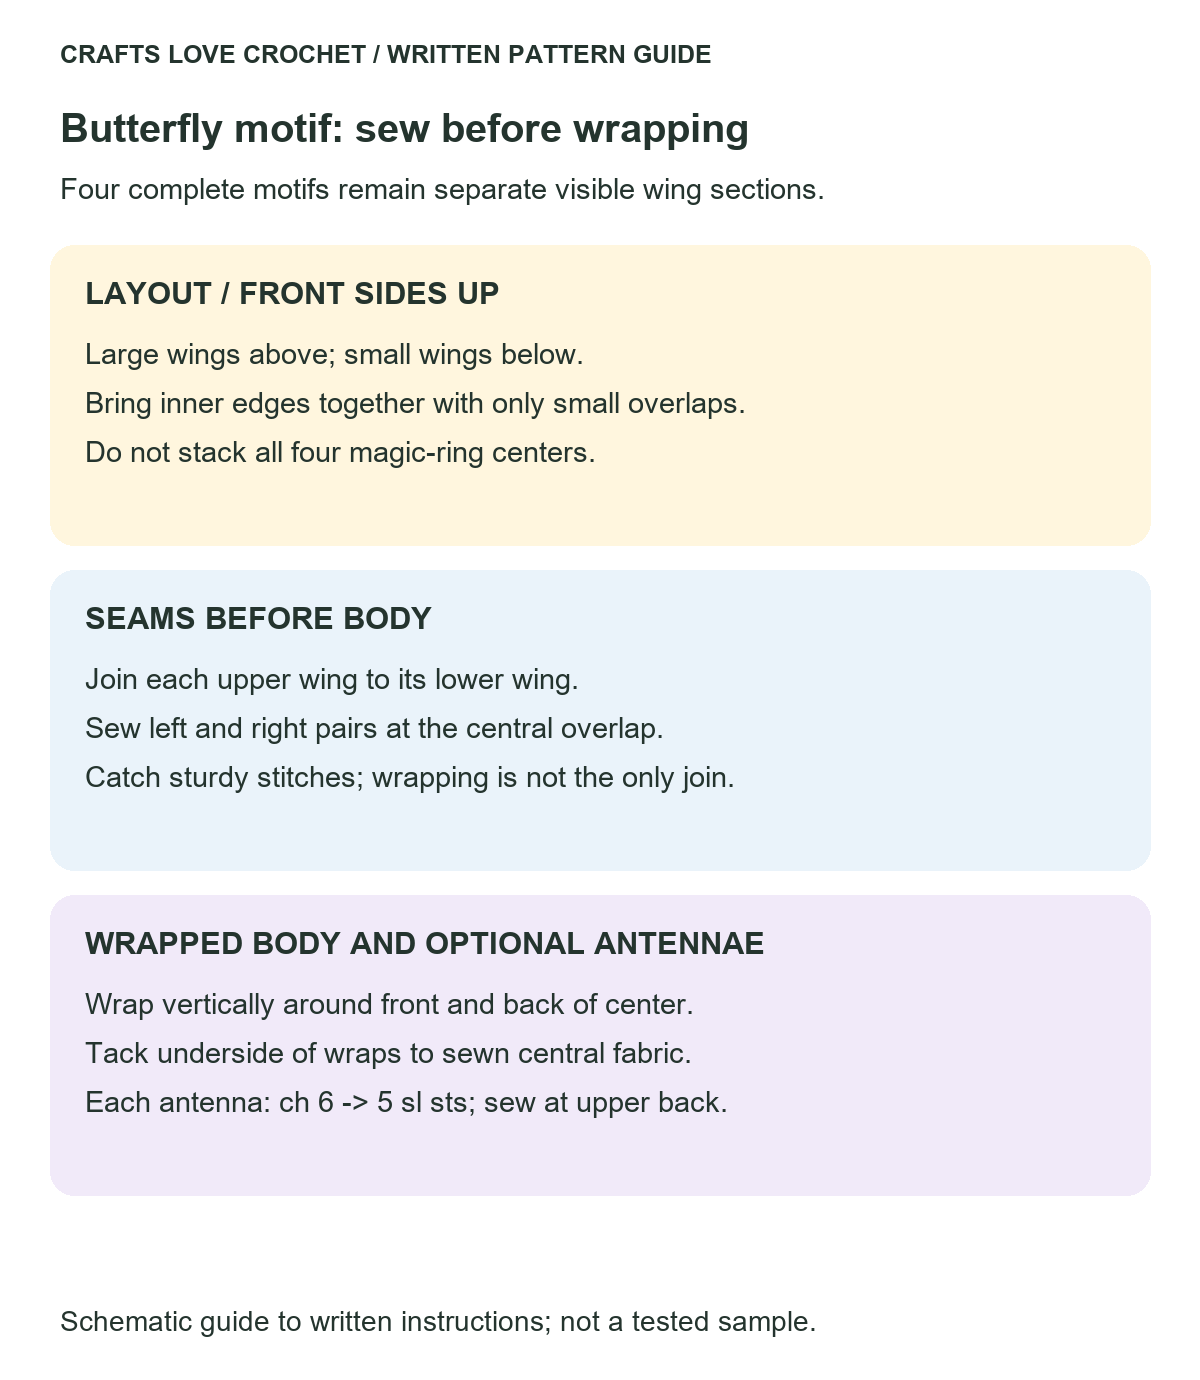
Open this guide at a larger size.
Optional Crocheted Antennae
Make two with the body color.
Leave a starting tail, then ch 6.
Starting in the second ch from the hook, sl st in each chain back toward the starting end. (5 sl sts)
Fasten off with a sewing tail.
Sew the foundation end of each antenna behind the top of the wrapped body. Angle the tips outward.
Secure both tails through the body wrapping and the central fabric beneath it. Avoid trimming close to the attachment before the ends are woven in.
Attach the Butterfly to a Project
For a fabric pouch, crochet panel, or decorative textile, sew the body and central joins to the background first.
Add discreet stitches beneath selected scallops if the wings need more support. On frequently handled items, supporting the outer wing areas helps limit catching and twisting.
For a flatter floral companion, explore the mini crochet flower pattern. Repeating one of the butterfly colors in the flower can tie the decorations together.
This motif does not include a reinforced keyring attachment. If you want a hanging accessory, the crochet butterfly keychain pattern includes a separate attachment-loop construction.
Practical Tips for the Cluster Wings
Keep the partial stitches at a consistent height. Uneven loops can make one cluster stand taller than its neighbors.
Count chain spaces before the scallops. Eight spaces are needed for each large wing and six for each small wing.
Secure the magic-ring tails. Drawing the ring closed does not replace weaving its tail through the surrounding stitches.
Shape before assembly. If damp blocking suits your yarn, arrange the scallops and let the pieces dry before sewing them together.
Keep the central overlap small. The crochet butterfly motif pattern depends on four visible wing sections, so avoid hiding too much fabric beneath the body.
Do not rely on blocking to correct missing stitches or a strongly distorted piece.
Frequently Asked Questions
Is this crochet butterfly motif pattern suitable for beginners?
It is suitable for crocheters who can follow basic stitches and are ready to learn clusters. Making one small wing first is a manageable way to practice the construction.
Are the wings folded?
No. This version uses four complete motifs arranged with their inner edges overlapping slightly.
Why are there different numbers of scallops?
The large wings have eight cluster spaces, while the small wings have six. Their outer stitch groups also differ, helping distinguish the two pairs.
Can I make all four wings in different colors?
Yes. Keep the yarn thickness similar and compare the finished pieces before assembly. A consistent body color can help unify the arrangement.
Does the body need stuffing?
No. It is formed by yarn wrapped around the sewn central join.
Choose the Final Wing Position
Before sewing the motif onto its background, try a few small rotations of the wings. Bringing the upper pair slightly upward can create a different impression from a wider, more horizontal arrangement.
Take a photo once you like the placement. It provides a useful reference while sewing and helps you reproduce the same layout for a second butterfly.
Share the yarn colors and finished width if you make your own version. Those details help other crocheters plan a motif that suits their project.