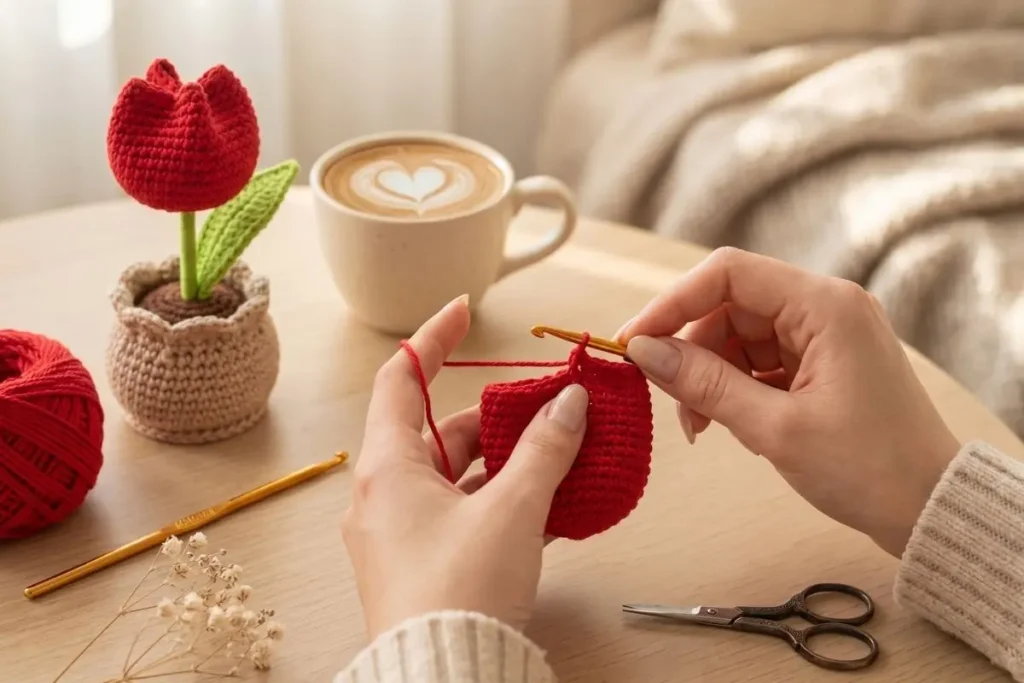
I’ve made this crochet tulip appliqué pattern more times than I can count—on baby blankets, tote bags, even as tiny details on gift wrapping. It’s one of those projects that feels simple at first, but the result always looks a little more special than expected.
What I love most is how quickly it comes together. The first time I tested it, I used a slightly thicker cotton yarn and noticed the petals became more sculpted and defined—almost like a real tulip just beginning to bloom. With a smaller hook and tighter tension, it turns into a flatter, more delicate appliqué, perfect for sewing onto garments.
It’s a small project, but it carries that handmade charm that people instantly notice.

🧶 What You’ll Need
- Worsted weight cotton yarn:
- Pink (flower)
- Green (stem & leaves)
- Crochet hook: 3.0–3.5 mm
- Yarn needle
- Scissors
📌 Abbreviations (US Terms)
- ch = chain
- sl st = slip stitch
- sc = single crochet
- hdc = half double crochet
- dc = double crochet
- tr = treble crochet
- st(s) = stitch(es)
- inc = increase (2 sts in same st)
- sk = skip
- MR = magic ring
🌸 Pattern
Flower (Make 1 – Pink)
Round 1:
MR, ch 1, work 12 dc into ring.
Join with sl st to first dc.
(12 sts)
Round 2 (Petal shaping):
Ch 2 (counts as hdc), (dc, tr, dc, hdc) in next st, sl st in next st.
Repeat from * to * 3 more times.
Join with sl st.
You should now have 4 rounded petals, slightly overlapping.
Fasten off, leave a tail for sewing.
🌿 Stem (Green)
Join green yarn at the bottom center of the flower.
Row 1:
Ch 6, starting in 2nd ch from hook:
sc in each ch across. (5 sts)
Sl st back into base of flower to secure.
🍃 Leaves (Worked in one piece)
Leaf Base:
From the base of the stem:
Ch 8.
Left Leaf:
Work along one side of the chain:
sc in 2nd ch from hook
hdc in next st
dc in next 2 sts
hdc in next
sc in last
Ch 1, rotate slightly to work other side of chain.
Right Leaf:
sc in first st
hdc in next
dc in next 2 sts
hdc in next
sc in last
Sl st into base (where leaves meet stem).
Fasten off.
🧵 Finishing
- Weave in all ends neatly on the back
- Lightly shape petals with your fingers for a natural tulip look
- Optionally steam block for a flatter, polished finish
💬 Pattern Notes
This crochet tulip appliqué pattern creates a slightly dimensional flower, but it can easily be flattened depending on your finishing method. Cotton yarn gives the cleanest stitch definition, especially for the petal shaping.
Because the petals overlap naturally, there’s no need for extra sewing or structuring—just a gentle shaping with your fingers already brings it to life.
🌼 My Experience & Practical Tips
After making quite a few of these, a few small details made a big difference:
- Watch your tension in Round 2
If your stitches are too tight, the petals curl inward too much. A slightly relaxed tension helps them open beautifully. - Hook size really matters here
I tested both 3.0 mm and 3.5 mm—smaller hooks create a firmer, more defined tulip, while larger hooks give a softer, more relaxed look. - Don’t skip shaping the petals
It sounds simple, but gently pulling and adjusting each petal with your fingers completely changes the final look. - Beginners often miss the symmetry in leaves
Make sure both sides of the chain are worked evenly. If one side feels tighter, the leaf can twist. - Cotton yarn is your best friend
Acrylic works, but cotton really highlights the stitch definition and keeps the leaves crisp.
🎨 Tips & Variations
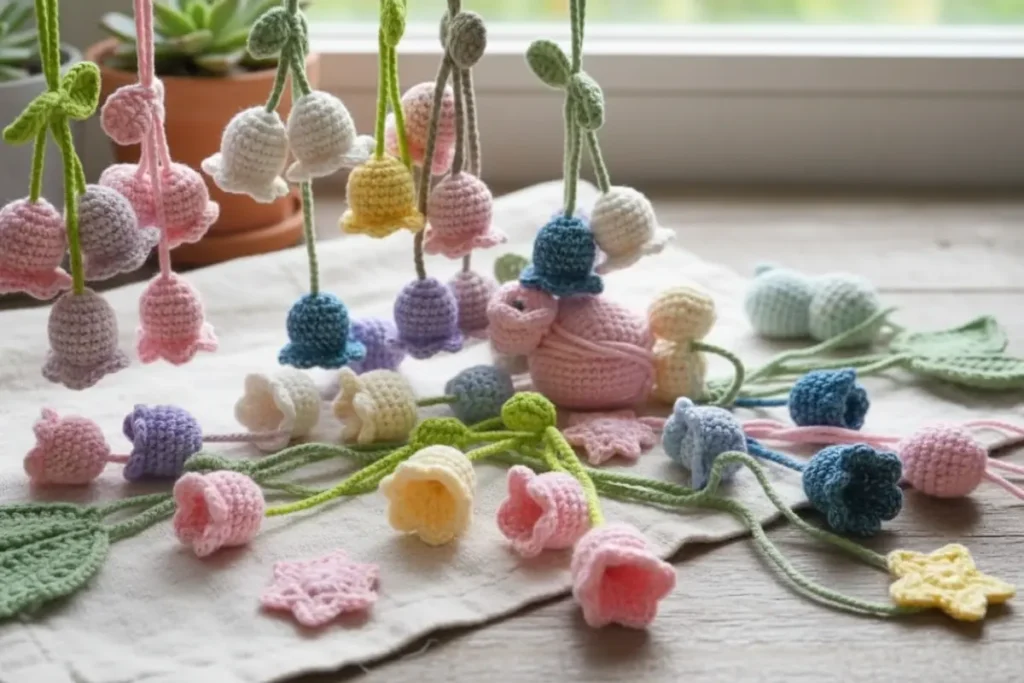
- Try pastel shades for spring-themed projects
- Use darker greens for a more realistic botanical look
- Add a small bead or French knot in the center for detail
- Make several and turn them into a delicate garland
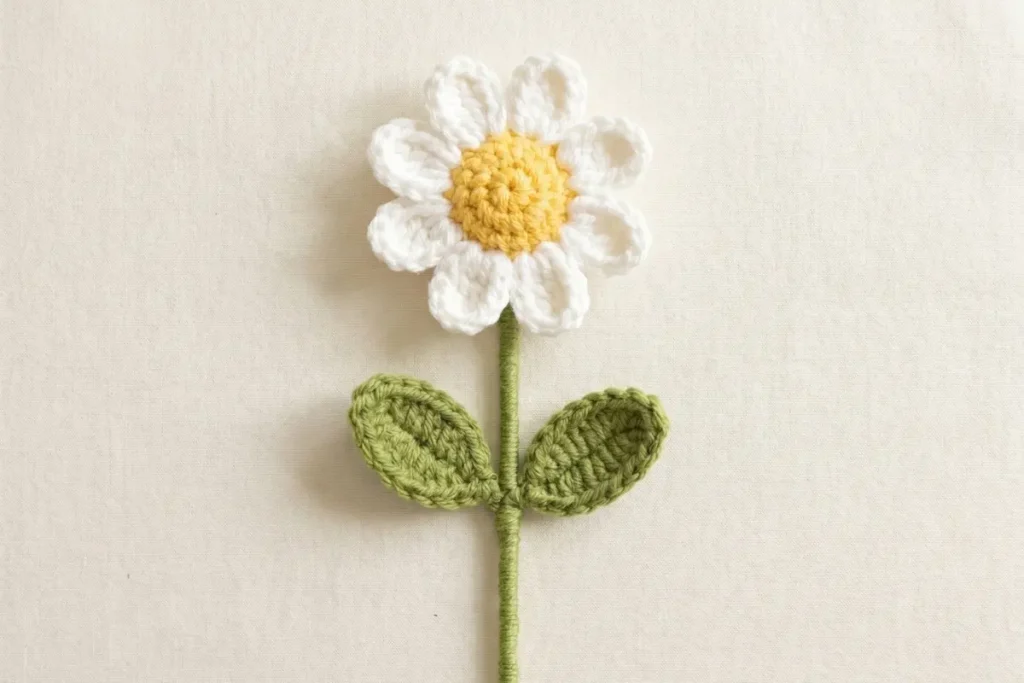
If you enjoy floral designs like this, you might also love working on a tulip bouquet or small flower motifs—they pair beautifully together in larger projects.
🧩 Assembly Ideas
This crochet tulip appliqué pattern is incredibly versatile:
- Sew onto baby blankets or clothing
- Attach to hair clips or headbands
- Decorate tote bags or pouches
- Use as gift embellishments
- Create bookmarks or wall hangings
❓ FAQ (Schema Style)
Q: Is this pattern beginner-friendly?
A: Yes! If you’re comfortable with basic stitches like dc and hdc, you’ll be able to follow along easily.
Q: Why are my petals curling too much?
A: This usually comes down to tight tension. Try loosening your stitches or using a slightly larger hook.
Q: Can I use acrylic yarn instead of cotton?
A: You can, but cotton gives a cleaner and more defined finish.
Q: How long does it take to make one tulip?
A: Once you’re familiar with the pattern, it can take around 15–25 minutes.
Q: Can I make it bigger?
A: Yes—using thicker yarn and a larger hook will scale it up nicely.
This little tulip has been tested in different yarns, hook sizes, and even rushed late-night projects—and it always turns out charming in its own way. It’s one of those patterns you come back to when you need something quick, meaningful, and handmade.
Whether you’re adding it to a gift, selling at a craft fair, or just making something small for yourself, it carries that quiet beauty only crochet can bring.
If you enjoyed making this, don’t keep it to yourself—share it with someone who loves crochet just as much as you do 💛