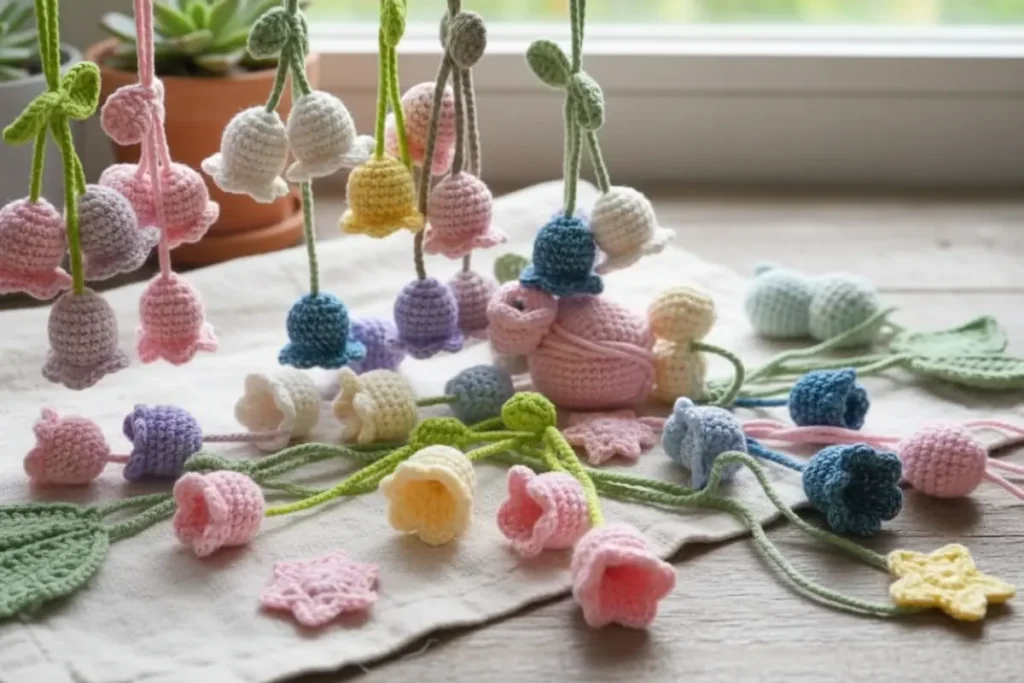
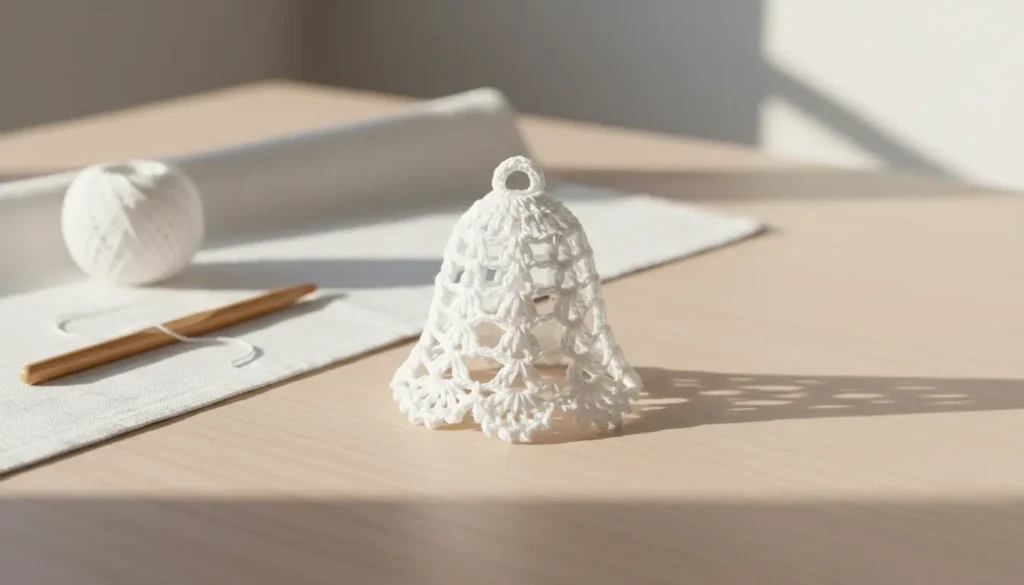
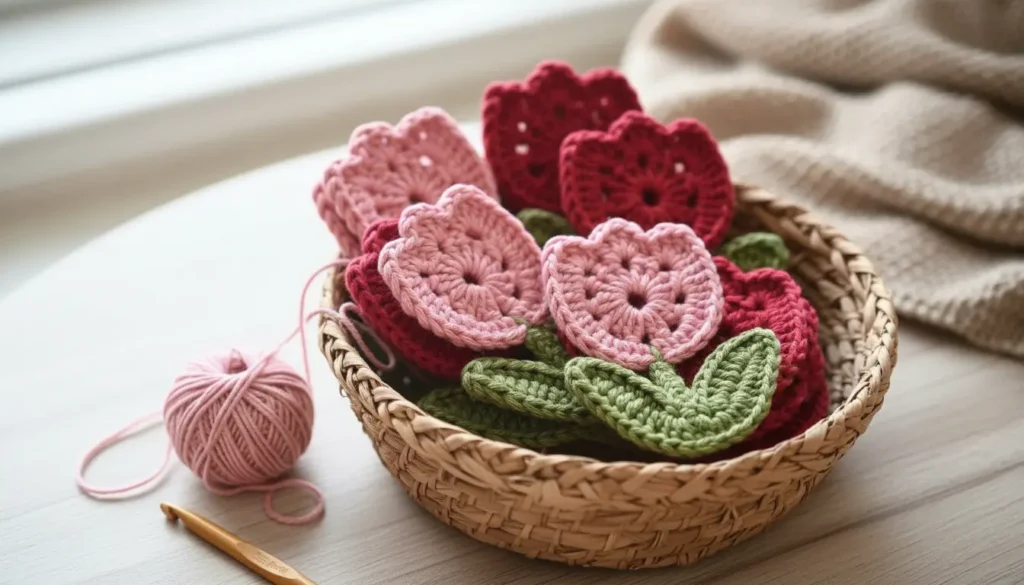
Trailing stems give a small crochet plant much of its character. A few shorter vines near the top keep the pot visible, while longer strands carry the leaves below it.
This crochet hanging plant monstera pattern combines a blue yarn pot, a brown top disc, six green vines, and twelve leaves. Each leaf includes four small openings worked directly into the crochet.
The leaves are a stylized botanical interpretation rather than an exact reproduction of a mature monstera leaf. Their eyelets, varied positions, and different hanging heights create the decorative effect.
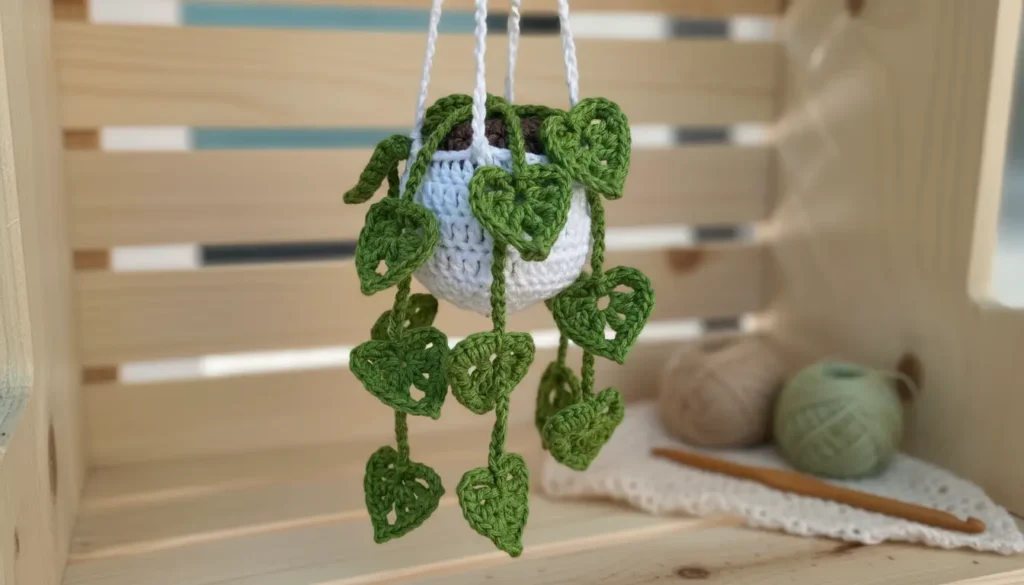
The finished pot holds fiberfill and crochet components only. It is not a holder for a real plant, water, or a heavy container.
Plan the Components
For one hanging decoration, make:
| Component | Quantity |
|---|---|
| Crochet pot | 1 |
| Brown top disc | 1 |
| Vines in varied lengths | 6 |
| Eyelet leaves | 12 |
| Hanging straps | 4 |
The four straps should match in finished length. The six vines are intentionally different lengths.
Materials
- Worsted-weight cotton yarn in light blue, brown, green, and white.
- A 3–3.5 mm crochet hook suited to your yarn.
- Yarn needle.
- Scissors.
- Stitch markers.
- Measuring tape.
- A small amount of polyester fiberfill.
Use a hook that produces close stitches for the pot without making the yarn difficult to work. Keep the same green yarn and hook for all leaves so their sizes remain comparable.
Skill level: Intermediate, primarily because of the leaf construction and suspended assembly.
Finished dimensions depend on yarn, tension, and strap length. Complete one sample before planning a matching set.
US Crochet Terms
| Abbreviation | Meaning |
|---|---|
| MR | magic ring |
| ch | chain |
| sl st | slip stitch |
| sc | single crochet |
| hdc | half double crochet |
| dc | double crochet |
| inc | 2 sc in the same stitch |
| BLO | back loop only |
| st / sts | stitch / stitches |
| sp | space |
The Craft Yarn Council’s crochet abbreviation guide provides standard stitch names and US–UK comparisons.
Work the pot and brown disc in continuous rounds. Mark the first stitch of each round. Beginning chains and joining slip stitches are excluded from stitch counts.
Crochet Hanging Plant Monstera Pattern: The Pot
With light blue:
| Round | Instructions | Count |
|---|---|---|
| 1 | 6 sc in MR | 6 |
| 2 | Inc in each st | 12 |
| 3 | (Sc, inc) 6 times | 18 |
| 4 | (Sc in next 2 sts, inc) 6 times | 24 |
| 5 | (Sc in next 3 sts, inc) 6 times | 30 |
| 6–10 | Sc in each st | 30 |
| 11 | Sc in BLO around | 30 |
Sl st in the next stitch to smooth the finish. Fasten off and secure the end.
Working Round 11 into the back loops of Round 10 leaves the front loops of Round 10 unused beneath the upper edge. Do not fold the rim unless the finished fabric naturally permits it.
Brown Top Disc
With brown:
- Round 1: 6 sc in MR. (6)
- Round 2: Inc in each st. (12)
- Round 3: (Sc, inc) 6 times. (18)
- Round 4: (Sc in next 2 sts, inc) 6 times. (24)
- Round 5: (Sc in next 3 sts, inc) 6 times. (30)
Sl st in the next stitch and fasten off with a long sewing tail.
This disc closes the pot above the stuffing. Its thirty-stitch edge matches the pot’s thirty-stitch upper round.
Set it aside until the vines and hanging straps are attached.
Eyelet Leaves — Make Twelve
Each leaf is worked around both sides of a foundation chain. The openings are created by chaining over skipped foundation chains.
With green, ch 8.
For clarity, the seven usable chains are numbered from the hook: chain 1 is the second chain from the hook, and chain 7 is the far end.
Round 1 — First Side
Work:
- Sc in chain 1.
- Hdc in chain 2.
- Ch 2 and skip chain 3.
- Dc in chain 4.
- Ch 2 and skip chain 5.
- Hdc in chain 6.
- Work 3 sc in chain 7.
Mark the middle sc of the three-sc group as the leaf tip.
Continue Along the Other Side
Rotate the leaf and work into the unused side of the same foundation chain:
- Hdc in chain 6.
- Ch 2 and skip chain 5.
- Dc in chain 4.
- Ch 2 and skip chain 3.
- Hdc in chain 2.
- Sc in chain 1.
Join with a sl st to the first sc.
Count: 11 crochet stitches and 4 ch-2 spaces.
Do not work into the skipped foundation chains when returning along the second side.
Round 2 — Outline
Ch 1.
Sc in each stitch and work 1 sc around each ch-2 space. At the marked tip stitch, work 3 sc instead of 1 sc.
Join to the first sc. (17 sc)
Fasten off with a sewing tail.
The joined end is the leaf base. Keep the eyelets open by working around the chain spaces rather than adding stitches into the skipped foundation chains beneath them.
Make the remaining leaves in the same way.
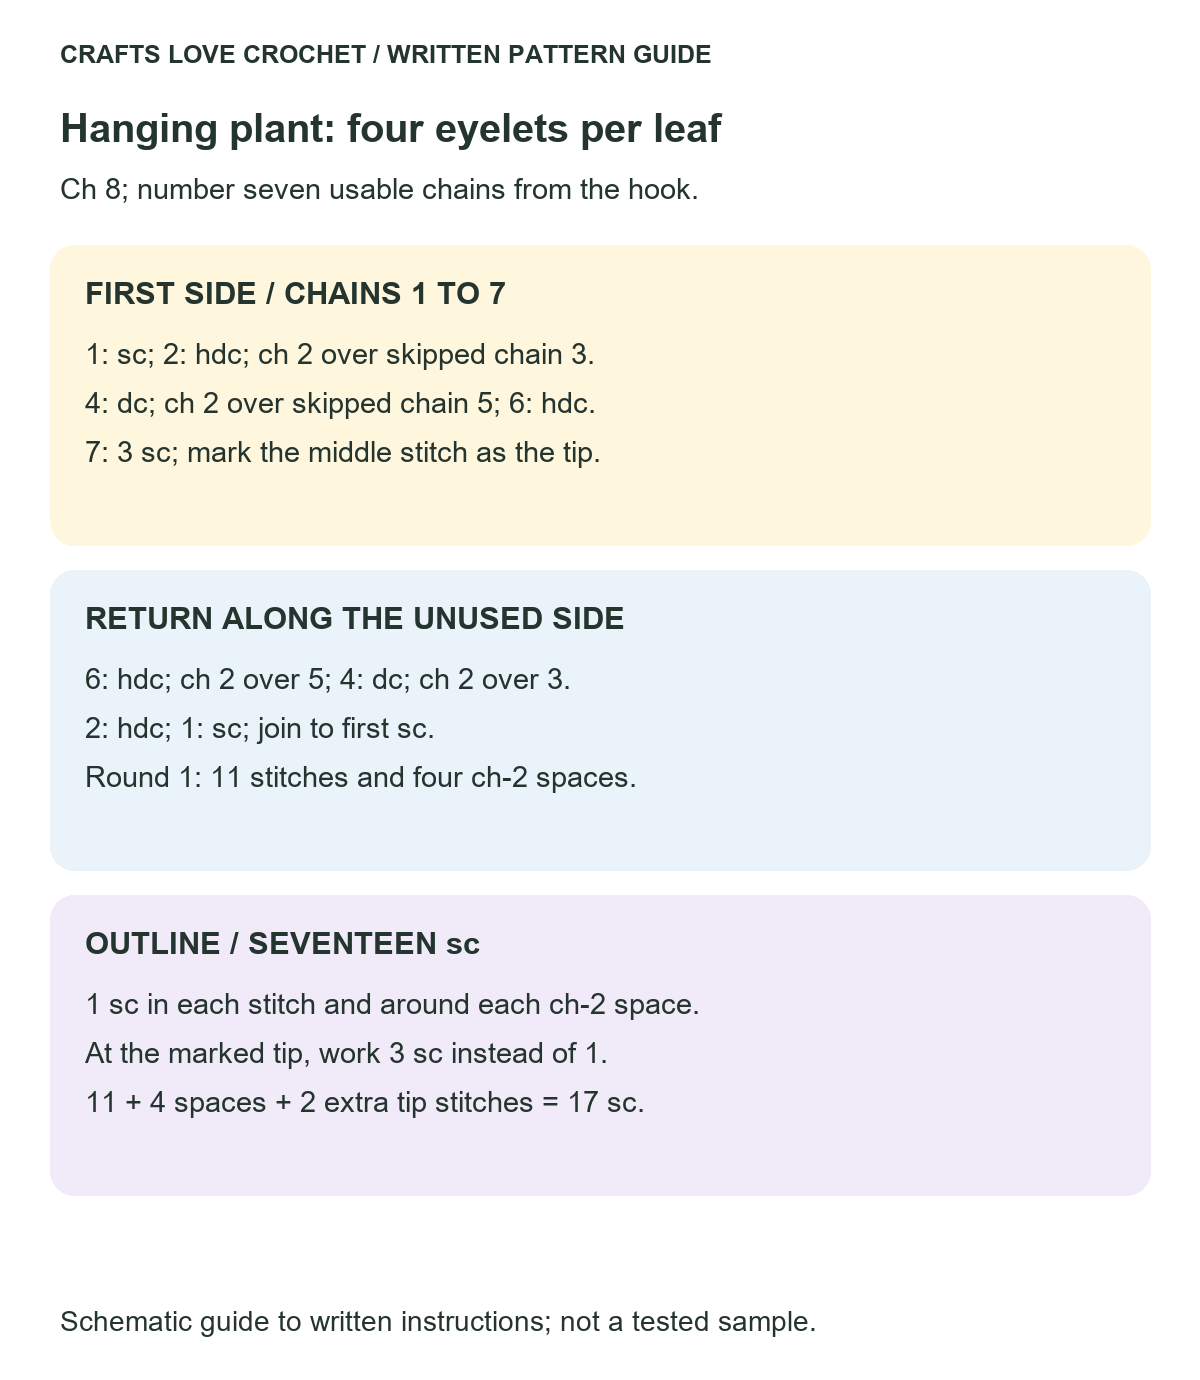
Visual Guide: Four Eyelets and the Leaf Border
Use this schematic to compare four eyelets and the leaf border with the written steps.
Open this guide at a larger size.
Six Trailing Vines
With green, make one vine at each of these foundation lengths:
Ch 25, ch 28, ch 31, ch 34, ch 37, and ch 40.
For each vine, sl st in the second chain from the hook and in every remaining chain.
The completed counts are 24, 27, 30, 33, 36, and 39 slip stitches.
Fasten off, leaving a sewing tail at the finishing end. Use that end as the top of the vine.
Keep the slip stitches relaxed. Very tight slip stitches can shorten the chain and create a strong curl.
Attach Two Leaves to Each Vine
Place one leaf toward the lower end of the vine and the other farther up.
Sew each leaf base to the vine at more than one point. Add a small stitch along one lower leaf edge if it rotates freely.
Vary the spacing between leaves, but leave the upper section of each vine clear for attaching it inside the pot.
Check the hanging direction before securing the tails. The leaf tips can angle outward rather than all pointing straight down.
Four Matching Hanging Straps
With white, ch 80.
Starting in the second ch from the hook, sc in every chain across. (79 sc)
Fasten off with long sewing tails.
Make four identical straps.
Lay them side by side without stretching and compare their finished lengths. Matching chain counts do not guarantee identical measurements if the tension changes.
If you need a different suspension height, change the foundation length for all four straps equally.
Assemble the Hanging Plant
Mark the Strap Positions
Identify the thirty stitches around the pot’s upper edge.
Place markers at stitches 1, 8, 16, and 23. These divide the rim into alternating sections of seven and eight stitches.
The straps will be attached beneath these positions, with their lower ends extending down the inside wall.
Sew the Straps to the Pot
Overlap the lower end of each strap against the inside of the pot across approximately Rounds 8–10.
Sew it securely to several pot stitches across the width and length of that overlap. Do not hang the entire decoration from a single rim loop.
Keep the straps untwisted and pointing upward.
Attach the Vines
Arrange the six vines around the inside upper edge, between the strap positions where possible.
Distribute the longer vines around the pot rather than placing all of them on one side.
Sew the upper section of each vine to the pot fabric with several small stitches. Allow the remainder to fall over the edge.
Temporarily hold the four straps together and check the arrangement before closing the pot.
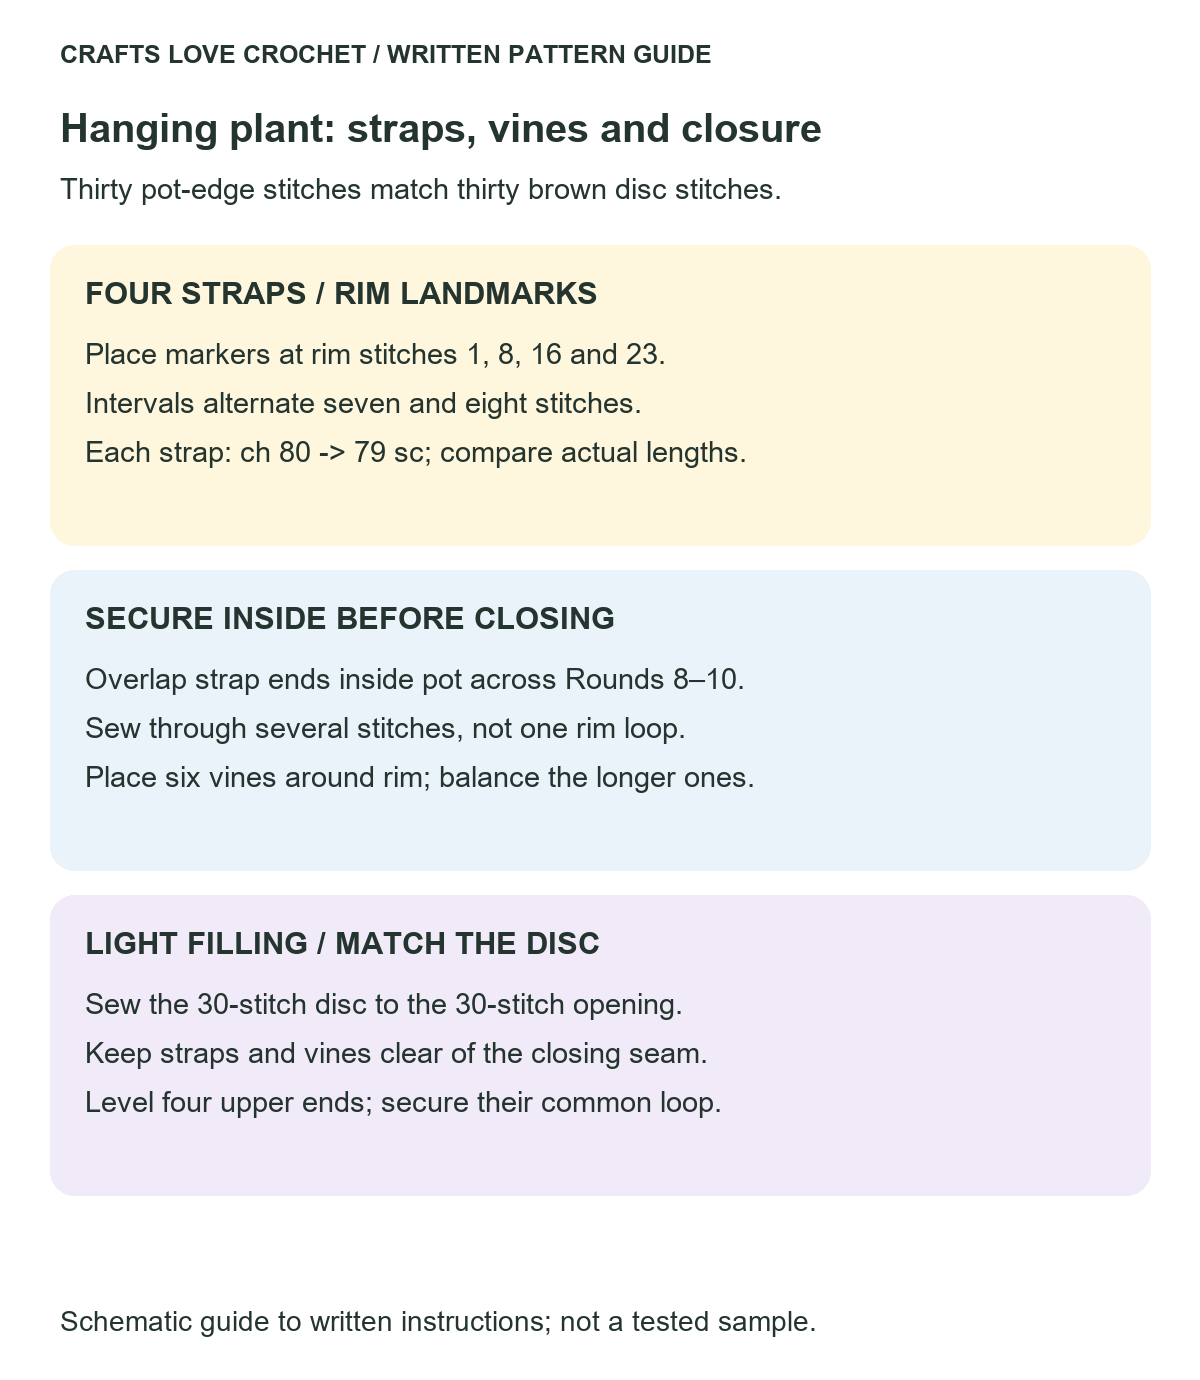
Visual Guide: Four Strap Positions and the Top Disc
Use this schematic to compare four strap positions and the top disc with the written steps.
Open this guide at a larger size.
Add Filling and Close the Top
Place a small amount of fiberfill inside the pot. Use enough to support the shape without pushing the walls outward or doming the top.
Position the brown disc just inside the rim.
Match its thirty edge stitches to the thirty stitches around the pot opening. Sew it into place, keeping the straps and vines clear of the seam.
At their attachment areas, take care not to pull the disc so tightly that the pot puckers.
Close the seam and secure the tail.
Set the Hanging Height
Bring the four upper strap ends together while supporting the pot underneath.
Adjust the effective lengths until the pot hangs level. Overlap and sew the upper ends securely into a common bundle, then fold that bundle into a hanging loop and stitch through all layers.
Check the loop and all four lower attachments before displaying.
Use a suitable secure support for the lightweight finished decoration. Keep the hanging cords out of reach of young children.
Practical Checks Before Display
Inspect one leaf before making twelve. Check that all four eyelets remain visible and that the border has seventeen stitches.
Compare strap lengths after crocheting. The finished straps, not the foundation chains alone, determine whether the pot hangs level.
Keep the filling light. This project does not need extra weight inside the pot.
Balance the vines around the rim. Uneven distribution can pull the pot to one side.
Check attachments while the pot is still open. Reinforcing a lower strap seam is easier before the brown disc covers the inside.
The crochet hanging plant monstera pattern combines soft fabric with suspension points, so the final hanging check is part of the assembly.
Frequently Asked Questions
Are the leaf holes added after the leaf is finished?
No. The four openings are built into Round 1 with chain spaces over skipped foundation chains. Adding chains on top of a solid leaf would not remove the fabric beneath them.
Is this an exact botanical monstera leaf?
No. It is a small stylized leaf with eyelets, used in a monstera-inspired hanging decoration.
Can I add more vines?
You can adjust the arrangement, but additional pieces change its weight and balance. Check the strap attachments and hanging position again after any changes.
Can the crochet pot hold a real plant?
No. This construction is for fiberfill and crochet components only. It is not designed to support a plant container, soil, or water.
How should I clean it?
Follow the yarn’s care instructions. If washing is suitable, support the whole piece and dry it flat. Hanging it wet can stretch the straps and vines.
Build a Botanical Display
For a separate shelf decoration, explore the tulip flower in pot amigurumi crochet pattern, which uses a different support arrangement for an upright flower.
If you prefer a longer wall decoration, the daisy garland crochet pattern combines flowers and leaves along a horizontal cord.
Once the plant hangs as you want it, record the strap length and vine placement. A front and side photo can help you reproduce the arrangement later.
Would you choose the blue pot or a terracotta-inspired color? Share your palette and finished hanging length in the comments.