The character of a mixed bouquet comes from its contrasts: an open flower beside a closed bud, small blossoms between larger shapes, and leaves that give each bloom room to stand out.
This crochet floral stem bouquet pattern combines those elements in pink, white, yellow, and green. Each flower is made separately and attached to its own support before the stems are gathered into an arrangement. That makes it easier to adjust the height and direction of a bloom without pulling on the others.
The project includes a five-petal flower, a calla-inspired bloom, a tulip-style bud, two small layered blossoms, and four leaves. Construction and assembly are best approached as separate stages.

Plan the Bouquet Before You Begin
Make the following pieces:
| Component | Quantity |
|---|---|
| Pink petals with white edging | 5 |
| Decorative pink center knobs | 6, optional |
| Calla-inspired flower wrap | 1 |
| Yellow flower center | 1 |
| White tulip bud | 1 |
| Green bud sepals | 5 |
| Small layered blossoms | 2 |
| Green backing calyxes | 3 |
| Long green leaves | 4 |
The three calyxes cover the backs of the large open flower and the two small blossoms.
Skill level: Intermediate. The stitches are mostly basic, but the project also uses reserved loops, embroidery, shaping, and wire assembly.
Finished dimensions depend on yarn, tension, and stem length. Make the flowers before cutting the final stems so you can choose proportions that suit your vase.
Materials
- Cotton yarn in hot pink, white, dark green, and yellow.
- A crochet hook that produces firm, workable fabric with your yarn.
- Yarn needle, scissors, and stitch markers.
- A small amount of fiberfill.
- Floral stem wire, approximately 18–20 gauge, with stiffness suited to the flower weight.
- Green floral tape.
- Wire cutters and round-nose pliers.
For worsted-weight cotton, start by testing the hook size recommended on the label. Reduce the size if the fabric is too loose to hold its shape. Very small hooks can make thick cotton unnecessarily difficult to work.
The wired arrangement is intended for decorative display, not as a toy.
Terms and Working Conventions
US crochet terms are used throughout:
- ch: chain.
- sl st: slip stitch.
- sc: single crochet.
- hdc: half double crochet.
- dc: double crochet.
- inc: 2 sc in the same stitch.
- dec: single crochet 2 stitches together.
- FLO/BLO: front/back loop only.
- MR: magic ring.
- st/sts: stitch/stitches.
The Craft Yarn Council’s crochet abbreviation guide is a useful reference for stitch terminology.
Beginning and turning chains do not count as stitches. Joining slip stitches are excluded from counts. Unless a section specifies otherwise, work through both loops.
Crochet Floral Stem Bouquet Pattern: The Main Flower
Make Five Pink Petals
Each petal is worked around both sides of a foundation chain.
With pink, ch 9.
First side: Starting in the second ch from the hook, sc in next ch, hdc in next ch, dc in next 3 ch, hdc in next ch, sc in next ch.
You have worked into seven chains; one chain remains.
Work 3 sc in the last ch. Mark the middle of these three stitches as the petal tip.
Second side: Along the unused side of the foundation chain, sc in next ch, hdc in next ch, dc in next 3 ch, hdc in next ch, sc in final ch.
Join to the first sc. (17 sts)
Fasten off pink.
Add the White Outline
Attach white at the first sc of the petal.
Ch 1. Sc in each stitch around, except at the marked tip, where you work (sc, ch 2, sc).
Join to the first sc. (18 sc and one ch-2 space)
Fasten off, leaving a sewing tail. The end opposite the marked tip is the petal base.
Repeat for all five petals.
Join the Flower
Arrange the petals with their bases meeting in the center and their tips pointing outward. Overlap the bases slightly, keeping the overlap consistent.
Sew through the overlapping bases to connect all five petals. Leave the outer edges free. Check that each petal is attached to its neighbors before securing the tail.
For yellow stamens, make five short yarn loops through the central seam. Secure their ends on the back. Keep the loops short enough to sit within the flower center.
Optional Pink Center Knobs
Make six with pink in continuous rounds. Mark the first stitch of each round.
- Round 1: 6 sc in MR. (6)
- Round 2: Inc in each st. (12)
- Round 3: Sc in each st. (12)
- Add a small amount of stuffing.
- Round 4: Dec 6 times. (6)
Fasten off. Thread the tail through the front loops of the remaining six stitches and draw closed.
Arrange the knobs around the yellow loops before sewing them on. Omit them if you prefer a lighter, more open flower center.
Shape the Calla-Inspired Bloom
This flower uses a flat pink piece wrapped around a narrow yellow center. The lower edges are joined; the upper section remains open.
Pink Flower Wrap
With pink, ch 3.
For Rows 2–15, begin with ch 1 and turn once after completing the preceding row. The turning chain does not count as a stitch.
| Row | Instructions | Count |
|---|---|---|
| 1 | Sc in second ch from hook and next ch | 2 |
| 2 | Inc in both sts | 4 |
| 3 | Inc, sc in next 2 sts, inc | 6 |
| 4 | Inc, sc in next 4 sts, inc | 8 |
| 5 | Inc, sc in next 6 sts, inc | 10 |
| 6 | Inc, sc in next 8 sts, inc | 12 |
| 7–9 | Sc in each st | 12 |
| 10 | Dec, sc in next 8 sts, dec | 10 |
| 11 | Dec, sc in next 6 sts, dec | 8 |
| 12 | Dec, sc in next 4 sts, dec | 6 |
| 13 | Dec, sc in next 2 sts, dec | 4 |
| 14 | Dec twice | 2 |
Row 15: Dec once. (1)
Fasten off, leaving a sewing tail. Row 1 is the lower base; Row 15 forms the upper point.
Yellow Center
With yellow, work in continuous rounds:
- Round 1: 6 sc in MR. (6)
- Rounds 2–6: Sc in each st. (6 per round)
Add a trace of stuffing only if needed.
Round 7: Dec 3 times. (3)
Fasten off and draw the remaining opening closed.
Position the yellow tube vertically against the pink wrap. Its lower end should sit near Row 1. Bring the lower side edges of the pink piece around it, overlapping them slightly.
Sew the overlapping edges together along the lower third only. Catch the lower end of the yellow center in this seam. Leave the upper pink edges free to flare outward.
Make the Tulip-Style Bud
With white, work in continuous rounds:
| Round | Instructions | Count |
|---|---|---|
| 1 | 6 sc in MR | 6 |
| 2 | Inc in each st | 12 |
| 3 | (Sc, inc) 6 times | 18 |
| 4–8 | Sc in each st | 18 |
| 9 | (Sc, dec) 6 times | 12 |
| 10 | Sc in each st | 12 |
Stuff lightly.
Round 11: Dec 6 times. (6)
Fasten off and draw the opening closed. The magic-ring end is the top; the gathered end is the base.
Using pink yarn, embroider five lengthwise lines spaced around the bud. Keep them against the surface without pulling the fabric into deep grooves.
Five Green Sepals
For each sepal, ch 7.
Starting in the second ch from the hook, work:
Sc, hdc, dc, dc, hdc, sc, one stitch in each chain. (6 sts)
Fasten off with a sewing tail.
Sew one end of each sepal around the closed base of the bud, with the strips pointing upward along its sides. Attach only their lower ends so the upper sections remain free.
Two Small Layered Blossoms
White Center and Petals
With white, work 5 sc in MR. Join to the first sc. (5 sts)
Work the petals into front loops only, reserving all five back loops.
In the front loop of the first stitch, work:
Ch 2, 3 dc, ch 2, sl st into the same front loop.
Sl st into the front loop of the next base stitch and repeat the petal instructions.
Continue until all five base stitches have one petal. After the fifth petal, fasten off. (5 white petals)
Pink Back Layer
Attach pink to a reserved back loop behind the white petals.
Foundation arches: Ch 4, sl st into the next reserved back loop. Repeat around five times in total, joining the last arch to the starting back loop. (5 ch-4 spaces)
Sl st into the first ch-4 space.
In each space, work (sc, hdc, 3 dc, hdc, sc).
After completing all five spaces, join to the first sc and fasten off. (5 pink petals, 7 stitches per petal)
Gently separate the layers with your fingers so the white petals sit in front.
Make a second blossom.
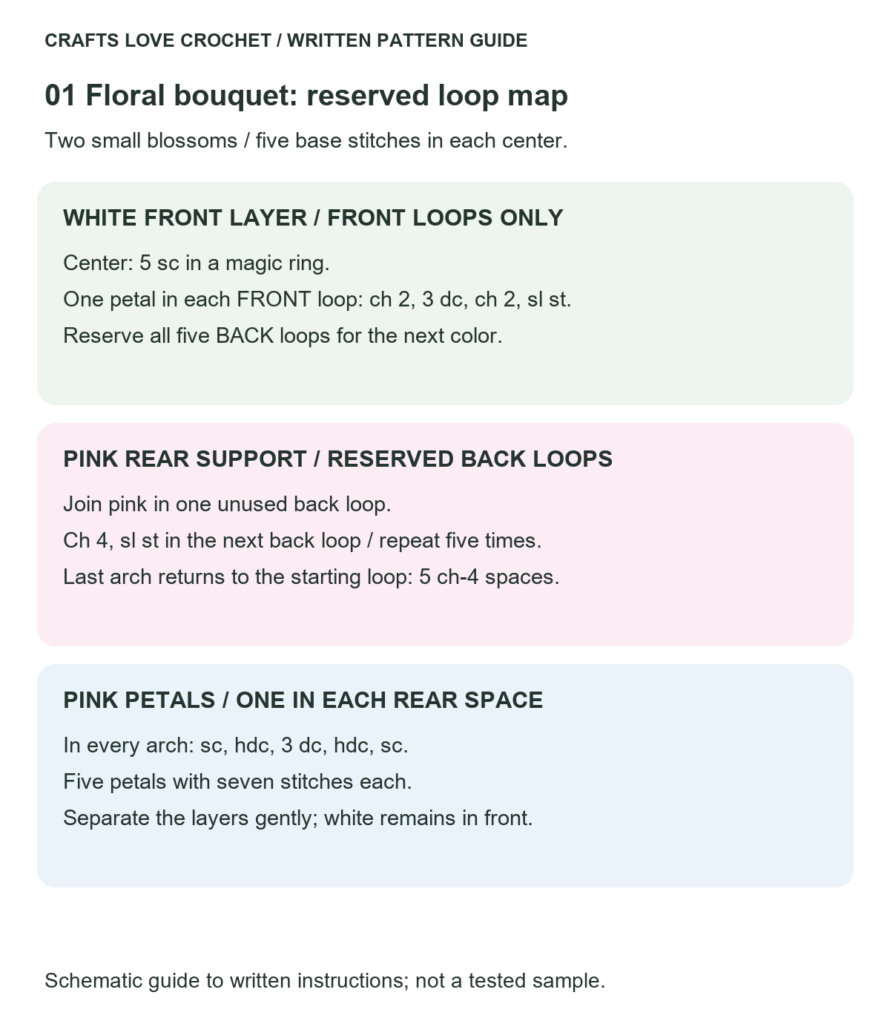
Visual Guide: Front and Back Loops for Layered Blossoms
Use the front loops for the white petals and reserve the back loops for the pink arches. Keep the two layers separate while working.
Open this guide at a larger size.
Green Calyxes for the Open Flowers
Make three.
With green, work 5 sc in MR. Join to the first sc.
For each point:
- Ch 4.
- Sl st in the second ch from the hook and in the next 2 ch.
- Sl st into the next stitch of the five-stitch base.
Repeat five times, ending in the starting base stitch. (5 points)
Fasten off with a long sewing tail. Set these pieces aside until the stems are attached.
Four Long Leaves
With green, ch 20.
First side: Starting in the second ch from the hook, sc in next ch, hdc in next 2 ch, dc in next 12 ch, hdc in next 2 ch, sc in next ch.
Work 3 sc in the last ch. Mark the middle sc as the leaf tip.
Second side: Along the unused side of the chain, sc in next ch, hdc in next 2 ch, dc in next 12 ch, hdc in next 2 ch, sc in final ch.
Join to the first sc. (39 sts)
Border: Ch 1, sc in each stitch around, working (sc, ch 2, sc) instead of one sc at the marked tip.
Join. (40 sc and one ch-2 space)
Fasten off with a sewing tail. The joined end is the leaf base.
If desired, embroider a central vein with small running stitches along the foundation chain. Keep the yarn relaxed so it does not shorten the leaf.
Turn the Pieces into a Bouquet
For this crochet floral stem bouquet pattern, prepare five supported stems: one for each flower head.
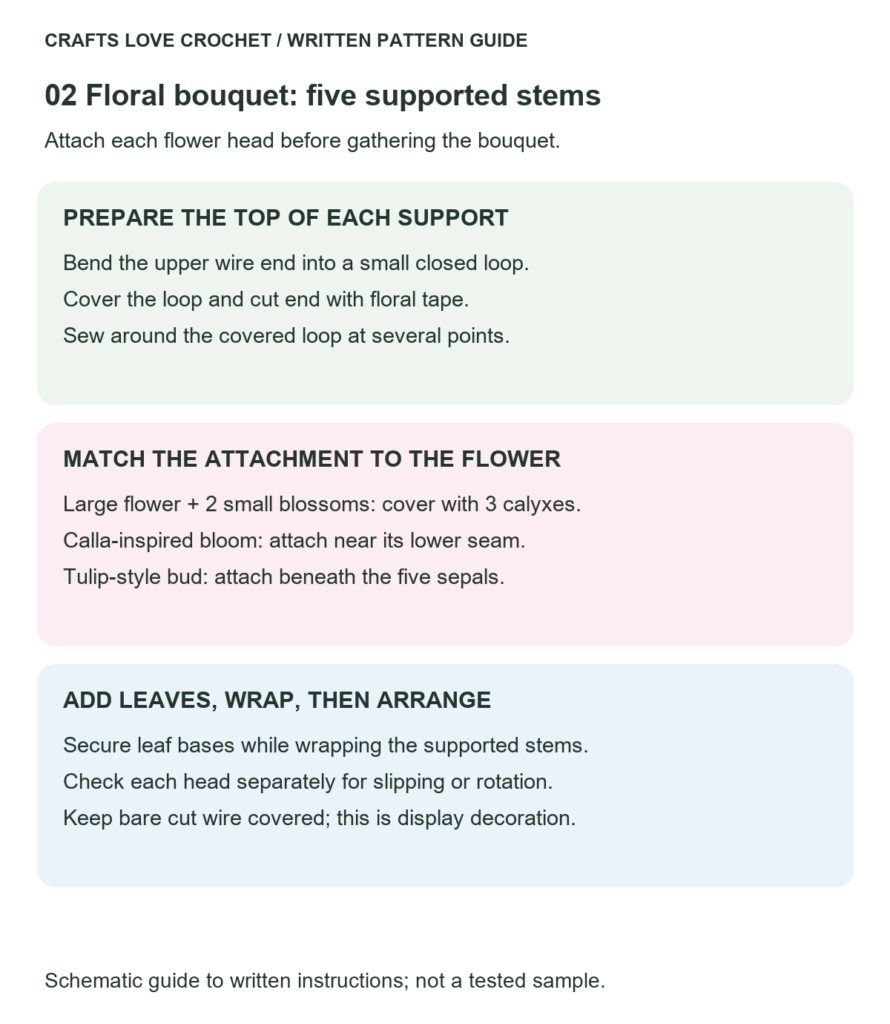
Visual Guide: Flower Head and Stem Attachment
Secure the covered stem to the appropriate flower base at several points. Keep all wire ends covered and attach the leaves while wrapping.
Open this guide at a larger size.
Attach the Flower Heads
- Cut each wire longer than its planned visible height, allowing for the attachment loop and lower wrapping.
- Bend the upper wire end into a small closed loop with pliers. Cover the loop and cut end with floral tape.
- Place the covered loop against the back of an open flower or alongside the lower seam of a bud.
- Sew the crochet fabric securely around the covered loop at several points. Do not push a bare wire end through the yarn.
- On the large flower and two small blossoms, sew a green calyx over the attachment.
For the calla-inspired bloom, place the loop against the lower seam. For the tulip, position it beneath the sepals. Keep the attachments near the bases so the heads can face outward.
Add Leaves and Wrap
Sew each leaf base to the crochet attachment area of a flower or around a taped section of its stem. Anchor a short section of the lower leaf edge as well if the leaf rotates.
Cover the attachment threads with floral tape. Wrap down the stems with overlapping turns, following the tape manufacturer’s directions.
Before gathering the stems, gently check each flower head for slipping or rotation.
Arrange the Heights
Place the tulip bud toward the top, the large flower near the visual center, and the calla-inspired bloom slightly lower and to one side. Use the small blossoms to fill gaps.
Rotate the leaves outward instead of placing all four directly behind the flowers. Gather the lower stems and wrap them together once the arrangement looks balanced from the front and sides.
Fold back or securely cover every lower wire end.
Practical Details That Improve the Finish
Compare the five large petals before sewing. Differences in foundation-chain tension can change their length even when the stitch counts match.
Keep the reserved loops visible. On the small blossoms, work the white layer only in front loops. Using both loops removes the attachment points for the pink layer.
Support a heavy flower close to its base. A long unsupported section of wire beneath a large bloom can allow it to droop. Adjust the support before covering the attachment.
Shape before wiring. If the yarn permits damp blocking, shape the loose petals and leaves first and let them dry completely. Avoid assuming that every yarn or floral tape tolerates steam.
Frequently Asked Questions
Can beginners follow this crochet floral stem bouquet pattern?
The separate pieces are manageable with basic stitch knowledge, but layered petals and secure stem assembly require additional care. Start with a leaf, then a single small blossom before making the full arrangement.
Can I change the flower colors?
Yes. Keep a contrast between the large petals and their border so the individual shapes remain visible. Using the same yarn range throughout helps keep the component sizes consistent.
Do all the flowers need stuffing?
No. Only the tulip bud, optional pink knobs, and possibly the narrow yellow center use stuffing. The petals, flower wrap, blossoms, and leaves remain unstuffed.
Can I make the flowers without wire?
Yes, for sewn decorations or a flat arrangement. They will not stand upright in the same way. For another project intended as a sewn motif, explore the crochet tulip bouquet appliqué pattern.
How should I clean the finished bouquet?
Dust gently with a soft brush. Avoid soaking the assembled arrangement because its wire, tape, and yarn may have different care requirements.
Choose Your Next Flower
The daisy flower crochet appliqué pattern offers a different floral shape for bags, fabric panels, and other sewn decorations.
For this bouquet, try changing just one element first: a cream border, a deeper pink bud, or a different placement of the leaves. Photograph the arrangement before securing the final wrap; a photo can help reveal flowers that are hidden behind neighboring petals.
If you share your finished bouquet, include the yarn and hook you used. Those details make it easier for other crocheters to understand the scale of your arrangement.