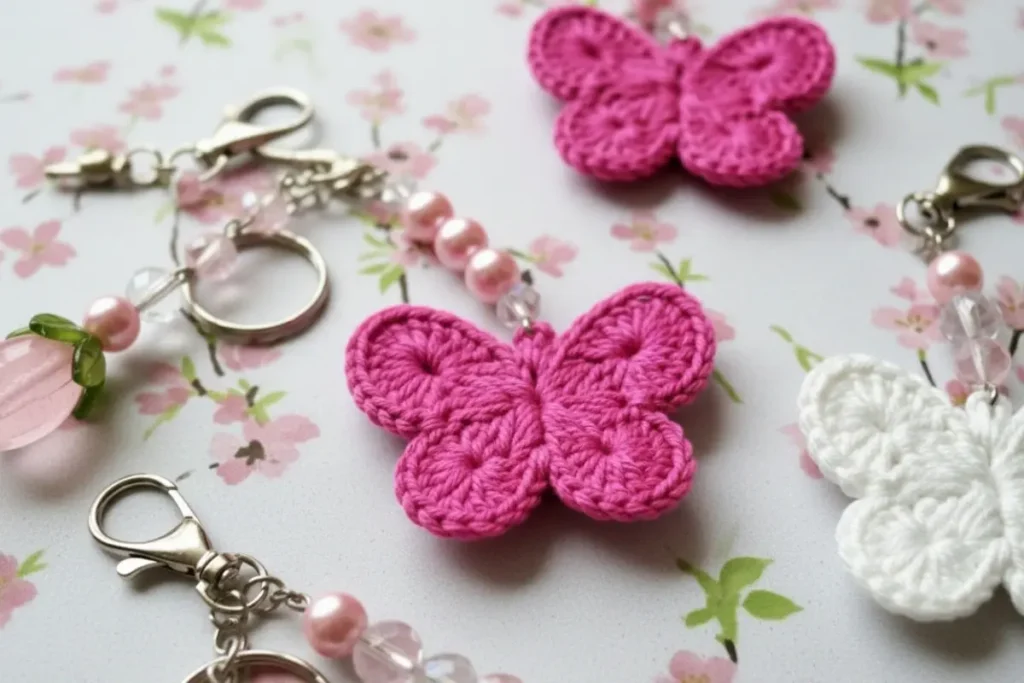
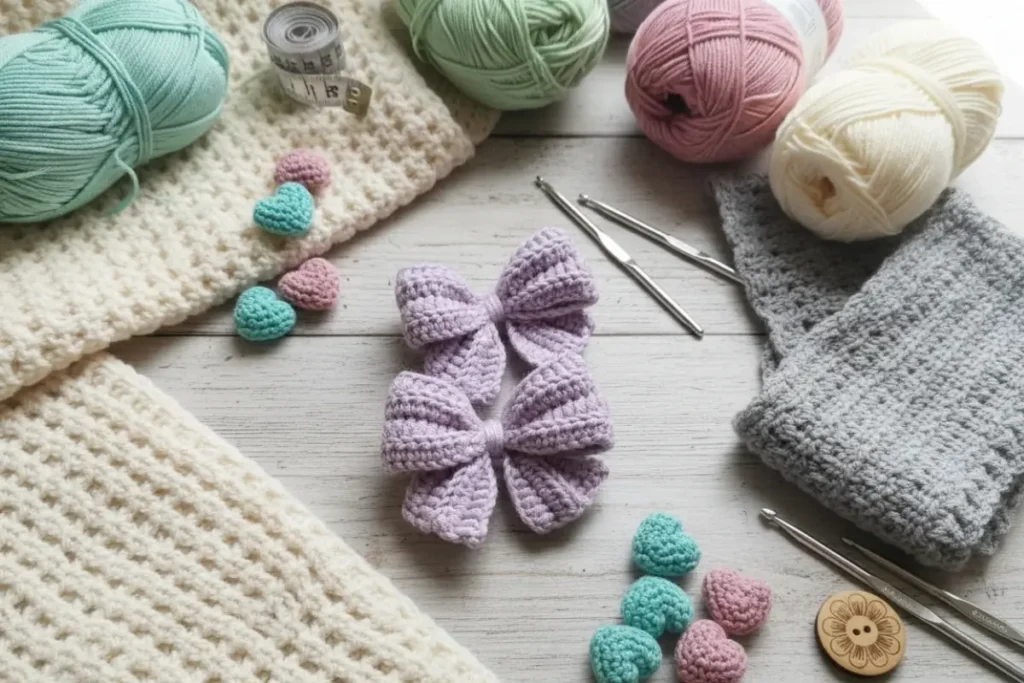
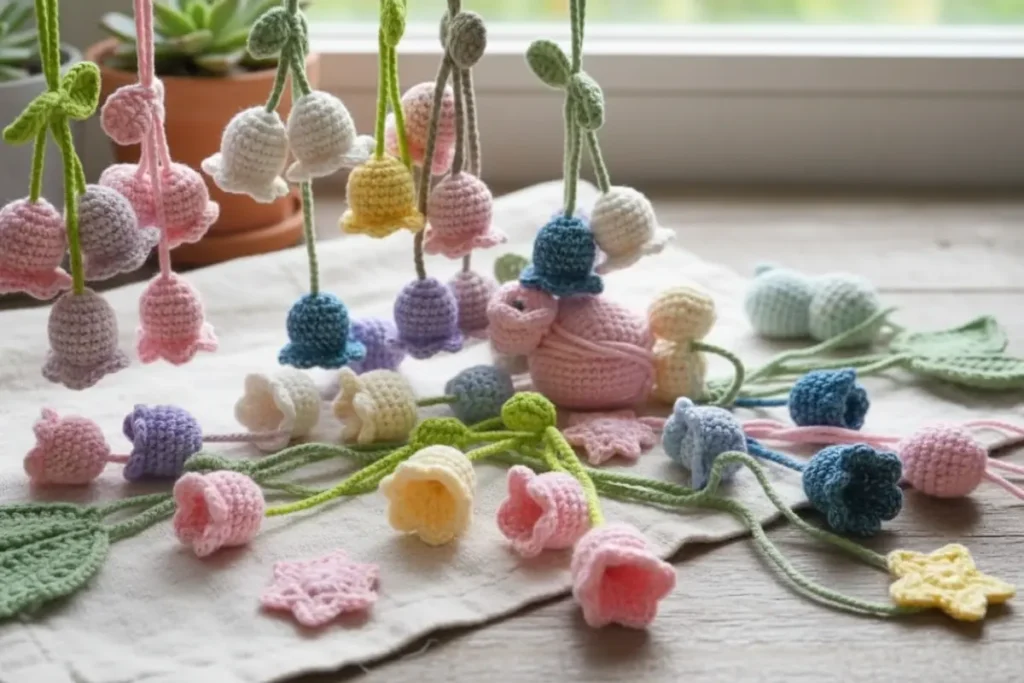
There’s something timeless about crocheted hearts, and this Crochet Frilly Heart Appliqué Pattern is one of those projects I find myself returning to throughout the year—not just for Valentine’s Day. I’ve made several versions using both cotton and acrylic yarn, and every one has found a home on blankets, gift bags, baby items, or handmade cards.
What I love most is how the classic heart shape transforms once the delicate ruffled edging is added. It gives the finished piece extra texture and dimension without making the project difficult to crochet. During testing, I found that keeping an even tension while working around the sides of the heart makes the scalloped border sit beautifully, and the entire appliqué can easily be completed in a relaxing afternoon.
Whether you’re decorating a special gift, embellishing a tote bag, or creating a collection of colorful hearts for a seasonal garland, this pattern is both enjoyable to make and wonderfully versatile.

Skill Level
Easy to Intermediate
The center heart uses basic stitches, while the decorative scalloped border introduces gentle shaping that is comfortable for adventurous beginners.
Finished Size
Approximately:
- 4½ inches (11.5 cm) wide
- 4¼ inches (11 cm) tall
Finished measurements will vary depending on the yarn, hook, and individual crochet tension.
What You’ll Need
Yarn
Worsted Weight Cotton Yarn (#4)
Color A (Heart):
- Dark Pink
Color B (Ruffle):
- Light Pink
Hook
- 4.0 mm (G/6)
Other Supplies
- Yarn needle
- Scissors
- Stitch marker (optional)
Gauge
Gauge is not critical for this project.
Crochet Abbreviations (US)
| Abbreviation | Meaning |
|---|---|
| ch | chain |
| st | stitch |
| sl st | slip stitch |
| sc | single crochet |
| hdc | half double crochet |
| dc | double crochet |
| tr | treble crochet |
| inc | increase |
| rep | repeat |
| RS | right side |
| WS | wrong side |
| sp | space |
| FO | fasten off |
Pattern Notes
Before you begin your Crochet Frilly Heart Appliqué Pattern, keep these helpful notes in mind:
- Ch-2 at the beginning of a round does not count as a stitch unless stated.
- Work with the Right Side facing throughout.
- The heart is worked first.
- The ruffled edging is added afterward.
Taking a moment to read through the pattern before picking up your hook will make the shaping much smoother, especially when transitioning from the heart to the decorative border.
Step-by-Step Pattern
Heart Pattern
Foundation
Make a Magic Ring.
Round 1
Inside the Magic Ring work:
Ch 2
12 dc
Pull ring closed.
Join with a sl st to first dc.
(12 dc)
Round 2
Ch 2.
Work 2 dc in each stitch around.
Join.
(24 dc)
Round 3 – Forming the Heart
Ch 1.
Work:
2 sc
2 hdc
2 dc
(2 dc, ch 2, 2 dc) in next stitch (first top curve)
7 dc
(2 dc, ch 2, 2 dc) in next stitch (second top curve)
2 dc
2 hdc
2 sc
ch 2
sl st into next stitch to begin forming the point
Do not fasten off yet.
Round 4 – Defining the Shape
Continue working around the entire heart.
Work:
sc evenly along the left side
place 3 sc in the bottom point
sc evenly up the opposite side
Around each top curve:
Work:
2 sc
2 hdc
4 dc
2 hdc
2 sc
Slip stitch to join.
Fasten off Color A.
Weave in the tail.
Ruffled Border
Join Color B anywhere along the outside edge of the heart.
Round 1 (Foundation Border)
Ch 1.
Work 1 sc evenly into every stitch around the heart.
Place:
3 sc in the bottom point
3 sc in each top ch-2 space
Join with a slip stitch.
Do not fasten off.
Round 2 (Scallops)
Ch 1.
Skip the first stitch.
Work the following into the next stitch:
(sc, hdc, 3 dc, hdc, sc)
Skip the next stitch.
Slip stitch into following stitch.
Repeat this sequence all the way around:
Skip 1 st
Into next st work:
(sc, hdc, 3 dc, hdc, sc)
Skip 1 st
Sl st into next st.
Continue around the entire heart.
Adjust the spacing near the curves if necessary so the scallops remain even.
Join with a slip stitch.
Fasten off.
Weave in all ends.
Finishing Touches
Lightly block the appliqué if desired.
Shape each scallop with your fingers while damp to achieve the soft ruffled appearance.
Once dry, the heart holds its shape beautifully and is ready to sew onto almost any crochet or fabric project.
My Experience & Practical Tips
After making this design several times, I’ve discovered a few small details that make a noticeable difference in the finished result.
The most important is keeping your stitches along the sides of the heart evenly spaced before starting the scalloped border. If too many stitches are added, the ruffles become wavy. Too few, and the edge may pull inward.
Cotton yarn produces wonderfully crisp scallops that really show off the layered effect, while acrylic creates a softer, fluffier heart that’s perfect for children’s blankets and plush decorations.
If you’re new to decorative edging, don’t rush the scallops. I like to gently rotate the heart after every repeat to make sure everything is laying naturally before continuing around.
Another tip is to weave in the tail from the heart before attaching the second color. It keeps the back much neater and prevents bulk underneath the border.
Finally, if your tension naturally runs tight, consider relaxing your grip slightly while working the edging. The ruffles open up much more evenly and require very little blocking afterward.
Designer Tips
- Use cotton yarn for crisp, well-defined stitches.
- Acrylic yarn creates a softer, puffier heart.
- Steam blocking enhances the scalloped edging beautifully.
- Add a safety pin to the back for a brooch.
- Sew onto blankets, hats, tote bags, pillows, sweaters, or baby clothing.
- Make several in different colors for a festive garland.
Stitch Placement Tips
To achieve a result similar to the sample:
- Keep your stitches relaxed but consistent.
- Work evenly around the sides of the heart when adding the border.
- The scallops should sit naturally without pulling the heart inward.
- If your yarn is thicker or thinner than worsted weight, adjust the number of stitches worked around the edge before beginning the scallops so they remain evenly spaced.
Pattern Summary
- Construction: Worked from the center outward
- Technique: Continuous rounds joined with slip stitches
- Terminology: Standard US Crochet Terms
- Skill Level: Easy–Intermediate
- Finished Shape: Layered heart with decorative scalloped edging
Frequently Asked Questions
Can beginners make this Crochet Frilly Heart Appliqué Pattern?
Yes. The heart itself uses basic stitches, while the decorative border is an excellent introduction to working textured edges.
Can I use acrylic yarn instead of cotton?
Absolutely. Cotton creates sharper stitch definition, while acrylic gives the heart a softer, slightly fuller appearance.
Do I need to block the finished heart?
Blocking is optional but recommended if you’d like especially crisp scallops and smooth shaping.
What can I use this heart appliqué for?
It’s perfect for blankets, tote bags, hats, baby items, greeting cards, gift wrapping, pillows, sweaters, brooches, seasonal garlands, and Valentine’s Day decorations.
Can I make different sizes?
Yes. Changing the yarn weight and hook size will naturally produce larger or smaller hearts while maintaining the same construction.
If you enjoy making playful crochet creations, the Original One-Eyed Alien Amigurumi Crochet Pattern is a fun project that combines simple shaping with adorable character details, making it a great next challenge after this heart appliqué. Looking for something bright and cheerful? The Crochet Apple Slice Appliqué Pattern is perfect for adding a colorful touch to kitchen décor, tote bags, and seasonal projects. And if you’re in the mood for elegant home décor, the Crochet Flower Doily Pattern offers beautiful lace-inspired stitches that pair wonderfully with decorative appliqués and make a lovely addition to any handmade collection.
Conclusion
This Crochet Frilly Heart Appliqué Pattern has quickly become one of my favorite small projects because it’s relaxing to crochet and endlessly useful once finished. After testing it with different yarns and color combinations, I found that the layered design consistently creates a beautiful dimensional effect while remaining approachable for confident beginners.
Whether you’re making a heartfelt gift, decorating handmade accessories, preparing items for a craft fair, or simply adding a personal touch to your next crochet project, this little heart is one you’ll find yourself returning to again and again.
Loved this pattern? Share it with your crochet friends and inspire someone else to create something beautiful by hand!