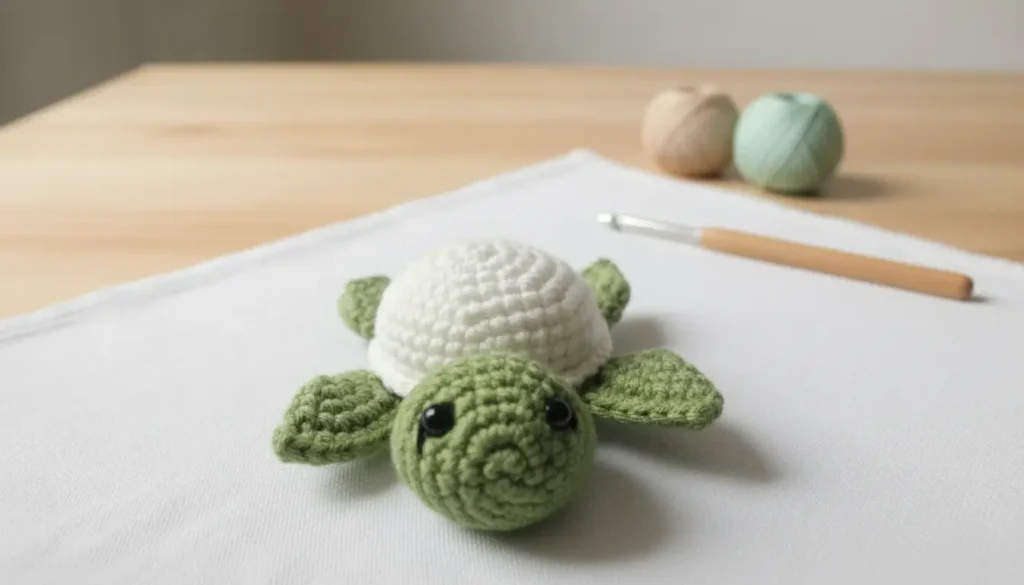
This crochet turtle amigurumi pattern combines a cream shell with a green underside, rounded head, four small legs, and a short tail. The separate components let you adjust the turtle’s pose before completing the assembly.
The shell and underside each finish with 30 stitches. Matching those edges stitch for stitch gives a clear joining sequence, while the shell’s additional rounds create space for the filling.
Most of the crochet uses single crochet, increases, and decreases. The finishing stage deserves just as much attention: head placement, leg angles, and the amount of stuffing all influence how the turtle rests on a surface.
Materials for the Crochet Turtle Amigurumi Pattern
- Worsted-weight cotton yarn in green for the head, underside, legs, and tail.
- Matching-weight cream or off-white yarn for the shell.
- A small amount of black yarn or embroidery thread for the face.
- A 2.5–3.0 mm crochet hook as a starting range.
- Polyester fiberfill.
- A yarn needle.
- Stitch markers.
- Scissors.
Use green and cream yarns of similar thickness. Different yarn weights can change the fit between the shell and underside even when the stitch counts match.
Choose a hook that produces close stitches without making the fabric difficult to work. Finished dimensions and yarn consumption depend on your materials and tension; measure the completed sample.
This version uses embroidered eyes.
Construction and Pattern Notes
The crochet turtle amigurumi pattern is made in separate pieces:
- One head.
- One underside.
- One shell.
- Four legs.
- One tail.
Work in continuous rounds unless instructed otherwise. Do not join rounds or add beginning chains.
Mark the first stitch of every round and move the marker as you work.
Numbers in parentheses show the completed stitch count. For example, “(2 sc, inc) six times” means working one sc into each of the next two stitches, followed by two sc into the next stitch, and repeating the sequence six times.
The legs and tail are closed separately before attachment. Their seams do not replace stitches in the shell-to-underside join.
Abbreviations — US Terms
- MR: magic ring.
- sc: single crochet.
- inc: work 2 sc into one stitch.
- dec: invisible single crochet decrease.
- st / sts: stitch / stitches.
- FO: fasten off.
To work an invisible decrease, insert the hook through the front loops of the next two stitches. Yarn over and pull through both front loops, then yarn over and pull through the remaining two loops.
For additional terminology help, see the Craft Yarn Council’s crochet abbreviation reference, which also compares US and UK terms.
Crochet Turtle Amigurumi Pattern: Head
Use green yarn.
Increase Rounds
- Round 1: Work 6 sc into a MR. (6)
- Round 2: Inc in every stitch. (12)
- Round 3: (1 sc, inc) six times. (18)
- Round 4: (2 sc, inc) six times. (24)
Middle Rounds
- Rounds 5–8: Sc in every stitch. (24 per round)
These are four rounds without increases.
Choose the front of the head and mark two eye positions between Rounds 6 and 7, with approximately six stitch columns between their centers.
You can embroider the eyes while the opening is accessible or after stuffing, when the rounded shape is easier to assess.
Decrease Rounds
- Round 9: (2 sc, dec) six times. (18)
- Round 10: (1 sc, dec) six times. (12)
Add filling gradually. Distribute it around the head without stretching the stitches apart.
- Round 11: Dec six times. (6)
Fasten off with a tail.
Pass the tail through the front loops of the remaining six stitches. Pull gently to close, secure the yarn, and bury the end.
Use a separate length of green yarn for attaching the head later.
Green Underside
Use green yarn.
- Round 1: Work 6 sc into a MR. (6)
- Round 2: Inc in every stitch. (12)
- Round 3: (1 sc, inc) six times. (18)
- Round 4: (2 sc, inc) six times. (24)
- Round 5: (3 sc, inc) six times. (30)
Fasten off and secure the tail.
Do not gather or close the outer edge. All 30 stitches must remain available for joining to the shell.
Lay the piece on a level surface and check the stitch count before continuing.
Cream Shell
Use cream or off-white yarn.
- Round 1: Work 6 sc into a MR. (6)
- Round 2: Inc in every stitch. (12)
- Round 3: (1 sc, inc) six times. (18)
- Round 4: (2 sc, inc) six times. (24)
- Round 5: (3 sc, inc) six times. (30)
- Rounds 6–9: Sc in every stitch. (30 per round)
Fasten off, leaving a long sewing tail.
The four rounds without increases form the shell’s sides. Do not flatten this piece into a disk or gather its opening.
Check that the open edge contains 30 stitches.
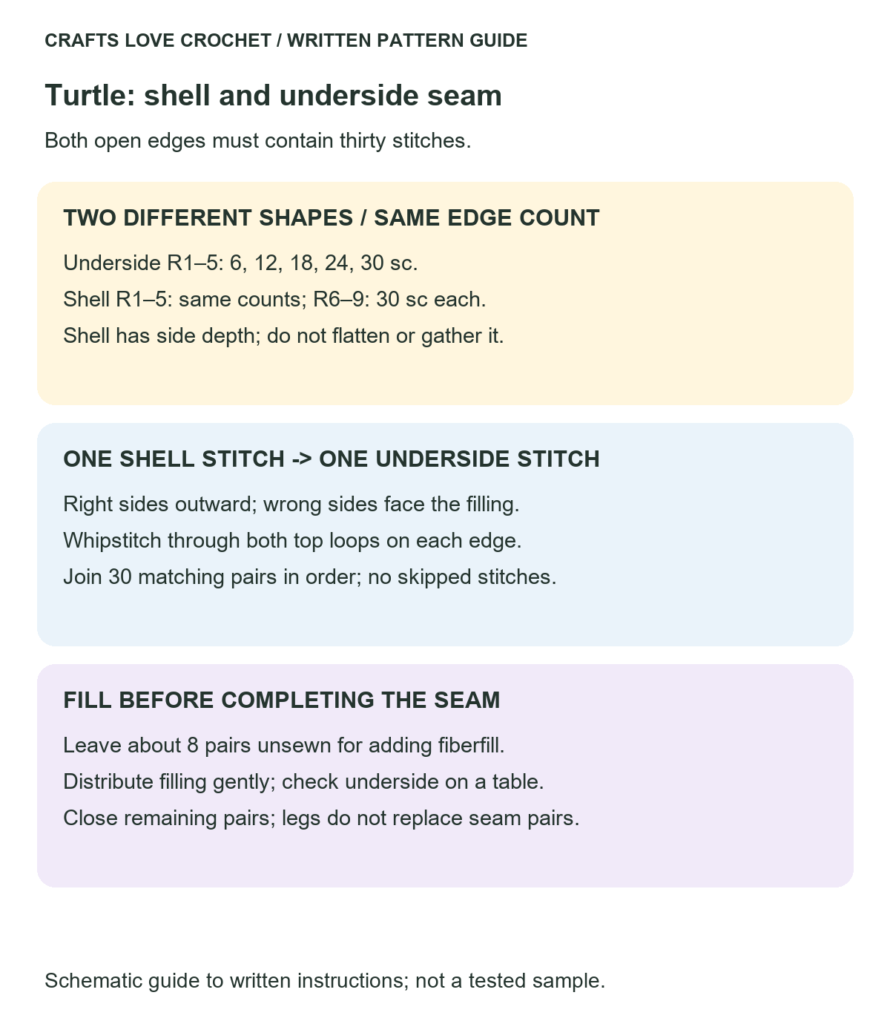
Visual Guide: Thirty-Pair Shell Seam
Compare the two thirty-stitch edges before joining them in order and adding filling through the remaining opening.
Open this guide at a larger size.
Legs — Make Four
Use green yarn.
- Round 1: Work 6 sc into a MR. (6)
- Round 2: (1 sc, inc) three times. (9)
- Rounds 3–4: Sc in every stitch. (9 per round)
Add a small amount of stuffing, keeping the legs soft enough to position.
Fasten off with a sewing tail.
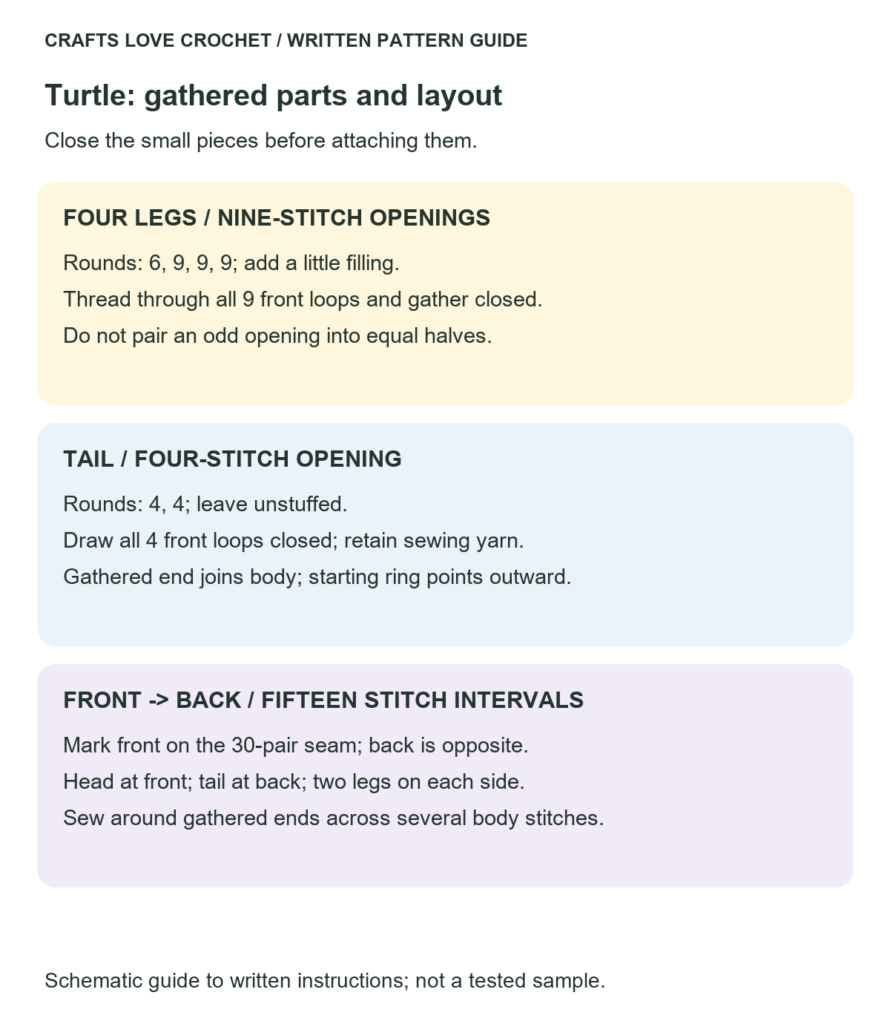
Thread the tail through the front loops of all nine opening stitches. Pull gently to gather the opening closed, then secure the closure.
Do not try to divide the nine stitches into equal opposing pairs. This version uses a gathered closure instead.
Keep the remaining tail for attachment. The gathered end faces toward the body, while the rounded starting end forms the foot.
Tail
Use green yarn.
- Round 1: Work 4 sc into a MR. (4)
- Round 2: Sc in every stitch. (4)
Leave the tail unstuffed.
Fasten off with a sewing tail. Pass it through the front loops of the four opening stitches and draw the opening closed.
Secure the closure and keep the remaining yarn for attachment.
Visual Guide: Gathered Closures and Body Layout
Gather each nine-stitch leg opening rather than pairing it, then arrange the closed parts around the completed body seam.
Open this guide at a larger size.
Assemble the Crochet Turtle Amigurumi Pattern
Check the Shell and Underside
Place the shell over the underside with the right sides facing outward and the wrong sides facing the interior.
Match the 30 shell-edge stitches to the 30 underside-edge stitches.
Use markers at several points to hold the edges together temporarily. Check that the pieces meet without strong stretching or gathering.
Matching counts provide a joining plan, but the physical fit also depends on consistent yarn thickness and tension.
Fill and Join the Body
Using the shell’s sewing tail, whipstitch around the edge.
For each sewing stitch, pass through both top loops of one shell stitch and both top loops of its matching underside stitch.
Continue in order, joining one shell stitch to one underside stitch. Do not skip stitches or join multiple edge stitches together.
Leave approximately eight stitch pairs unsewn.
Add small amounts of filling through the opening, distributing them inside the shell. Keep the underside from becoming a tightly stuffed bulge.
Rest the body on a level surface and adjust the filling before closing.
Complete the remaining stitch pairs, secure the seam, and bury the tail.
Mark the Layout
Choose one point on the body seam as the front.
Mark the opposite point, 15 stitch intervals around the 30-stitch seam, as the back.
With the front pointing away from you, arrange:
- The head at the front center.
- Two legs toward the front sides.
- Two legs toward the rear sides.
- The tail at the back center.
Use temporary stitches or removable markers to assess the layout before making permanent attachments.
Attach the Head
Position the closed end of the head against the front edge of the body. Rotate the head until the face points in the intended direction.
Using green yarn, sew a small area around the closed end to several nearby stitches on the front of the body, spanning the seam area.
Distribute the attachment over multiple stitches rather than sewing only through the central closing point.
Check the head angle before tightening and securing the seam.
Attach the Legs
Position each gathered leg end against the lower side of the body, just beneath the shell seam.
Point the rounded feet outward. Arrange the front pair and back pair symmetrically.
Sew around a small area near each leg’s gathered end, catching several body stitches. Do not depend on the gathering thread alone to hold the leg in place.
Check the turtle on a flat surface before securing all four attachments.
Attach the Tail
Sew the closed end of the tail to the marked back center, just below the shell seam.
Keep the starting-ring end pointing outward.
Secure the yarn and bury the remaining tail inside the body.
Embroider the Face
If the eyes have not already been added, embroider them at the marked positions between Head Rounds 6 and 7.
Use small stitched eyes or short curved lines.
An optional smile can be embroidered below the eyes. Keep the thread tension gentle so the stitches do not create unintended indentations.
Secure and bury all embroidery ends.
Practical Tips
Count Before Sewing
The shell and underside must each have 30 edge stitches. Correct a missing or extra stitch before beginning the joining seam.
Keep the Two Main Yarns Consistent
A thicker shell yarn and thinner underside yarn may produce different circumferences despite identical stitch counts. Compare the actual pieces before filling them.
Add Filling in Small Amounts
Distribute the filling around the shell rather than packing it into one central lump. Check the underside repeatedly as you work.
Close the Legs Before Attaching Them
Gathering the nine-stitch openings gives each leg a defined attachment end and keeps the filling contained during assembly.
Compare the Leg Pairs
Position all four legs before completing their seams. This makes differences in angle and height easier to see.
Finishing and Care
Inspect the shell seam and every attachment for visible gaps.
Shape the head and shell gently with your fingers. If the turtle rocks or leans, assess the leg placement and filling distribution rather than forcing the shell flat.
Follow the care instructions for the yarn and fiberfill. Allow the inside to dry thoroughly after cleaning.
Color changes can be made without changing the stitch counts. Altering shell texture or adding extra rounds changes the construction and requires a fresh fit check.
More Small Crochet Projects
For another animal-themed project, explore the Crochet Goldfish Keychain Pattern. Its fins and tail create a different outline from the turtle’s separate shell and legs.
You can also browse the Crochet Cloud Keychain Pattern for a character design built around a cloud motif and an embroidered expression.
Frequently Asked Questions
Is This Crochet Turtle Amigurumi Pattern Suitable for Beginners?
The stitches are basic, but the project requires several separate pieces and careful sewing. It is useful to be comfortable with continuous rounds, increases, and decreases before starting.
Why Do the Shell and Underside Have the Same Stitch Count?
Their edges are joined one stitch to one stitch. Both finish with 30 stitches, giving 30 matched pairs around the seam.
How Are the Nine-Stitch Legs Closed?
The yarn tail passes through the front loops of all nine stitches and gathers the opening closed. The leg is then sewn to the body using several attachment stitches.
Should the Shell Be Flat?
No. The shell has four rounds without increases after reaching 30 stitches, giving it depth. The underside is the flatter piece, and the amount of filling affects how the finished turtle rests.
Can I Change the Yarn Weight?
Changing yarn and hook size changes the dimensions and fabric. Use compatible yarns for the shell and underside, and check their physical fit before assembly.
Share Your Turtle
Record the yarn, hook, and finished measurements when making this crochet turtle amigurumi pattern. Notes about stuffing and component placement will help if you make another turtle.
Share your color choices and assembly observations in the comments. If a step needs clarification, include the component and round number so the question is easy to follow.