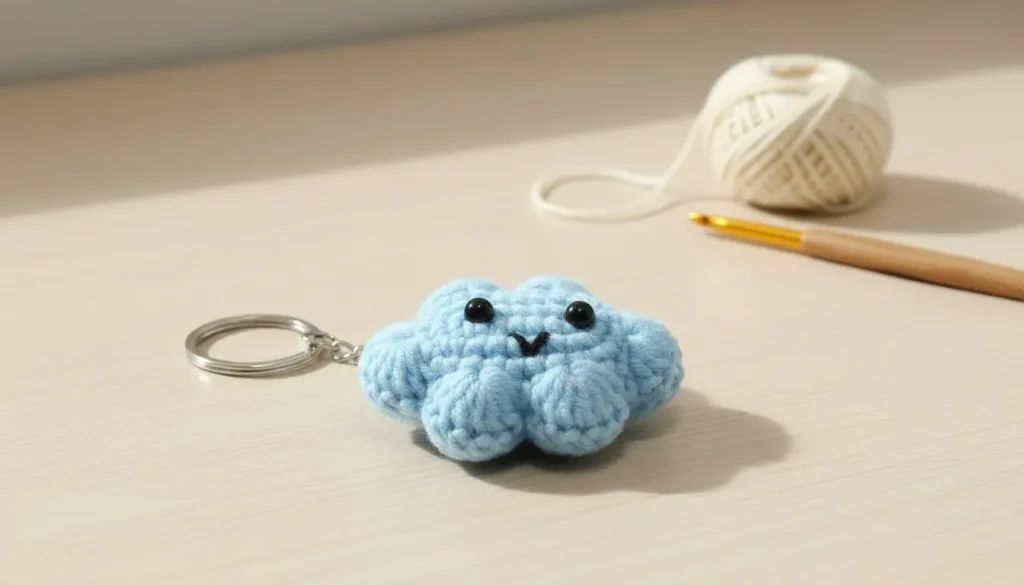
A cloud needs only a few details to become a character: a rounded outline, two little eyes, and a small smile. Pale blue keeps the look soft, while white or cream makes a simple alternative.
This crochet cloud keychain pattern uses two matching panels with three rounded bumps along the top. The middle bump is slightly fuller than the two side bumps. The face is embroidered before the panels are sewn together, leaving the back of the embroidery enclosed inside.
A small amount of filling adds depth without turning the cloud into a ball. The outline comes from the crochet shaping, so there is no need to pack the panels tightly.
Gather Your Materials
- Worsted-weight yarn in pale blue, white, or your preferred cloud color.
- Black embroidery yarn or thread.
- A 2.5–3 mm crochet hook suited to your yarn.
- A small amount of polyester fiberfill.
- Yarn needle.
- Scissors.
- Stitch markers.
- Split keyring, with an optional short chain or clasp.
Use a hook that produces close, workable stitches. If the fabric is stiff or difficult to crochet, reassess the hook and yarn combination rather than forcing a very tight tension.
Skill level: Confident beginner. The project uses short rows, increases, double-crochet shells, embroidery, and a sewn join.
Finished size: Depends on yarn and tension. Complete the panels before choosing hardware that looks proportionate to the cloud.
US Stitch Terms
| Abbreviation | Meaning |
|---|---|
| ch | chain |
| sc | single crochet |
| dc | double crochet |
| sl st | slip stitch |
| inc | 2 sc in the same stitch |
| st / sts | stitch / stitches |
The Craft Yarn Council’s crochet abbreviation guide provides a reference for standard stitch names and US–UK comparisons.
Turning chains do not count as stitches. When instructed to make several double crochets in one stitch, place all of them into that same stitch.
Crochet Cloud Keychain Pattern: Make Two Panels
Both panels use the same instructions. Work the body in rows, then add the three top bumps.
With the cloud color, ch 15.
Row 1: Sc in the second ch from the hook and in each remaining ch. (14 sc)
Ch 1 and turn before each following row.
Row 2: Inc in the first st, sc in next 12 sts, inc in the last st. (16 sc)
Row 3: Inc in the first st, sc in next 14 sts, inc in the last st. (18 sc)
Rows 4–6: Sc in each st across. (18 sc per row)
Do not fasten off.
The foundation chain forms the bottom of the cloud. Row 6 provides the eighteen stitches for its shaped upper edge.
Row 7 — Three Rounded Bumps
Turn without making a turning chain.
Work across the eighteen stitches of Row 6 as follows.
First side bump:
- Sl st in the first st.
- Skip the next st.
- Work 5 dc in the next st.
- Skip the next st.
- Sl st in each of the next 2 sts.
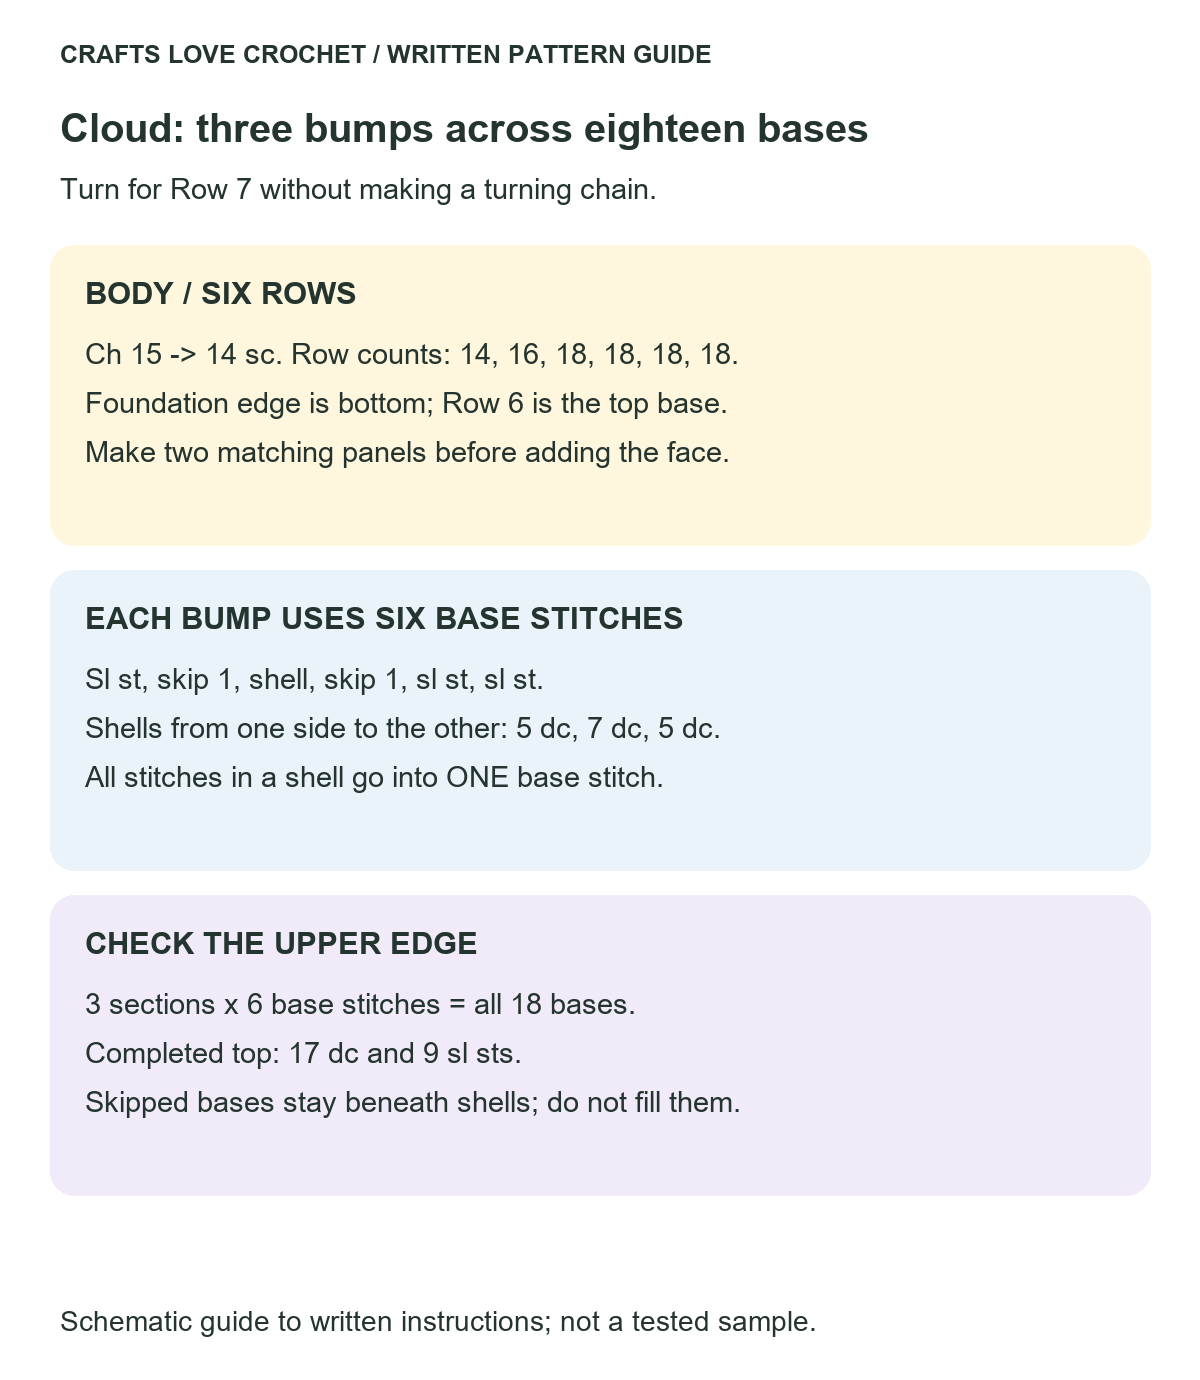
This section uses six base stitches.
Middle bump:
- Sl st in the next st.
- Skip the next st.
- Work 7 dc in the next st.
- Skip the next st.
- Sl st in each of the next 2 sts.
This section uses the next six base stitches.
Second side bump:
- Sl st in the next st.
- Skip the next st.
- Work 5 dc in the next st.
- Skip the next st.
- Sl st in each of the final 2 sts.
Fasten off, leaving a long sewing tail on one panel.
Upper-edge count: 17 dc and 9 sl sts.
The three sections use all eighteen stitches of Row 6. The skipped stitches remain beneath the shells; do not work additional stitches into them.
Make the second panel.
Compare the Panels
Lay the panels together and match their foundation edges, side rows, and top bumps.
They should be similar in size. If one differs noticeably, check the row counts and shell stitches before trying to stretch the pieces to match.
The body-row counts are:
14 — 16 — 18 — 18 — 18 — 18
Visual Guide: Three Cloud Shells
Each cloud shell uses six foundation stitches; compare the three units before joining.
Open this guide at a larger size.
Embroider the Face Before Joining
Choose one panel as the front and orient it with the bumps at the top.
Mark two eye positions around Rows 3–4, leaving approximately four or five stitches between them. Adjust the positions visually so the face sits beneath the middle bump.
Make a few small black stitches for each eye. A short horizontal or gently angled stitch can create a sleepy expression; a small group of vertical stitches gives a more open-eyed look.
Embroider a small smile between and below the eyes using two or three short stitches.
Keep the embroidery relaxed enough that it does not pull the panel inward. Secure the tails on the back, where they will be enclosed.
Avoid long, loose strands between facial features. Weave through nearby stitches when moving from one area to another.
Make the Hanging Loop
With the cloud color, ch 8.
Sc in the second ch from the hook and in each remaining ch. (7 sc)
Fasten off, leaving sewing tails.
Fold the strip into a loop with its short ends together. The folded end will extend above the middle bump, while the short ends will sit inside the cloud.
Do not attach the keyring yet.
Visual Guide: Cloud Seam and Hanging Loop
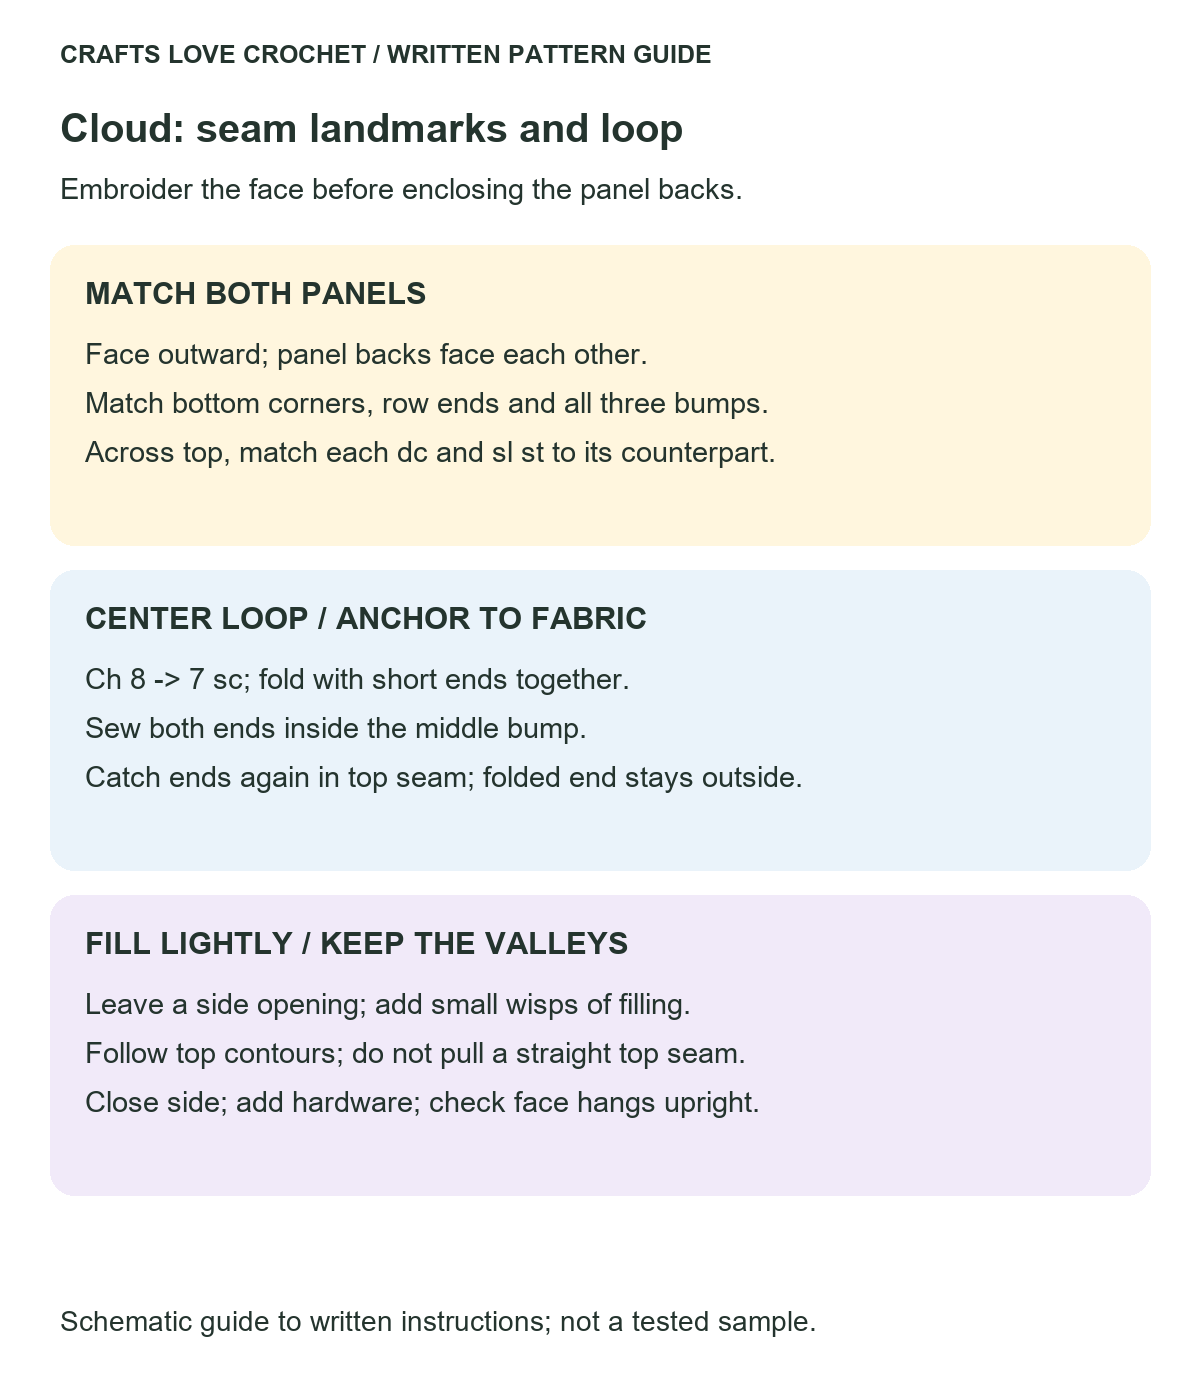
Keep the seam on the contour and secure both loop ends inside the seam.
Open this guide at a larger size.
Join the Panels and Add Filling
Place the panels together with the embroidered face outward and the backs of the pieces facing each other.
Match the bottom corners, side rows, and three bumps. Use removable markers to hold these landmarks together.
Begin at a Lower Corner
Using the long sewing tail, whipstitch the edges together.
Along the bottom, match corresponding foundation-chain loops. Along the sides, match the ends of the same rows.
Across the shaped top, match each double crochet and slip stitch to its counterpart on the other panel. Do not pull the seam tightly across the valleys between bumps; follow their contours.
Secure the Loop Inside the Middle Bump
Before closing the middle bump, place the two short ends of the folded loop inside the cloud.
Leave enough of the folded loop outside for the keyring. Sew each end to the inner fabric with several stitches spread across more than one crochet stitch.
As you close the top seam, catch the loop ends again through both panel edges. The loop should be anchored to the fabric, not merely held by a knot inside the filling.
Stuff Lightly
Continue sewing, leaving a small opening along the remaining side.
Add small wisps of fiberfill. Place a little inside each top bump, then distribute the rest across the center.
Keep the lower portion relatively flat. Too much filling pushes the panels outward and reduces the definition between the bumps.
Finish sewing the opening closed. Secure the yarn and weave in the end.
Attach the Hardware
Thread the split keyring through the crocheted loop. If using a chain or clasp, connect it with suitable hardware and ensure the connector is fully closed.
Hold the cloud by the loop and check that it hangs with the face upright. Gently test for slipping stitches or a loose seam.
Inspect the loop periodically during use, especially where the yarn touches the metal. Replace a worn loop before it breaks.
Finishing Checks That Preserve the Shape
Follow the valleys while sewing. Pulling a straight seam across the top can hide the three-bump outline.
Fill in small amounts. A thin layer is easier to distribute than one compact ball of stuffing.
Keep the smile low enough. Placing the entire face near the top can leave the lower panel looking empty.
Check both sides of the seam. Matching the landmarks helps prevent one panel from shifting around the other.
Keep the attachment centered. A loop pulled toward one side can make the finished cloud tilt.
For this crochet cloud keychain pattern, the panel shape and seam create the silhouette. Extra stuffing should not be used to compensate for a missing shell or an uneven join.
Frequently Asked Questions
Is this crochet cloud keychain pattern worked in the round?
No. The panels are worked in rows, with the three top bumps added across the final body row. The panels are then sewn together.
Why is the middle bump larger?
It contains seven double crochets, while each side bump contains five. This gives the center of the cloud a fuller outline.
Can I use chenille yarn?
Chenille changes the size and makes the slip stitches and seam positions harder to see. If you choose it, use markers at the valleys and check one complete sample before making several.
Can I leave out the filling?
Yes. Sewing the panels together without stuffing creates a flatter decoration. You can also use a single panel as an appliqué, omitting the keyring and attachment loop.
How should I clean the keychain?
Follow the yarn’s care instructions and remove the hardware where possible. Spot cleaning may be sufficient. Let the panels and filling dry completely before reattaching metal parts.
Color Ideas and Companion Projects
White yarn with a black embroidered face creates a simple cloud, while pale blue or lavender gives it a different character. If adding pink cheeks, use small embroidery stitches rather than increasing the bulk with separate pieces.
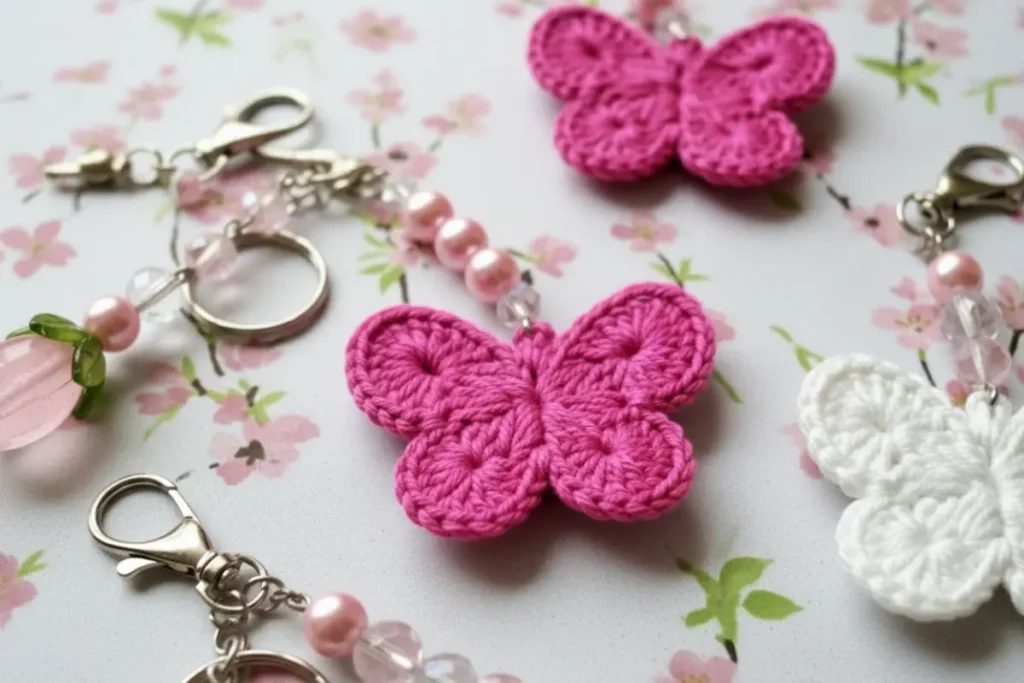
For another small accessory, the crochet goldfish keychain pattern combines a stuffed body with separate fins and a tail.
If you enjoy working with matching flat pieces, explore the crochet butterfly keychain pattern, which uses individual wings assembled around a central body.
Keep a note of your finished cloud’s width and the hook you used. Those details make it easier to choose matching hardware for another version.
Would your cloud have an open-eyed smile or a sleepy expression? Try the embroidery on the flat front panel first, while it is still easy to change.