If you’re looking for a sweet and simple project, this crochet bunny applique pattern is one I keep coming back to. I’ve made it more times than I can count—on baby blankets, little hats, even as last-minute gift toppers—and it never fails to bring a smile.
What I really love about this pattern is how approachable it is. Even if your stitches aren’t perfectly even yet, it still turns out adorable. The first time I made it, I used leftover cotton yarn and a slightly tighter tension, and it gave the bunny a beautifully defined shape that looked almost polished without much effort.
It’s quick, beginner-friendly, and one of those patterns you’ll memorize after making it once or twice.

🧵 What You’ll Need
- Worsted weight yarn (main color – pink, purple, etc.)
- White yarn (for tail)
- Crochet hook: 4.0 mm (G/6)
- Yarn needle
- Scissors
✂️ Abbreviations (US Terms)
- ch = chain
- sc = single crochet
- hdc = half double crochet
- dc = double crochet
- tr = treble crochet
- sl st = slip stitch
- st = stitch
- inc = increase (2 stitches in same stitch)
🐰 Step-by-Step Instructions
🔹 Bunny Body (worked in rows)
Row 1:
Ch 7
Sc in 2nd ch from hook and across (6 sc)
Ch 1, turn
Row 2:
Inc, sc 4, inc (8 sts)
Ch 1, turn
Row 3:
Sc across (8 sts)
Ch 1, turn
Row 4:
Dec, sc 4, dec (6 sts)
Ch 1, turn
Row 5:
Sc across (6 sts)
Do NOT fasten off
🔹 Shape the Head (working around)
Now rotate your work and crochet evenly around the piece:
Sc 1 in each side row (~5 sc)
3 sc in corner
Sc across bottom (6 sc)
3 sc in next corner
Sc evenly up the other side (~5 sc)
Join with sl st
🔹 Bunny Ears
Ear 1:
Ch 6
Sc in 2nd ch from hook, hdc, dc, hdc, sc
Sl st into head
Ear 2:
Repeat same steps
Fasten off and weave in ends
⚪ Tail (Pom Pom)
Make a small pom pom using white yarn
Attach securely to lower center of the body
💡 Tip: You can also substitute with:
Magic ring with 6 sc, sl st to close (for a crocheted tail)
💡 Pattern Notes
This crochet bunny applique pattern is worked flat first, then shaped by crocheting around the edges to form the head. The ears are added directly onto the piece, which keeps everything seamless and neat.
Because it’s a small project, your tension really makes a difference in the final look. A tighter stitch gives a more structured bunny, while a looser tension creates a softer, more relaxed shape.
🧶 My Experience & Practical Tips
After making quite a few of these little bunnies, I’ve picked up a few things that make a real difference:
- Watch your edge stitches: When working around the body, it’s easy to miss the side rows. I like to gently stretch the fabric to clearly see where to insert the hook.
- Don’t overcrowd the corners: The 3 sc in each corner are essential for shaping, but if your tension is tight, try loosening slightly so the head doesn’t curl.
- Pom pom size matters: Too big, and it overwhelms the bunny. I usually trim mine down more than I think I need—it always looks better.
- Yarn choice changes everything: Cotton yarn gives crisp definition, while acrylic creates a softer, fluffier bunny. Both are beautiful, just different vibes.
- Beginner mistake to avoid: Pulling chains too tight on the ears. If the chain is stiff, the ears won’t sit nicely—keep it relaxed.
✨ Finishing Touches
- Weave in all ends neatly
- Block lightly if needed
- Sew onto projects (bags, blankets, baby items, etc.)
💡 Tips & Variations
This crochet bunny applique pattern is incredibly versatile:
- Add a tiny bow or flower for extra charm
- Turn it into a brooch with a pin backing
- Stitch onto baby booties or headbands
- Use pastel colors for Easter or neutrals for year-round projects
❓ FAQ (Schema Style)
Q: Is this crochet bunny applique pattern beginner-friendly?
A: Yes! It uses basic stitches and simple shaping, making it perfect for beginners.
Q: How long does it take to make one bunny?
A: Usually around 20–30 minutes once you’re familiar with the pattern.
Q: Can I use different yarn weights?
A: You can, but the finished size will change. Adjust your hook accordingly.
Q: What can I use instead of a pom pom tail?
A: A small crocheted circle (magic ring with 6 sc) works beautifully.
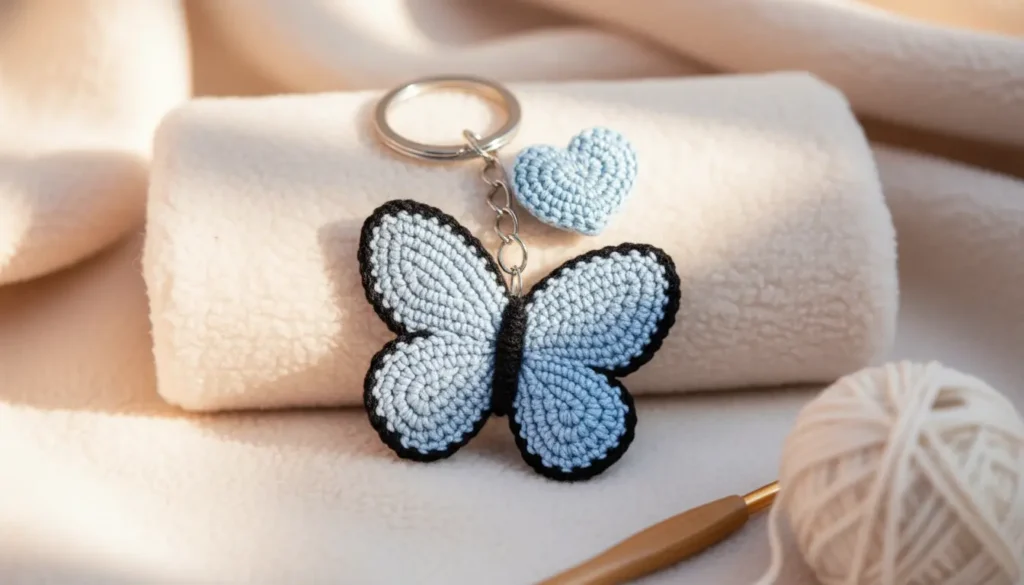
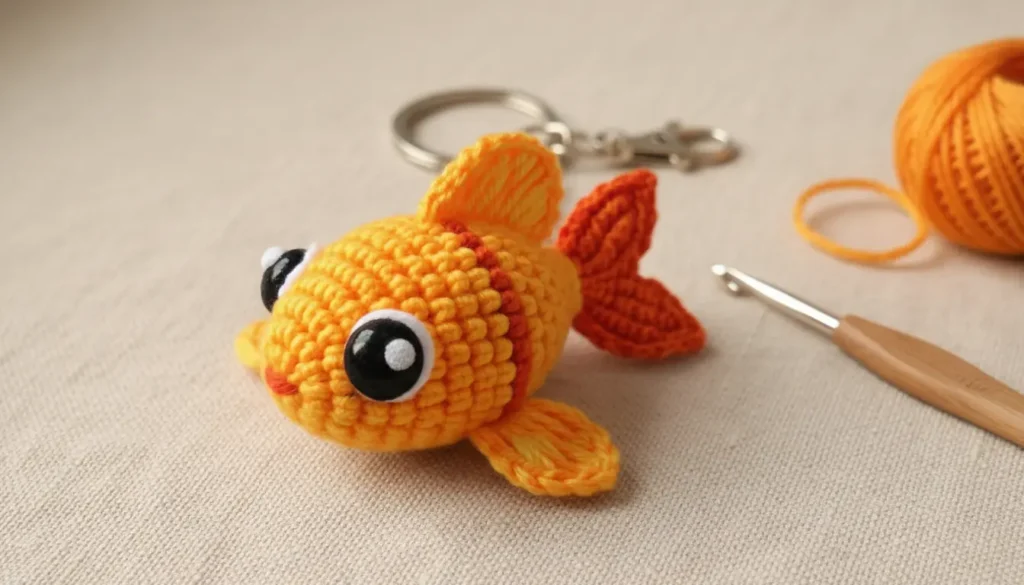
If you’re in the mood to keep your hook moving, there are a few patterns that pair beautifully with this one. The Crochet Turtle Amigurumi Pattern is a lovely follow-up if you enjoy shaping small characters—it uses similar techniques and feels just as rewarding to finish. For quicker projects, the Crochet Goldfish Keychain Pattern is a great choice, especially if you’re making items for gifts or craft fairs. And if you want something delicate and playful, the Crochet Butterfly Keychain Pattern adds a light, decorative touch that works perfectly on bags or as a thoughtful handmade extra.
💛 Conclusion
This crochet bunny applique pattern is one of those little designs that quietly becomes a favorite. It’s simple, reliable, and incredibly useful—I’ve tested it on different yarns, hooks, and projects, and it always holds its charm.
Whether you’re adding it to a baby blanket, creating handmade gifts, or preparing items for a market, this tiny bunny fits right in. And honestly, once you make one, it’s hard to stop.
Loved this pattern? Share it with your crochet friends! 🧶✨