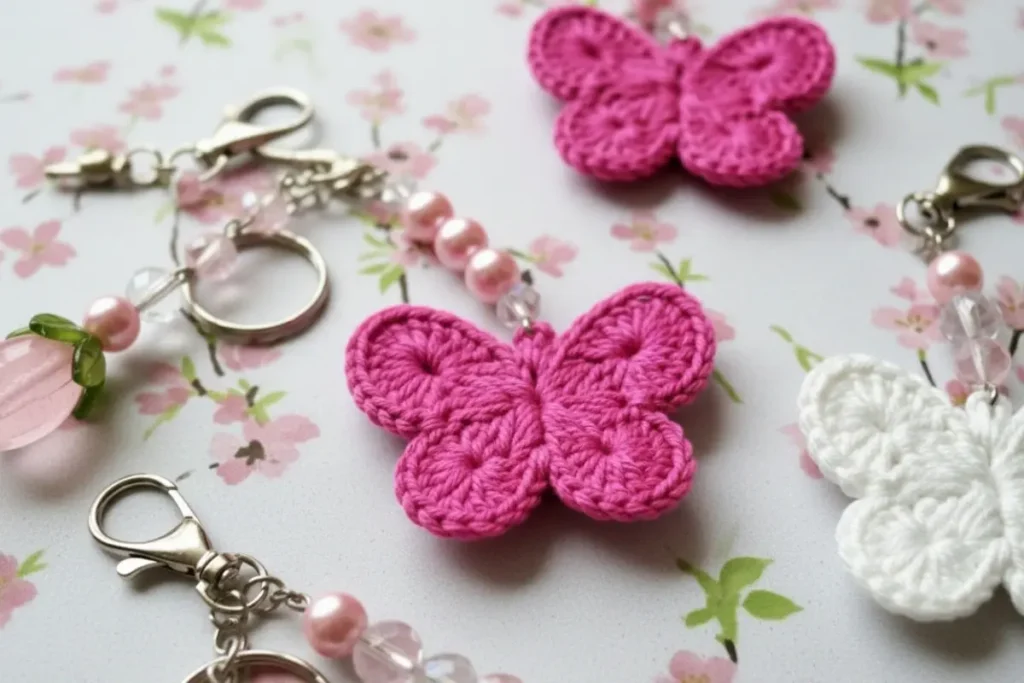
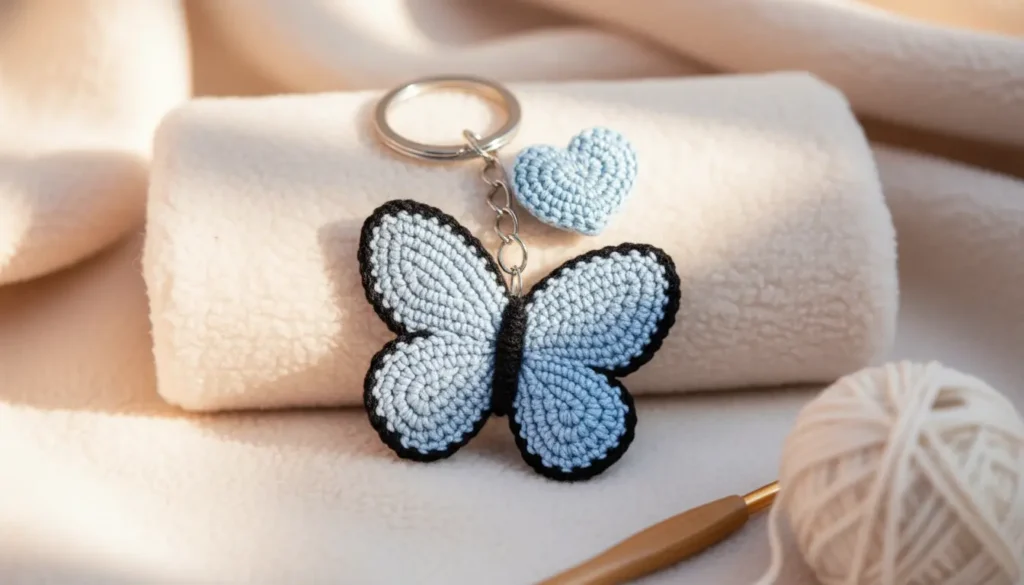
I’ve made this little butterfly more times than I can count – Crochet Butterfly Keychain Pattern — usually when I want something quick, calming, and genuinely satisfying to finish in one sitting. There’s something about watching the wings take shape that never gets old.
What I love most about this pattern is how practical it is. It’s not just decorative — it actually holds up well as a keychain, bag charm, or even a small handmade gift. I’ve attached a few to backpacks and keys, and they’ve stayed surprisingly sturdy with just a bit of reinforcement.
When I first tested it, I played around with different yarns and found that a slightly tighter tension with a 2.5 mm hook keeps the wings neat and well-shaped. It usually takes me about an hour or so to complete one, which makes it perfect for those in-between projects or last-minute gifts.
And honestly… it’s one of those pieces that people notice right away 🦋
🧵 What You’ll Need
Sport or DK weight yarn:
Light blue (main wings)
Black (border + body)
2.5 mm crochet hook
Polyester fiberfill (light stuffing)
Yarn needle
Stitch marker
Keychain ring with chain
Scissors
📌 Pattern Notes
Written in US crochet terminology
Work in continuous rounds unless stated
Use a stitch marker to track your rounds
Wings are made separately, then joined
Light stuffing is optional for structure
✨ Step-by-Step Instructions
🦋 Upper Wings (Make 2)
With light blue yarn:
Rnd 1: 6 sc in MR (6)
Rnd 2: inc in each st around (12)
Rnd 3: (sc, inc) x6 (18)
Rnd 4: (2 sc, inc) x6 (24)
Rnd 5: sc around (24)
Rnd 6: (3 sc, inc) x6 (30)
Fasten off, leave tail.
🦋 Lower Wings (Make 2)
With light blue yarn:
Rnd 1: 6 sc in MR (6)
Rnd 2: inc around (12)
Rnd 3: (sc, inc) x6 (18)
Rnd 4: sc around (18)
Rnd 5: (2 sc, inc) x6 (24)
Fasten off, leave tail.
🖤 Wing Assembly
Sew one upper wing to one lower wing slightly overlapping
Repeat for the second side
Do not stuff heavily — keep it flat but structured
🧵 Body
With black yarn:
Row 1: ch 6
Row 2: starting in 2nd ch, sc across (5)
Row 3–6: sc across (5)
Fasten off, leave long tail
Fold slightly and stitch over the center of wings to secure both sides together.
🪡 Border Detail
Attach black yarn around each wing:
sc evenly around edges
Place 2 sc in corners to shape curves
This gives that beautiful outlined butterfly look 🖤
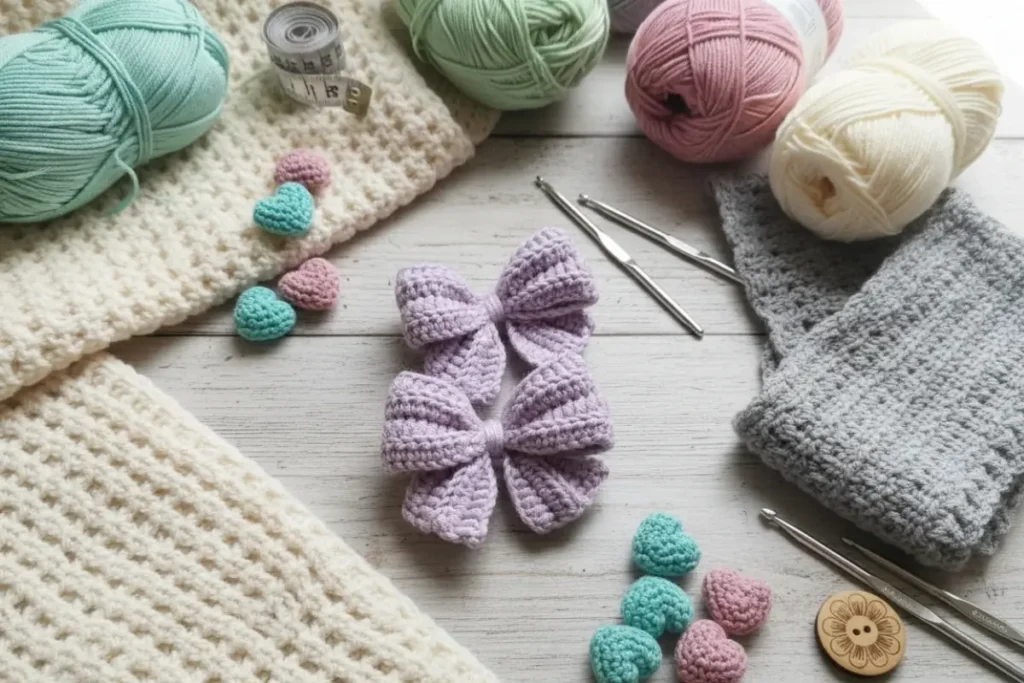
If you’re in the mood to keep creating, these patterns blend beautifully with this style of project. The Crochet Cloud Keychain Pattern is soft, simple, and perfect for quick, relaxing makes. The Sun & Moon Amigurumi Keychain adds a more meaningful touch, especially if you enjoy making symbolic handmade gifts. And if you love adding little details to your work, the Crochet Bow Pattern is a lovely extra—you can use it to decorate your amigurumi or finish pieces with a delicate, personal touch.
✨ Finishing Touches
Shape wings gently with your fingers
Adjust symmetry if needed
Trim all loose ends neatly
💡 My Experience & Practical Tips
After making quite a few of these, a couple of small details really make a difference:
- Keep your tension slightly firm
If your stitches are too loose, the wings can look floppy instead of defined. I usually go down half a hook size if my yarn feels too soft. - Don’t overstuff (or skip it entirely)
The first time I made this, I added too much stuffing and lost that delicate butterfly shape. A tiny pinch is enough — sometimes I don’t use any at all. - Use pins before sewing the wings together
It helps you position them evenly. Without pinning, it’s easy for one side to sit higher than the other. - Reinforce the keychain attachment well
This piece gets handled a lot. I always stitch through the same spot a few times so it doesn’t loosen over time. - Watch your edge stitches during the border round
It’s tempting to rush here, but placing those extra stitches in the corners is what gives the wings their soft curves instead of a stiff outline.
🌸 A Few Ideas to Explore Next
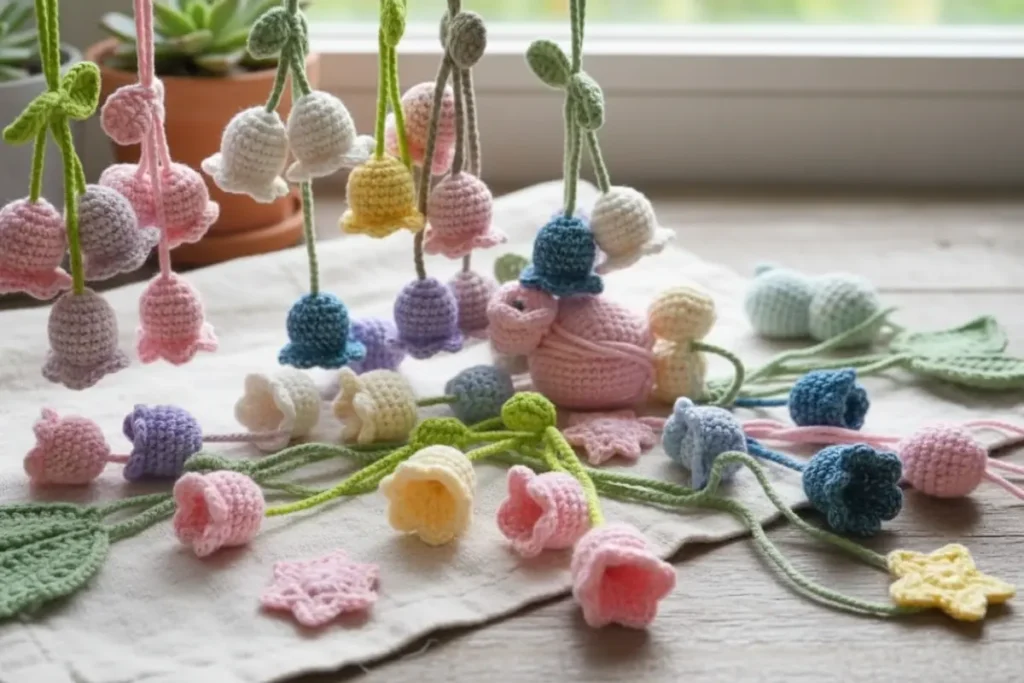
If you enjoyed making this butterfly, you might love trying a small floral piece like the Crochet Tulip Bouquet Pattern – Easy & Realistic Amigurumi Flowers — it has that same delicate, giftable feel but with a bit more dimension.
Or, if you’re in the mood for something equally quick but functional, the Daisy & Sunflower Bookmark Crochet Pattern is a lovely way to turn simple stitches into something useful.
❓ FAQ (Schema Style)
Q: Is this crochet butterfly keychain pattern beginner-friendly?
A: Yes! If you know basic stitches like sc and increases, you’ll be just fine.
Q: Can I use thicker yarn?
A: Absolutely — just adjust your hook size. The butterfly will come out larger.
Q: Does it need stuffing?
A: Only lightly, or not at all. It looks best slightly flat.
Q: How long does it take to make?
A: Around 1–2 hours depending on your pace.
💛 Final Thoughts
This is one of those patterns I come back to when I want something reliable and satisfying. It’s been tested, tweaked, and made in different yarns — and it consistently turns out charming.
It works beautifully as a small handmade gift, something to sell at craft fairs, or just a personal piece to brighten your everyday items. And the best part? Each one ends up with its own little personality depending on your tension and finishing.
If you make one, you’ll see what I mean — it’s a simple project, but it leaves a lasting impression 🦋