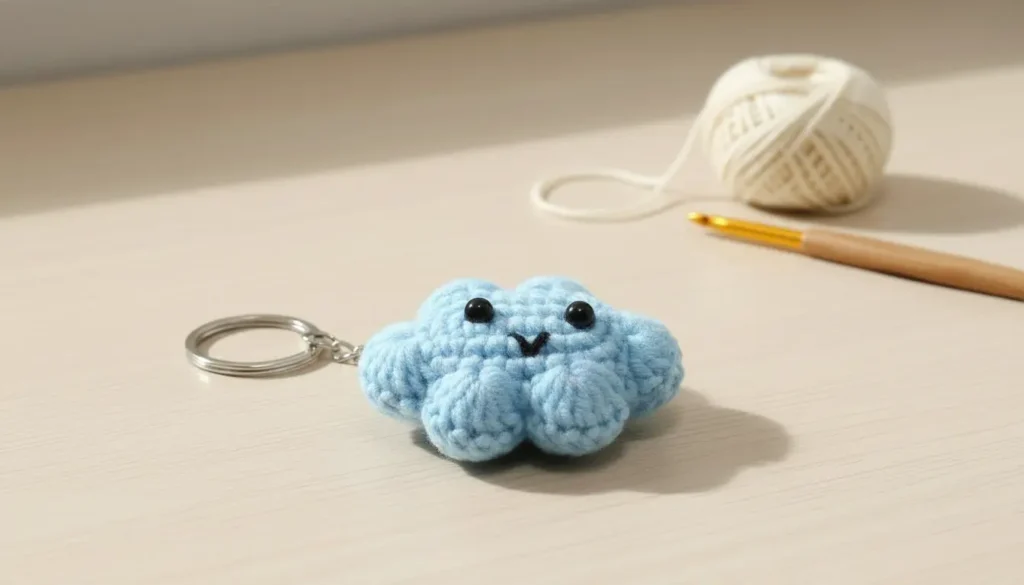
I’ve made this little cloud more times than I can count—and every single one turns out with its own personality. That’s part of the charm. Some come out extra puffy, others a bit flatter, but all of them have that soft, cozy feel that makes people smile instantly.
This Crochet Cloud Keychain Pattern is one of those projects I keep going back to when I want something quick, relaxing, and giftable. It’s small enough to finish in an evening, and it’s perfect for using up leftover yarn. I’ve tested it with different hook sizes, and honestly, going slightly smaller (around 2.5 mm) really helps keep the stitches tight and the stuffing from showing through.
If you’re looking for a beginner-friendly project that still feels special and handmade, this one truly delivers.
✨ Skill Level
Beginner to Intermediate
🧶 What You’ll Need
- Worsted weight yarn (light blue)
- Small amount of black yarn (for embroidery)
- Crochet hook: 2.5 mm – 3.0 mm
- Safety eyes: 6–8 mm
- Fiberfill stuffing
- Yarn needle
- Stitch marker
- Keychain ring with chain
📏 Finished Size
Approx. 6–8 cm (2.5–3 inches), depending on yarn and tension
🧵 Abbreviations (US Terms)
- MR – Magic Ring
- sc – single crochet
- inc – increase (2 sc in same stitch)
- dec – invisible decrease
- sl st – slip stitch
- ch – chain
- st(s) – stitch(es)
- FO – fasten off
🧠 Pattern Notes
- Work in continuous rounds (no joining unless stated)
- Use a stitch marker to track rounds
- The cloud is made in two identical panels, then joined
- Puff texture comes from strategic increases
☁️ Cloud Body (Make 2)
Round 1
MR, 6 sc
(6)
Round 2
inc in each st around
(12)
Round 3
(sc, inc) ×6
(18)
Round 4
(sc 2, inc) ×6
(24)
Round 5
(sc 3, inc) ×6
(30)
☁️ Creating the Cloud “Puffs”
Round 6
(sc 4, inc) ×6
(36)
Round 7
(sc in each st around)
(36)
Round 8
(sc 4, dec) ×6
(30)
Round 9
(sc 3, dec) ×6
(24)
Round 10
(sc 2, dec) ×6
(18)
FO first panel.
Repeat for second panel (do NOT fasten off the second one).
👀 Face Placement
On one panel:
- Insert safety eyes between Rounds 6–7
- Space them about 5–6 stitches apart
- Embroider a small “V” or smile using black yarn just below the eyes
🧸 Assembly
- Place both panels together (wrong sides facing in)
- Join with sc evenly around
While joining:
- Stuff firmly but gently to keep the cloud shape soft and round
Final Steps:
- Close completely with sc
- FO and weave in ends
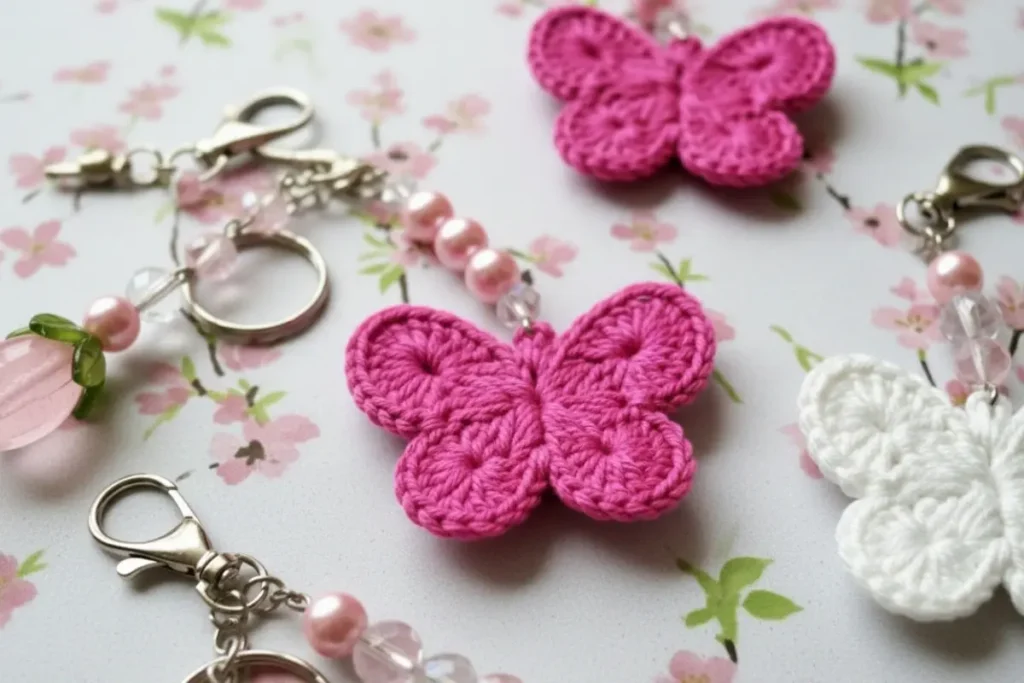
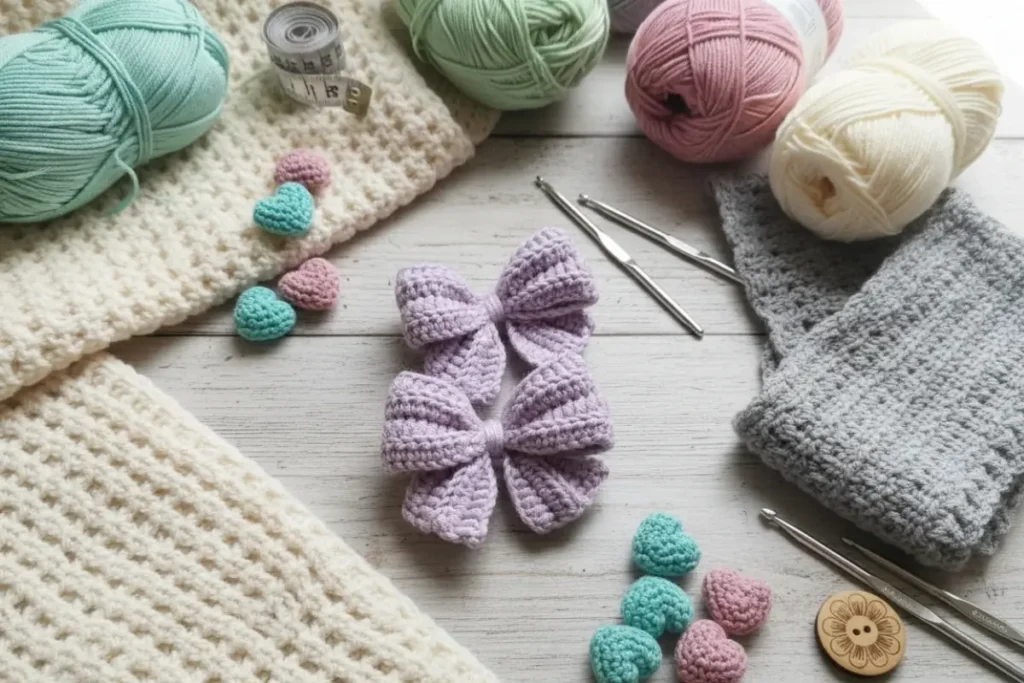
If you’re feeling inspired to keep creating, there are a few lovely patterns that pair beautifully with this style. The Crochet Flower Pattern is perfect for adding soft, decorative touches to your projects or even creating small embellishments for gifts. The Sun & Moon Amigurumi Keychain brings a more symbolic and meaningful feel, especially if you enjoy crafting pieces with a story behind them. And for those finishing details that make everything feel complete, the Crochet Bow Pattern is always a favorite—it’s simple, versatile, and adds that charming handmade touch.
💡 Finishing Touches
- Gently shape the cloud bumps with your fingers
- Adjust stuffing to enhance puffiness
- Optional: lightly brush yarn for a fluffy look
🧵 My Experience & Practical Tips
After making quite a few versions of this Crochet Cloud Keychain Pattern, I’ve picked up a few small tricks that really make a difference:
- Tighter stitches = cleaner look
If your stitches are too loose, the stuffing will peek through and the cloud loses that soft, plush feel. I almost always size down my hook for this reason. - Don’t overstuff too early
It’s tempting to fill it quickly, but wait until you’re halfway through joining. This helps you shape the cloud more evenly. - Watch your decreases
Invisible decreases make a big difference here. Regular decreases can leave small gaps that are noticeable on light yarn. - Face placement changes everything
Even moving the eyes just one stitch can completely change the expression. I like placing them slightly closer for a cuter look. - Keep the edges aligned while joining
If the panels shift, the cloud shape can look uneven. I sometimes use stitch markers to hold both pieces in place while working.
🎨 Tips & Variations
- Try pastel shades like lavender, pink, or cream
- Use chenille yarn for an extra plush, velvety finish
- Add blush with a bit of pink embroidery or fabric marker
- Turn it into a hanging ornament instead of a keychain
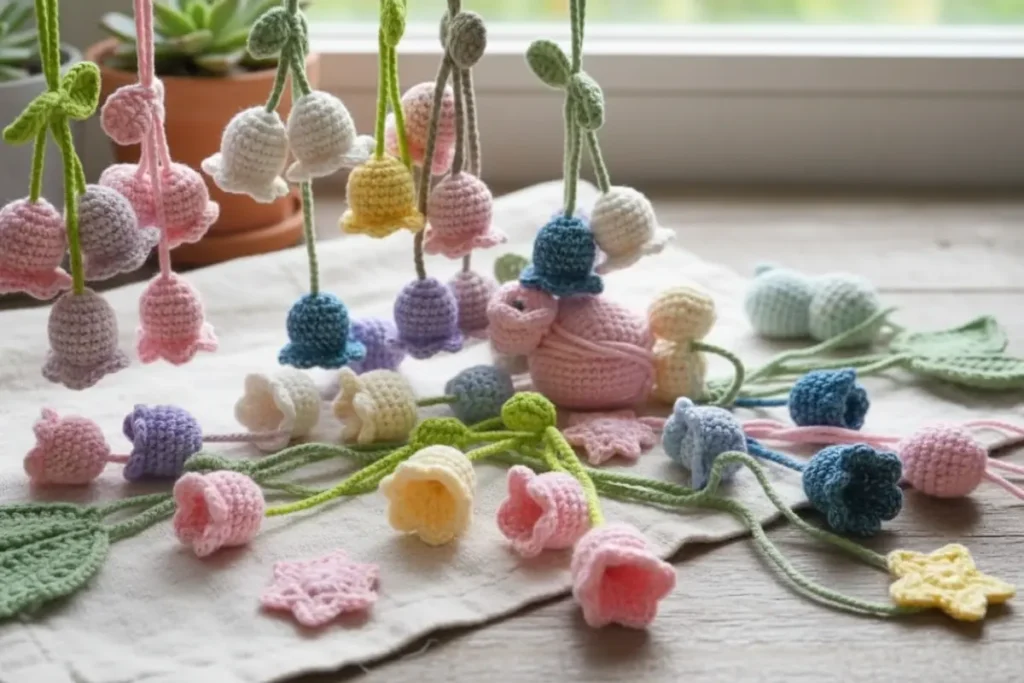
If you enjoy small decorative projects like this, you might also love floral designs—especially ones that let you play with color and texture in a similar relaxing way.
❓ FAQ (Schema Style)
Q: Is this Crochet Cloud Keychain Pattern beginner-friendly?
A: Yes! If you’re comfortable with basic stitches like single crochet and working in the round, you’ll be just fine.
Q: Why does my cloud look flat instead of puffy?
A: This usually comes down to stuffing or tension. Try adding a bit more filling and using a smaller hook.
Q: Can I use different yarn types?
A: Absolutely. Cotton gives a cleaner look, while chenille makes it extra soft and plush.
Q: How long does it take to make one?
A: On average, about 1–2 hours depending on your speed.
❤️ Final Thoughts
This Crochet Cloud Keychain Pattern is one of those projects that feels simple but never boring. I’ve tested it with different yarns, hooks, and stuffing levels, and it consistently turns out adorable and gift-worthy.
It’s perfect for craft fairs, small handmade gifts, or just adding a bit of softness to your everyday items. And honestly, once you make one… it’s hard to stop.
If you enjoyed making this little cloud, share it with your crochet friends—these tiny projects have a way of spreading a lot of joy.