I’ve made this blue textured heart appliqué crochet pattern more times than I can count—honestly, it’s one of those designs I keep coming back to whenever I want something quick but meaningful. The layered shades of blue give it such a soft, dimensional look, and it works beautifully for everything from cozy blankets to thoughtful handmade gifts.
What I love most is how versatile it is. I’ve used it as a last-minute gift topper, stitched it onto cardigans, and even turned a few into keychains. The shaping is incredibly satisfying too—watching the two lobes come together into that perfect heart never gets old.
When I first tested this pattern, I noticed how much the final size can shift depending on tension. A slightly tighter stitch gave me a firmer, more defined heart, while a looser tension made it softer and more delicate. It’s a small detail, but it really changes the feel of the finished piece.

🧶 What You’ll Need
- DK or light worsted weight yarn in 3 shades of blue + white
- 4.0 mm (G) hook (or size needed to match tension)
- Yarn needle
- Scissors
- Stitch marker
📏 Pattern Notes
- This blue textured heart appliqué crochet pattern is worked in joined rounds.
- The heart is formed by creating two identical lobes, then joining and shaping them into a pointed bottom.
- Color changes are what give the piece its layered, textured look.
Suggested Color Placement:
- Round 1: white
- Round 2: light blue
- Round 3: medium blue
- Round 4: dark blue
- Round 5: light blue border
🧵 Step-by-Step Instructions
Make 2 Lobes
Lobe 1 and Lobe 2
Round 1: With first color, make an MR. Ch 1, work 6 sc into the ring. Join with sl st to first sc.
(6 sts)
Round 2: Ch 1, inc in each st around. Join with sl st to first sc.
(12 sts)
Round 3: Ch 1, sc in next st, inc in next st around. Join with sl st to first sc.
(18 sts)
Fasten off the first lobe. Leave a long tail on the second lobe for joining.
Join the Lobes
Lay both lobes side by side with the right side facing up. Slightly overlap the inner top edges so they form the two rounded top curves of the heart.
Using the working yarn from the second lobe, sl st through both lobes across the overlapped inner edge for 4 stitches. This creates the heart cleft.
Shape the Heart Body
From the last sl st, continue around the outer edge of both lobes.
Work 1 sc in each exposed stitch around the outside edge of the first lobe, then around the outside edge of the second lobe.
When you reach the very bottom center where the heart point will be formed, work sc3tog across the last stitch of the first lobe, the bottom center joining point, and the first stitch of the second lobe.
Continue sc around the remaining outer edge until you return to the starting point. Join with sl st to the first sc.
Border Round
Round 4: Ch 1, sc evenly around the entire heart.
- At the top cleft, work 3 sc into the joined inner space.
- At the bottom point, work 3 sc into the point to sharpen the shape.
- At each outer curve of the lobes, keep the stitches even and flat.
Join with sl st to first sc.
Optional Texture Round
To enhance the layered look of this blue textured heart appliqué crochet pattern, add one more round:
Round 5: Ch 1, sc in each st around, placing:
- 1 extra sc at the top cleft if needed for smooth shaping
- 1 extra sc at the point if needed for a sharper finish
Join with sl st and fasten off.
✨ Finishing Touches
- Weave in all ends neatly
- Lightly block for a cleaner, more defined shape
- Add embellishments like beads for extra charm
This heart looks stunning stitched onto bags, cushions, blankets, or even clothing. It’s a simple way to elevate a handmade piece.
💡 My Experience & Practical Tips
After making this pattern many times, a few small details really made a difference:
- Watch your tension when joining the lobes. If it’s too tight, the heart cleft can pull inward too much. Keeping it slightly relaxed gives a more natural curve.
- Stuffing isn’t needed—but structure matters. Even though it’s flat, using slightly firmer stitches helps the heart hold its shape better over time.
- The bottom point is key. That sc3tog can feel a bit tight—take your time with it. If rushed, the heart can look uneven.
- Choose yarn wisely. Softer yarns give a cozy, romantic feel, while cotton yarn creates a sharper, more defined appliqué.
- Beginners often overwork the border. Keep your stitches even—adding too many can cause the edges to ripple.
🎨 Tips & Variations
- Try pastel shades for a softer, romantic version
- Use bold contrasting colors for a modern look
- Add embroidery details to personalize your heart
- Turn it into a garland by making multiple hearts
❓ FAQ (Schema Style)
Q: Is this pattern beginner-friendly?
A: It’s best suited for confident beginners or intermediate crocheters due to shaping and joining.
Q: Can I use different yarn weights?
A: Yes, but the final size will vary depending on your yarn and hook.
Q: How long does it take to make one heart?
A: Usually around 30–45 minutes once you’re familiar with the pattern.
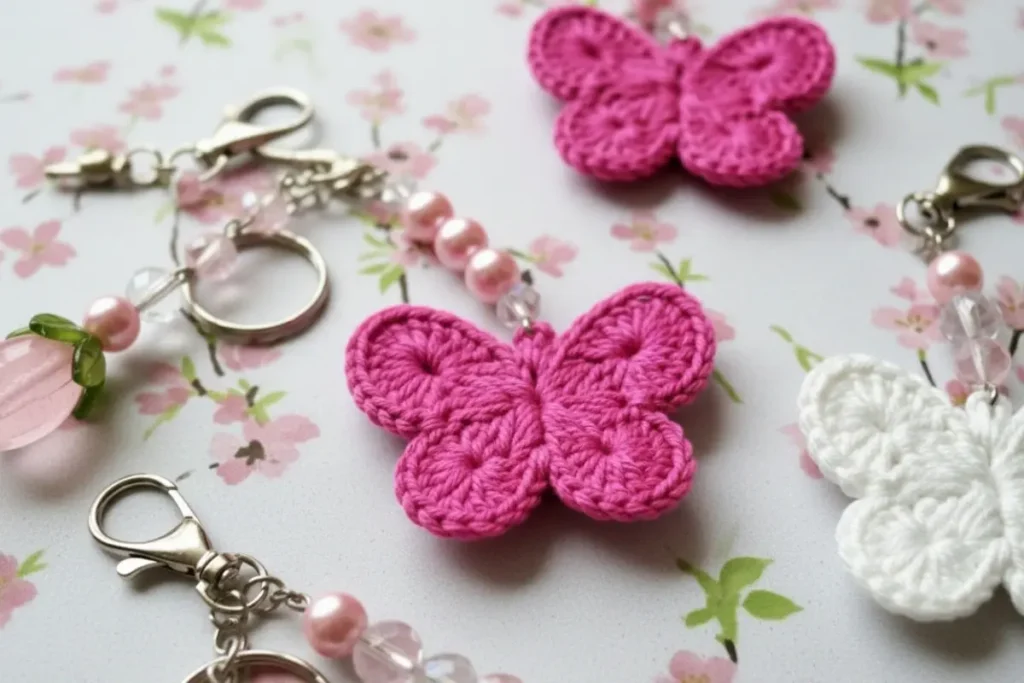
Q: Can I turn this into a keychain?
A: Absolutely! Just attach a small ring at the top.
🔗 Internal Link Suggestions
If you enjoyed this blue textured heart appliqué crochet pattern, you might also love exploring other small crochet motifs or beginner-friendly appliqué projects. They’re perfect for building confidence and creating quick, satisfying pieces you can actually use.
This is one of those patterns that truly holds up over time—I’ve tested it with different yarns, tensions, and color combinations, and it always delivers something beautiful. Whether you’re making a heartfelt gift, adding a personal touch to a project, or preparing items for a craft fair, this little heart has so much potential.
There’s something special about creating something so simple yet meaningful with your own hands—and this pattern captures that feeling perfectly.
Loved this pattern? Share it with your crochet friends!