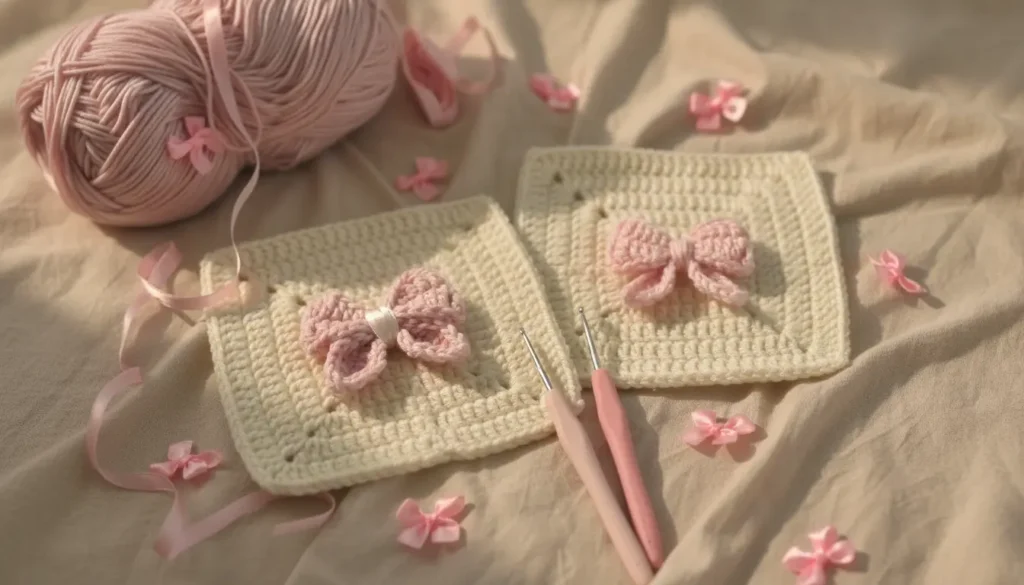
A cream background gives a dusty pink bow room to stand out. The raised border adds a frame, while the four separate bow pieces create dimension without stuffing.
This soft bow square applique crochet pattern begins with rows of half double crochet. The number of rows is determined by the fabric’s measurements, so the background can be shaped into a square before the border is added.
The bow is made separately and sewn on last. That lets you finish the background, arrange the pieces, and adjust their angles before securing the center.
Materials and Finished Size
You will need:
- Worsted-weight yarn in cream for the background.
- Worsted-weight yarn in dusty pink for the bow.
- A 4 mm or 4.5 mm crochet hook suited to your yarn.
- Yarn needle.
- Scissors.
- Four stitch markers.
- Measuring tape.
Use yarns of comparable thickness for the background and bow. A much finer bow yarn can make the decoration look small against the square.
Skill level: Confident beginner to intermediate. The main skills are working even rows, distributing border stitches, crocheting around a foundation chain, and sewing.
Finished dimensions depend on yarn and tension. The base is twenty-five half double crochet stitches wide; its height is adjusted to match that width.
Abbreviations
This pattern uses US crochet terminology.
| Abbreviation | Meaning |
|---|---|
| ch | chain |
| sc | single crochet |
| hdc | half double crochet |
| dc | double crochet |
| sl st | slip stitch |
| BLO | back loop only |
| st / sts | stitch / stitches |
Beginning and turning chains do not count as stitches.
The Craft Yarn Council’s crochet abbreviation guide provides standard stitch names and US–UK comparisons.
Soft Bow Square Applique Crochet Pattern: The Background
With cream, ch 27.
Row 1: Hdc in the third ch from the hook and in each remaining ch. (25 hdc)
Row 2: Ch 2, turn, hdc in each stitch across. (25 hdc)
Repeat Row 2 until the height of the fabric is approximately equal to its width when laid flat without stretching.
Do not assume that twenty-five rows will produce a square. Stitch width and row height are different measurements.
Count the stitches periodically to make sure both edges remain straight. When the height matches the width, do not fasten off.
Prepare the Border Positions
The four corners are:
- First and last stitches of the final row.
- First and last foundation-chain positions beneath Row 1.
Each top and bottom edge has twenty-three positions between its two corners.
Each side edge will also receive twenty-three single crochets between the corner groups. Distribute these along the row ends; this is not necessarily one stitch per row.
Mark the halfway point of each side if that helps you space the stitches evenly.
Add the Framed Border
Border Round 1 — Single Crochet
Ch 1 and turn so you can work across the final row.
- Work 3 sc in the first hdc. Mark the middle sc as a corner.
- Sc in each of the next 23 hdc.
- Work 3 sc in the last hdc. Mark the middle sc.
- Rotate the work and distribute 23 sc down the side edge.
- Work 3 sc in the bottom corner foundation-chain position. Mark the middle sc.
- Sc in each of the next 23 foundation-chain positions.
- Work 3 sc in the remaining bottom corner. Mark the middle sc.
- Distribute 23 sc up the remaining side edge.
- Join with a sl st to the first sc.
Count: 104 sc.
This consists of four groups of three corner stitches and four sections of twenty-three edge stitches.
Lay the piece flat before continuing. If the side stitches are unevenly spaced, adjust their placement. Strong curling or ruffling should be resolved rather than hidden beneath another round.
Border Round 2 — Back-Loop Frame
Ch 2.
Working in BLO throughout, hdc in each stitch around, except at each marked corner stitch, where you work 3 hdc.
Move each marker to the middle hdc of its new corner group.
Join with a sl st to the first hdc. (112 hdc)
Fasten off and weave in the ends.
The unused front loops from the previous round form a visible line beneath this border.
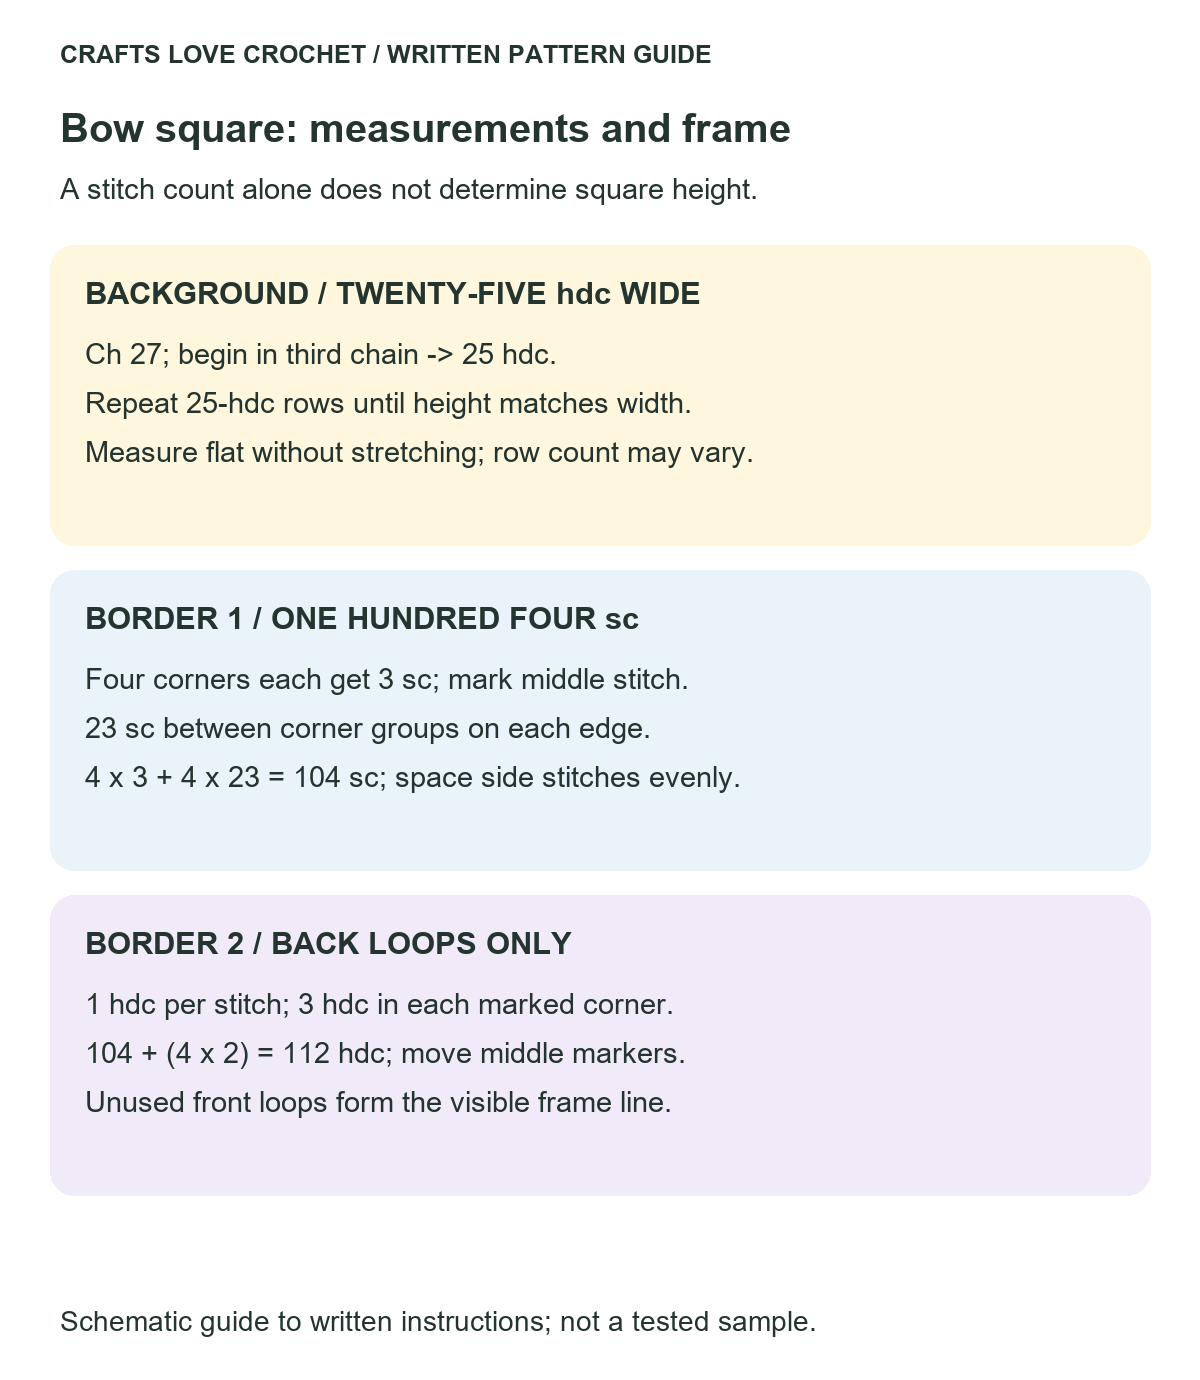
Visual Guide: Square Frame and Corner Counts
Mark the middle corner stitch and check the border increases.
Open this guide at a larger size.
Crochet the Four Bow Pieces
Each piece is worked around both sides of a foundation chain. The joined end is the narrow base; the opposite end is rounded.
Large Pieces — Make Two
With dusty pink, ch 6.
Starting in the second ch from the hook:
- Sc in the next ch.
- Hdc in the next ch.
- Dc in each of the next 2 ch.
- Work 5 dc in the final ch.
Rotate and work along the unused side of the foundation chain. Begin in the chain immediately after the five-dc turning group:
- Dc in each of the next 2 ch.
- Hdc in the next ch.
- Sc in the final ch.
Join with a sl st to the first sc. (13 sts)
Fasten off, leaving a sewing tail.
Repeat for the second large piece.
Small Pieces — Make Two
With dusty pink, ch 5.
Starting in the second ch from the hook:
- Sc in the next ch.
- Hdc in the next ch.
- Dc in the next ch.
- Work 3 dc in the final ch.
Rotate and continue along the unused side of the chain:
- Dc in the next ch.
- Hdc in the next ch.
- Sc in the final ch.
Join with a sl st to the first sc. (9 sts)
Fasten off with a sewing tail.
Repeat for the second small piece.
Bow Count Check
| Piece | Foundation | Completed count |
|---|---|---|
| Large, make 2 | Ch 6 | 13 stitches |
| Small, make 2 | Ch 5 | 9 stitches |
Joining slip stitches are not included in these totals.
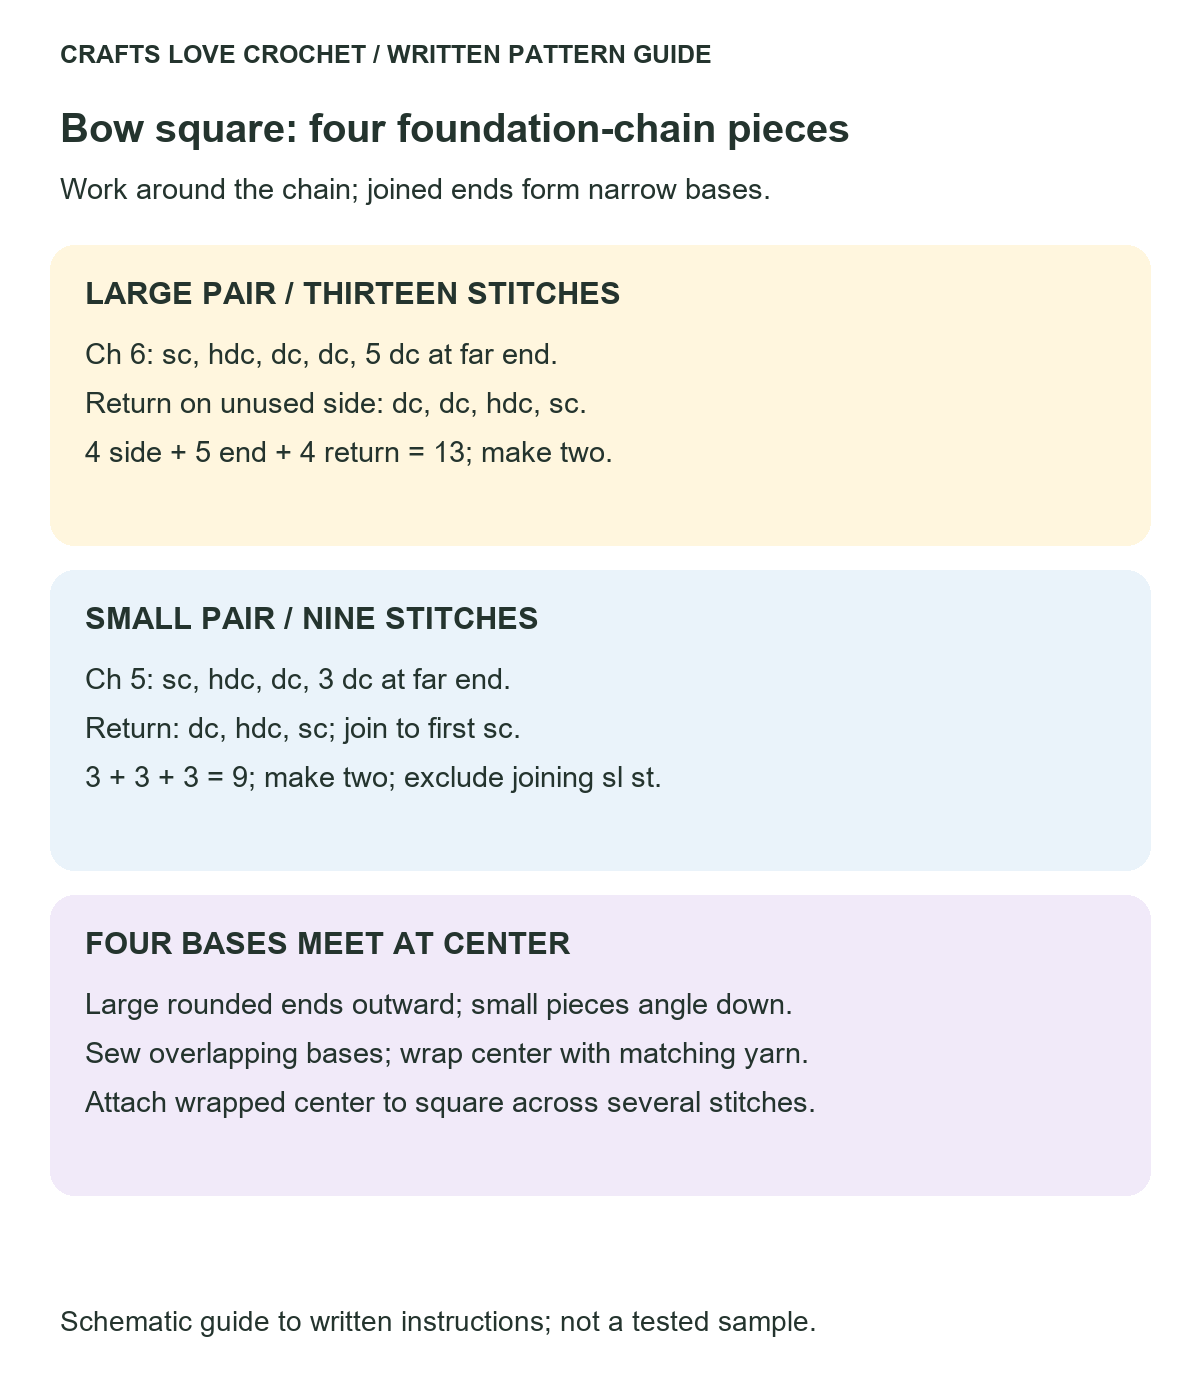
Visual Guide: Large and Small Bow Pieces
Follow the foundation chain around each piece and leave the tails for assembly.
Open this guide at a larger size.
Arrange and Secure the Bow
Place the two large pieces side by side, with their rounded ends pointing outward and their narrow bases overlapping slightly at the center.
Position the two smaller pieces below them, angled downward. Bring all four narrow bases together.
Sew through the overlapping bases to connect the pieces. Keep the rounded ends free.
Wrap matching yarn around the joined center several times, keeping the wraps snug enough to define the bow without crushing the pieces.
Secure the wrapping yarn on the back. No stuffing is needed.
Attach the Bow to the Square
Find the center of the background by folding it lightly in half in both directions, or by measuring.
Place the bow at that point and check its position against all four borders.
Sew through the back of the wrapped center and into several stitches of the square. Avoid attaching it with a single stitch that would allow it to rotate.
For an item that will be handled frequently, add a discreet tack beneath each large bow section. Leave the outer edges free if you want to retain some dimension.
Practical Finishing Tips
Measure before bordering. A rectangular base does not automatically become square when corner increases are added.
Distribute the side stitches before tightening them. Twenty-three stitches need to span the complete side edge without being crowded at one end.
Compare each pair of bow pieces. Matching stitch counts are important, but noticeably different chain tension can also change their size.
Keep the center wrapping narrow. Too many wraps can hide the four-piece arrangement.
Finish the background before attaching the bow. If damp blocking suits the yarn, shape and dry the square first so the bow does not get flattened during that step.
The soft bow square applique crochet pattern relies on the contrast between a relatively flat background and a dimensional decoration. Keep that distinction when sewing and shaping.
Ways to Use the Finished Square
Sew the piece onto a cushion cover, fabric pouch, or decorative panel. Support the edges as well as the center so the square lies against the receiving fabric.
If combining several squares, measure them after finishing and compare their border counts before joining.
For another small decoration, the mini crochet flower pattern offers a five-petal motif that could be used on a coordinating panel.
A contrasting arrangement could use the crochet bunny appliqué pattern on a separate square, keeping the background colors consistent.
Frequently Asked Questions
How many rows should I make for the background?
Work until the height approximately matches the width of the twenty-five-stitch base. The required row count depends on your yarn and tension.
Why are the bow foundation chains different lengths?
The large piece uses five chains for stitches, so it begins with ch 6. The small piece uses four, so it begins with ch 5. The first skipped chain is not worked.
Does the bow need stuffing?
No. The shaped pieces and wrapped center provide the dimension.
Can I change the size of the square?
Yes, but changing the stitch width requires recalculating the border counts and considering the bow’s proportions. Using a different yarn thickness also changes the overall scale.
Is this soft bow square applique crochet pattern washable?
Follow care instructions suitable for both yarn colors and any fabric to which the square is attached. Check the bow’s sewing stitches before washing, then reshape gently if needed.
Choose the Contrast
Cream and dusty pink give the piece a muted palette. A darker background can make the same bow more prominent, while closely related shades emphasize texture over color.
Lay the finished bow on the square before sewing and view it from a little distance. That makes it easier to judge the placement and contrast.
If you make a set, record the row count, hook size, and finished measurements from the first square so the others are easier to match.