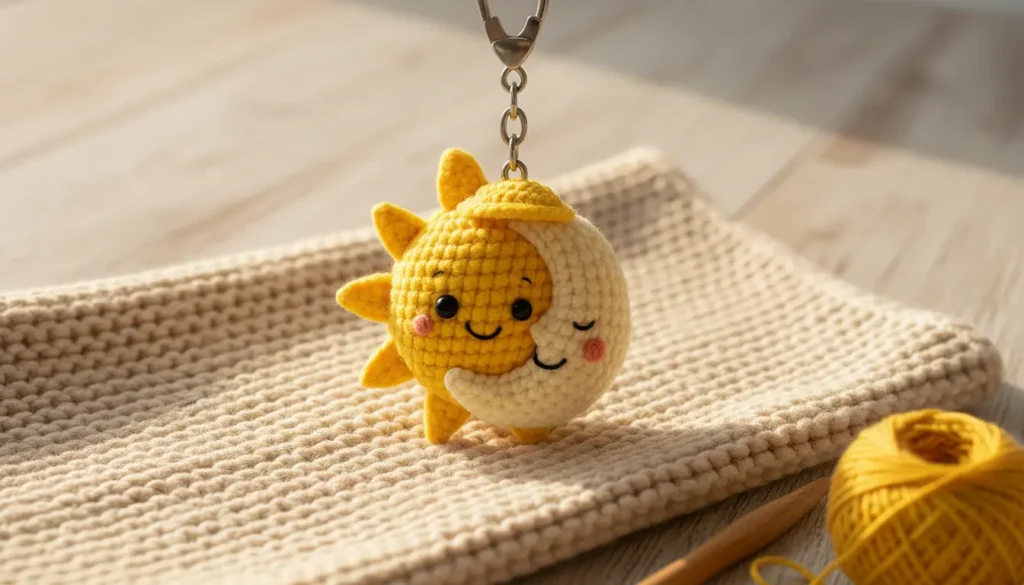
I’ve made this little Sun & Moon keychain more times than I can count, and it never loses its charm. There’s something about the contrast between the warm sun and the calm moon that feels comforting in your hands. It’s the kind of small project I reach for when I want something relaxing but still meaningful.
In real use, it works beautifully as a keychain because it’s lightweight but sturdy when stitched tightly. I’ve also gifted a few of these, and they always get that quiet “you made this?” reaction. If you keep your tension slightly firm and use a 2.5 mm hook, the shape holds up well over time—even with daily use on bags or keys.
It’s also a great in-between project. When I don’t feel like committing to a large amigurumi, this one gives that same satisfaction in under a couple of hours, especially if you already have leftover yarn on hand.
🧶 What You’ll Need
Before we begin your Sun & Moon Amigurumi Keychain Crochet Pattern, gather your materials:
- Worsted weight yarn:
- Yellow (sun)
- Cream/white (moon)
- 2.5 mm – 3.0 mm crochet hook
- Black safety eyes (8–10 mm)
- Fiberfill stuffing
- Yarn needle
- Stitch marker
- Keychain clasp with jump ring
- Pink yarn or blush (for cheeks)
✂️ Abbreviations (US Terms)
- MR = Magic Ring
- sc = single crochet
- inc = increase (2 sc in same stitch)
- dec = invisible decrease
- sl st = slip stitch
- ch = chain
- st(s) = stitch(es)
- FO = fasten off
🌞🌙 Step-by-Step Instructions
Main Body (Sun + Moon Sphere)
Work in continuous rounds
Round 1:
MR, 6 sc (6)
Round 2:
inc in each st around (12)
Round 3:
(sc, inc) x6 (18)
Round 4:
(2 sc, inc) x6 (24)
Round 5:
(3 sc, inc) x6 (30)
Round 6:
(4 sc, inc) x6 (36)
Round 7:
(5 sc, inc) x6 (42)
Round 8:
(6 sc, inc) x6 (48)
🎨 Color Split Begins
Switch to half yellow / half cream.
You will crochet one side in yellow and the other in cream to create the split effect.
Tip: Change color at the midpoint of each round.
Rounds 9–16:
sc in each st around (48)
(maintain color split)
➡️ Insert safety eyes between rounds 12–13
➡️ Place them slightly toward each color side
➡️ Start stuffing firmly around Round 14
Round 17:
(6 sc, dec) x6 (42)
Round 18:
(5 sc, dec) x6 (36)
Round 19:
(4 sc, dec) x6 (30)
Round 20:
(3 sc, dec) x6 (24)
Round 21:
(2 sc, dec) x6 (18)
Round 22:
(sc, dec) x6 (12)
Round 23:
dec x6 (6)
FO and close.
🌙 Moon Overlay (Face Shape)
Using cream yarn:
Row 1:
ch 10
Row 2:
Starting in 2nd ch: sc across (9)
Row 3–5:
Turn, sc across shaping slightly by skipping last st on some rows to create a curve
FO leaving long tail.
➡️ Sew onto the cream side in a crescent shape.
☀️ Sun Rays (Make 6–8)
Using yellow yarn:
Row 1:
ch 5
Row 2:
Starting in 2nd ch: sl st, sc, hdc, dc (creates pointed ray)
FO, leave tail.
➡️ Sew evenly around sun side.
😊 Faces
Eyes:
Already inserted (or embroider with black yarn)
Smile: Use black yarn
- Sun: open smile
- Moon: closed sleepy smile
Cheeks:
Use pink yarn
Small embroidered circles or soft blush
🔗 Top Loop & Assembly
Attach yarn at top center:
ch 6
sl st into same stitch
FO and secure
Attach keychain clasp through loop
🧵 Pattern Notes
- This Sun & Moon Amigurumi Keychain Crochet Pattern is worked in continuous rounds—no joining.
- Keep your tension consistent for a smooth, round shape.
- The color split may feel tricky at first, but it becomes intuitive after a few rounds.
- Use a stitch marker to track your rounds—it helps more than you think.
💡 My Experience & Practical Tips
After making several of these, a few small details made a big difference in the final result:
- Control the color change cleanly:
When switching between yellow and cream, complete the last yarn-over of the stitch with the new color. This keeps the split line crisp instead of jagged. - Don’t overstuff too early:
It’s tempting to fill it quickly, but if you stuff before Round 14, the sphere becomes harder to shape. Add stuffing gradually so the curve stays smooth. - Use a slightly smaller hook than usual:
Even with worsted yarn, I prefer a 2.5 mm hook. It tightens the stitches just enough so no stuffing shows through—especially important with the lighter moon side. - Watch eye placement carefully:
If the eyes sit too centered, the piece loses that “split personality” effect. Place them slightly toward each color side for balance. - Secure the rays firmly:
When sewing the sun rays, go through the base stitches twice. Since this is a keychain, they get pulled more than a decorative plush would.
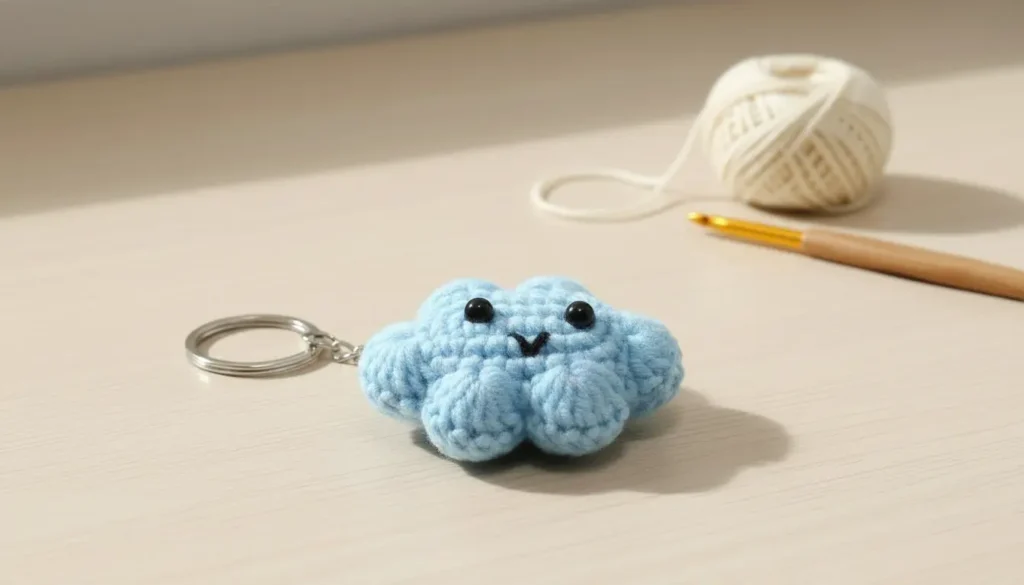
If you’d like to add a few extra handmade touches to your projects, there are some lovely options that work beautifully alongside this one. The Crochet Bow Pattern is perfect for finishing amigurumi with a delicate detail, or even creating small standalone embellishments. The Crochet Flower Pattern brings a soft, decorative feel and can be used on everything from accessories to home décor. And if you enjoy quick, relaxing makes, the Crochet Cloud Keychain is a charming little project that’s ideal for gifts or everyday use.
💡 Tips & Variations
- Try pastel tones for a dreamy aesthetic
- Add tiny stars with embroidery for extra charm
- Use glow-in-the-dark yarn for the moon 🌙
- Turn it into a baby mobile by making multiple pieces
If you enjoy small decorative pieces like this, you might also love making a Daisy & Sunflower Bookmark Crochet Pattern—it has that same quick, satisfying feel but with a flat construction that’s great for practicing stitch consistency. And for something more textured, the African Flower Granny Square Crochet Pattern is a beautiful next step that builds on similar stitch control.
✨ Finishing Touches
Take a moment here—this is where your piece really comes together.
- Shape the sphere gently with your hands
- Adjust the stuffing evenly
- Double-check your sewn pieces for symmetry
Those final adjustments are what turn a good piece into one you’ll actually want to carry around.
❓ FAQ (Schema Style)
Q: Is this pattern beginner-friendly?
A: Yes! It’s ideal for confident beginners ready to try color changes and simple shaping.
Q: Can I use different yarn weights?
A: Absolutely. Just adjust your hook size accordingly—the final size will vary.
Q: How do I make the split look neat?
A: Change colors at the same stitch point every round and keep yarn tension even.
Q: Can I sell finished items?
A: Yes, handmade items are perfect for small business sales—just avoid redistributing the pattern.
💛 Final Thoughts
This is one of those patterns I keep coming back to—not just because it’s quick, but because it consistently turns out well. I’ve tested it with different yarns, slightly different hooks, and even tighter tension, and it still holds its shape and charm every time.
It’s a lovely option for small handmade gifts, especially when you want something meaningful without spending hours on a project. I’ve also seen these do really well at craft fairs—people are naturally drawn to the sun and moon combination.
And if you end up making one, take your time with the little details. That’s where this piece really shines.