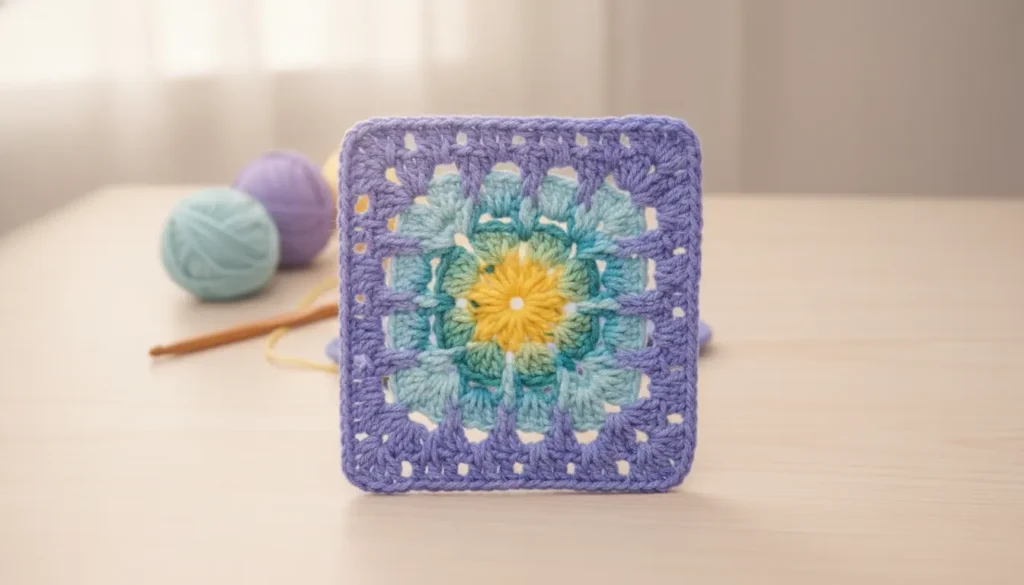
This 3D floral granny square crochet pattern combines a yellow flower center, two turquoise petal layers, and a purple granny square background. The flower is made separately and sewn onto the square, leaving the petal edges free to lift above the surface.
Working the pieces separately makes it easier to check their proportions before joining them. You can compare the flower with the square, adjust its position, and secure the center without pulling the square’s corners inward.
The flower has eight inner petals and eight outer petals. The background uses a four-round granny square followed by a single crochet border.
Materials for the 3D Floral Granny Square Crochet Pattern
- Worsted-weight yarn, Category 4, in yellow for the center, light turquoise for the inner petals, aqua or teal for the outer petals, and purple for the square.
- A 5.0 mm crochet hook as a starting option.
- A yarn needle.
- Scissors.
- Stitch markers.
Use yarns of similar thickness for all sections. Differences between yarns can affect the flower-to-square proportions.
Finished measurements and yarn quantities depend on your materials and tension. Make one complete sample before planning a blanket, cushion, or bag.
Construction and Counting Notes
The 3D floral granny square crochet pattern has two components:
- A layered flower with a 16-stitch center.
- A separate granny square with four corner spaces.
The inner petals use the front loops of the center stitches. The unused back loops provide attachment points for the outer petal foundation.
Work with the front of the flower facing you. Lift the inner petals gently to access the loops behind them.
- The flower center’s beginning ch-2 does not count as a stitch.
- The granny square’s beginning ch-3 counts as the first dc in each round.
- Beginning ch-1 stitches and joining slip stitches do not count toward the stated stitch totals.
- Do not turn the flower or square between rounds.
Abbreviations — US Terms
- MR: magic ring.
- ch: chain.
- sl st: slip stitch.
- sc: single crochet.
- hdc: half double crochet.
- dc: double crochet.
- tr: treble crochet.
- st / sts: stitch / stitches.
- FLO: front loop only.
- BLO: back loop only.
- ch-1 space: opening beneath one chain.
- ch-2 space: opening beneath two chains.
- ch-3 space: opening beneath three chains.
For US treble crochet, yarn over twice before inserting the hook.
You can consult the Craft Yarn Council’s crochet abbreviation reference for definitions and differences between US and UK terminology.
3D Floral Granny Square Crochet Pattern: Layered Flower
Round 1 — Yellow Center
With yellow, make a magic ring.
Ch 2, then work 16 dc into the ring.
Tighten the ring and join with a sl st to the first actual dc. Do not join to the beginning ch-2.
Count: 16 dc.
Fasten off yellow.
Round 2 — Eight Inner Petals
Join light turquoise in the front loop of any center stitch.
Ch 1. Working in the front loop of that same stitch, make 1 sc, 1 hdc, 3 dc, 1 hdc, 1 sc.
Sl st into the front loop of the next center stitch.
Repeat the following sequence seven more times:
- Work sc, hdc, 3 dc, hdc, sc into the front loop of the next center stitch.
- Sl st into the front loop of the following center stitch.
Each repeat uses two center stitches: one for the petal and one for its anchoring slip stitch.
After the final anchoring slip stitch, join with a sl st to the first sc of the first petal.
Count: eight inner petals, each containing seven stitches. The anchoring and joining slip stitches are not included in the petal stitch counts.
Fasten off light turquoise. All 16 back loops of the yellow center remain unused.
Round 3 — Foundation Behind the Petals
Join teal in the unused back loop beneath the base of an inner petal.
Ch 1, then work 1 sc into that back loop.
Ch 3 and skip the next unused back loop.
Repeat the following sequence seven times:
- Work 1 sc into the next unused back loop.
- Ch 3.
- Skip the following unused back loop.
Join with a sl st to the first sc. Keep the chain arches behind the inner petal layer.
Count: eight sc and eight ch-3 spaces.
Do not fasten off.
Round 4 — Eight Outer Petals
Sl st into the first ch-3 space.
Work the following seven stitches into that space: 1 sc, 1 hdc, 3 tr, 1 hdc, 1 sc.
Sl st into the next sc from Round 3 to anchor the petal.
Repeat this sequence in each of the remaining seven ch-3 spaces: work sc, hdc, 3 tr, hdc, sc into the space, then sl st into the next sc from Round 3.
For the eighth and final petal, make the anchoring slip stitch into the first sc of Round 3, where the foundation round began. Do not make an additional petal in the first chain space.
Count: eight outer petals, each containing seven stitches. The anchoring slip stitches are not included in the petal stitch counts.
Fasten off. Secure the ends on the back, leaving a sewing tail if desired.
Arrange the two petal layers gently with your fingers. Do not sew their outer edges together.
Visual Guide: Front and Back Loop Layers
Keep the original back loops free beneath the first layer of petals.
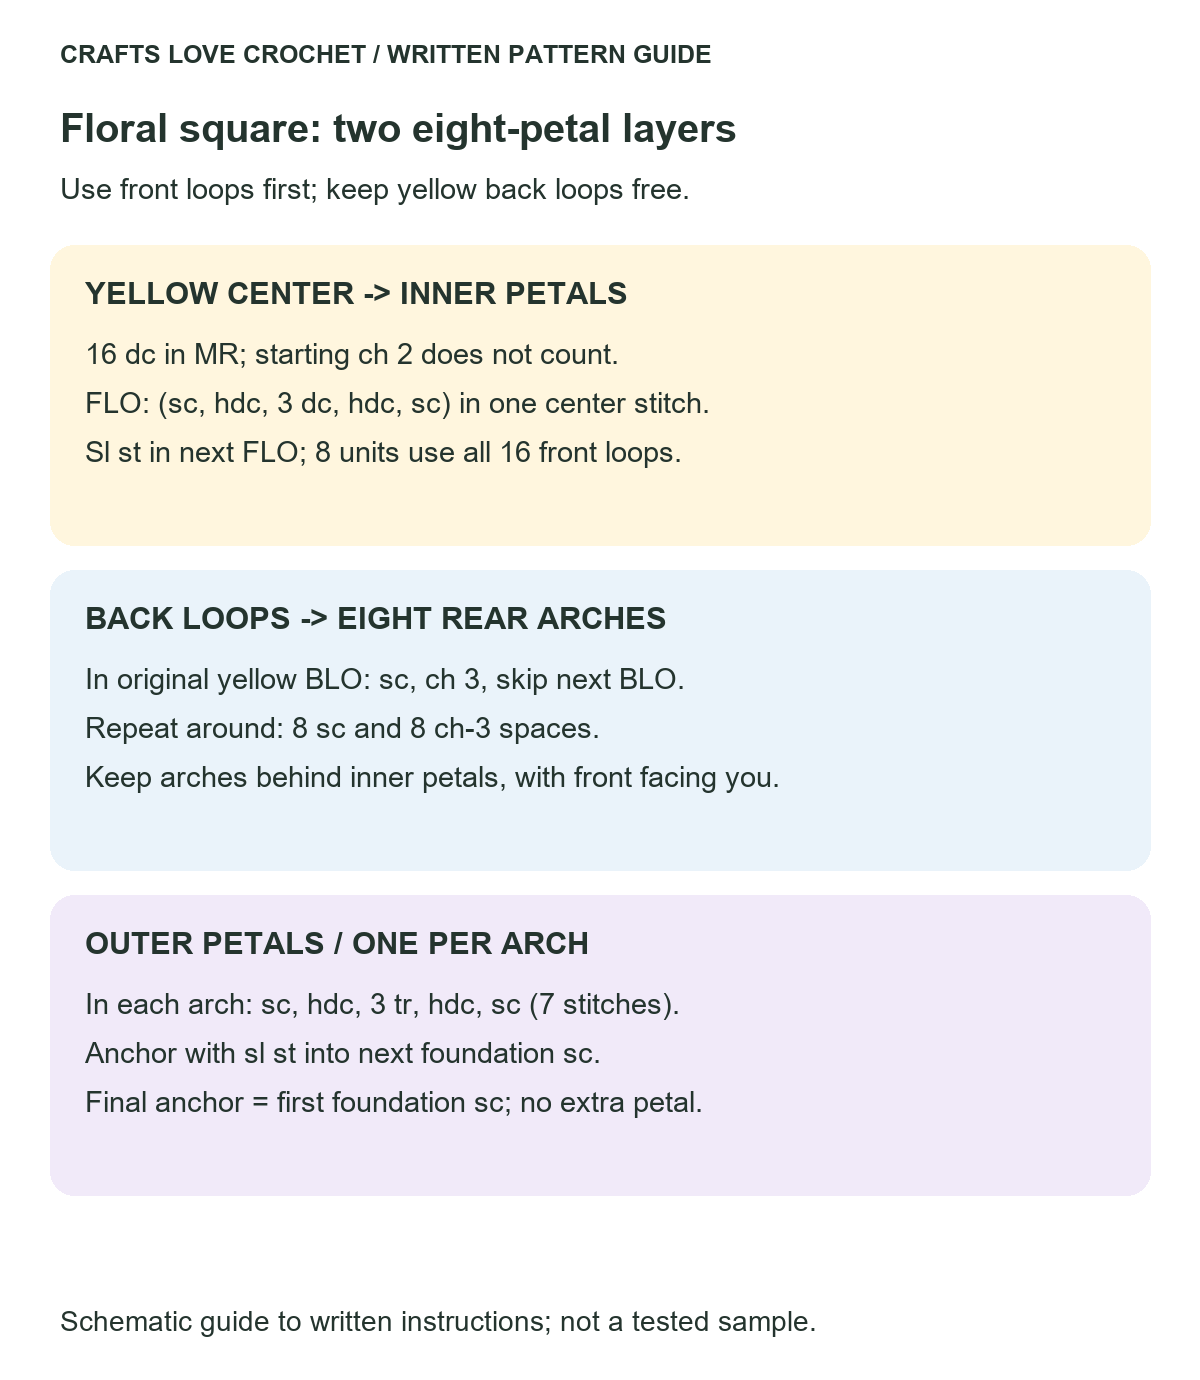
Open this guide at a larger size.
Granny Square Background
Use purple yarn.
A three-dc group means three separate dc worked into the same space. Do not join their tops together as a cluster.
From Round 2 onward, each corner contains 3 dc, ch 2, 3 dc in one corner space. At the beginning of a round, ch 3 replaces the first dc.
Use ch 1 between neighboring groups along the sides.
Round 1 — Four Groups
Make a magic ring.
Ch 3, counting it as the first dc. Work 2 dc into the ring, then ch 2.
Repeat the following three times:
- Work 3 dc into the ring.
- Ch 2.
Tighten the ring and join with a sl st to the top of the beginning ch-3.
Count: 12 dc and four ch-2 corner spaces.
Round 2 — Establish the Corners
Sl st into each of the next two dc, then sl st into the first ch-2 corner space.
Ch 3, counting it as the first dc. Into that same space, work 2 dc, ch 2, 3 dc.
Ch 1.
In each of the remaining three corner spaces, work 3 dc, ch 2, 3 dc, followed by ch 1.
Join with a sl st to the top of the beginning ch-3.
Count: 24 dc, four ch-2 corners, and four ch-1 side spaces.
Round 3 — Add Side Groups
Sl st into each of the next two dc, then sl st into the first corner space.
Begin the corner with ch 3, 2 dc, ch 2, 3 dc, working all dc into that corner space.
Ch 1, work 3 dc into the next ch-1 side space, then ch 1.
Repeat the following three times:
- Work 3 dc, ch 2, 3 dc into the next corner.
- Ch 1.
- Work 3 dc into the next ch-1 side space.
- Ch 1.
Join with a sl st to the top of the beginning ch-3.
Count: 36 dc, four ch-2 corners, and eight ch-1 side spaces.
Round 4 — Expand the Square
Sl st into each of the next two dc, then sl st into the first corner space.
Begin the corner with ch 3, 2 dc, ch 2, 3 dc, working all dc into that corner space.
Across the next side:
- Ch 1.
- Work 3 dc into the next ch-1 space.
- Ch 1.
- Work 3 dc into the following ch-1 space.
- Ch 1.
Repeat this corner-and-side sequence for the remaining three corners and sides, using 3 dc, ch 2, 3 dc for each additional corner.
Join with a sl st to the top of the beginning ch-3.
Count: 48 dc, four ch-2 corners, and twelve ch-1 side spaces.
Fasten off.
Final Single Crochet Border
Join purple in any ch-2 corner space.
Ch 1, which does not count as a stitch. Work sc, ch 2, sc into that corner space.
Work across the next side in order, making 1 sc into each dc and 1 sc into each ch-1 space.
At the next corner, work sc, ch 2, sc.
Continue around all four sides. After working across the final side, join with a sl st to the first sc. The starting corner is already complete; do not work into it again.
Count: 68 sc and four ch-2 corner spaces.
Each side has 17 sc between its two corner chain spaces: 12 sc worked into dc, three sc worked into ch-1 spaces, and one sc beside each corner space.
Fasten off and weave in the ends.
Visual Guide: Granny Background and Border Counts
Compare the background round counts and the single crochet border before assembly.
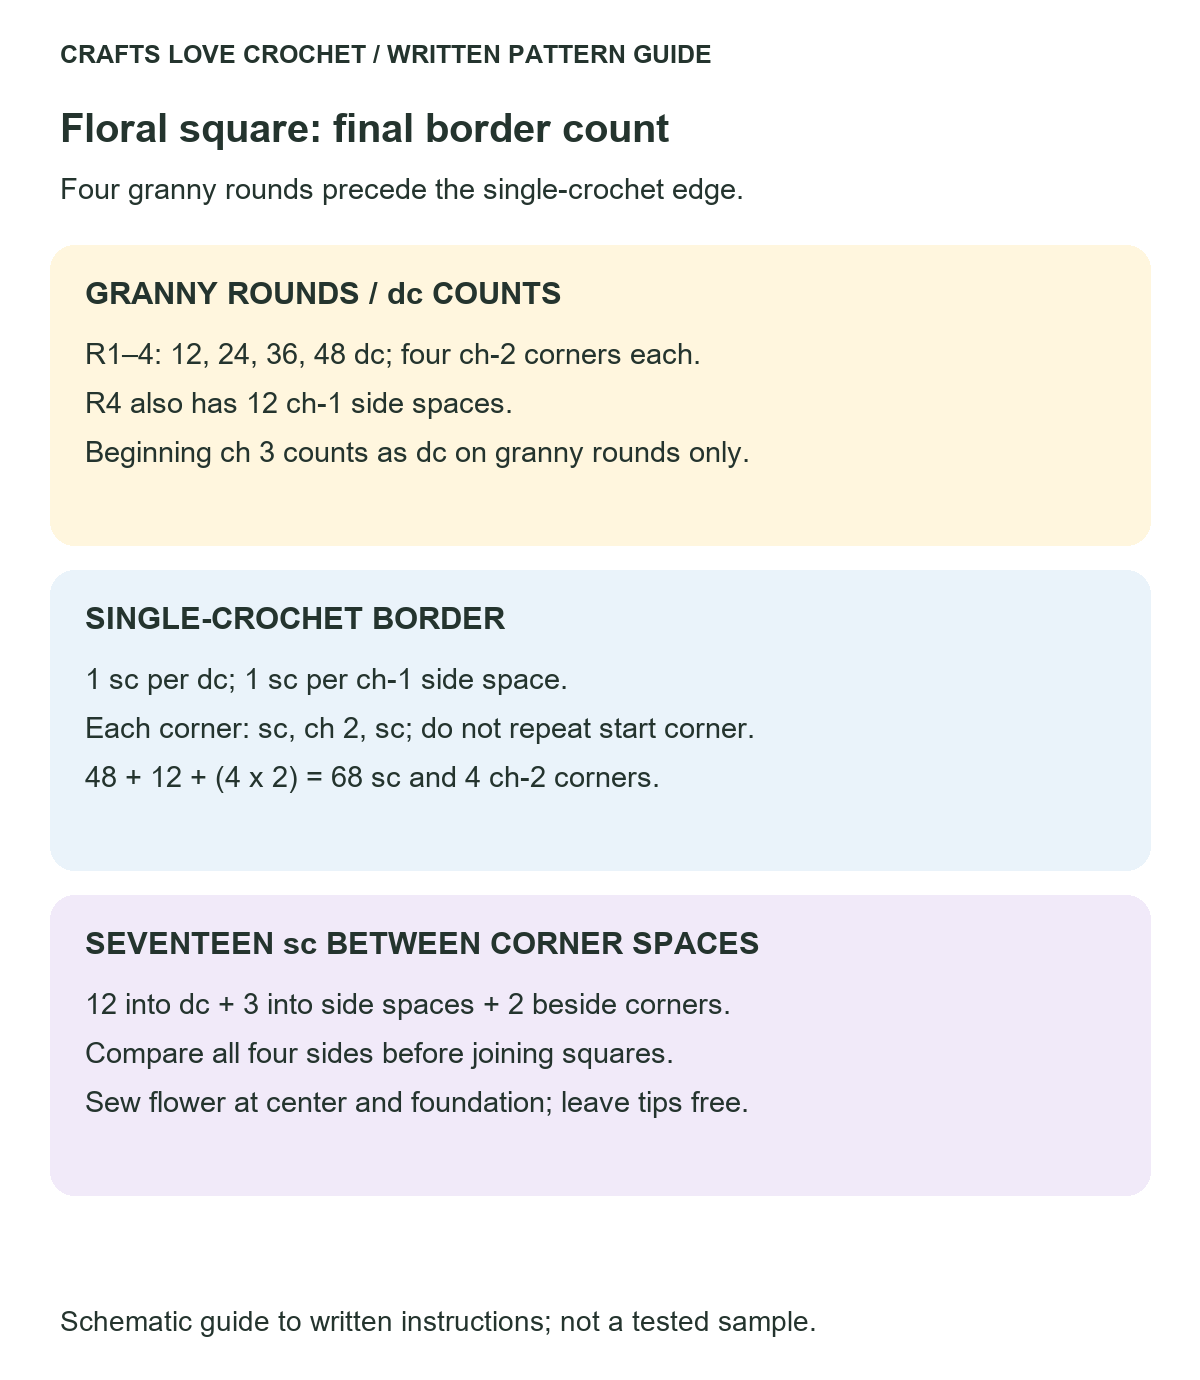
Open this guide at a larger size.
Assemble the 3D Floral Granny Square Crochet Pattern
Compare the Pieces
Place the square flat and center the flower over it.
Check that the four corners remain visible and that the flower can sit in place without pulling the background inward.
Stitch counts alone do not establish the finished size relationship. If the flower covers too much of the square or requires stretching to fit, reassess the proportions before sewing.
Attach the Flower Center
Thread the sewing yarn through the back of the flower near its yellow center.
Make several small stitches between that area and the center of the purple square.
Distribute the attachment around the flower center rather than pulling everything into one tight point. Keep the square flat while sewing.
Secure the Outer Layer at Its Base
Add a few discreet stitches between the outer petal foundation and the square if needed to stop the flower rotating.
Catch the foundation stitches behind the petals, not their outer tips.
Leave the petal edges free. Check the front after each attachment to make sure the layers can still lift naturally.
Secure and weave in the sewing ends on the back.
Practical Tips for the 3D Floral Granny Square Crochet Pattern
Preserve the Back Loops
Work the inner petals into front loops only. Using both loops would remove the defined attachment points for the outer petal foundation. Check the back of the center after the first petal before continuing.
Count Eight Chain Spaces
Before making the outer petals, confirm that the foundation has eight ch-3 spaces. Each space receives one outer petal. Mark the first foundation sc to make the final anchoring slip stitch easier to locate.
Mark the Four Corners
Keep a marker in each ch-2 corner space while learning the square construction. Ch-1 side spaces receive one three-dc group; ch-2 corners receive two three-dc groups separated by ch 2.
Count the Final Sides
The finished border has 17 sc between neighboring corner spaces. Count from the sc immediately after one corner chain space to the sc immediately before the next. Compare all four sides before joining this square to other motifs.
Sew Without Compressing the Flower
A tightly pulled sewing thread can flatten the petal layers or cup the background. Keep checking that the square rests flat as you attach the flower, and loosen any attachment that draws the fabric inward.
Finishing and Project Planning
Follow the yarn manufacturer’s care instructions if washing or blocking the square.
Shape the background gently and arrange the petals separately. Avoid pressing the flower flat or using firm stretching to conceal a counting or construction problem.
For a larger project, make and measure a completed sample first. Compare both the side length and edge stitch count with any other squares you plan to join.
More Floral Crochet Ideas
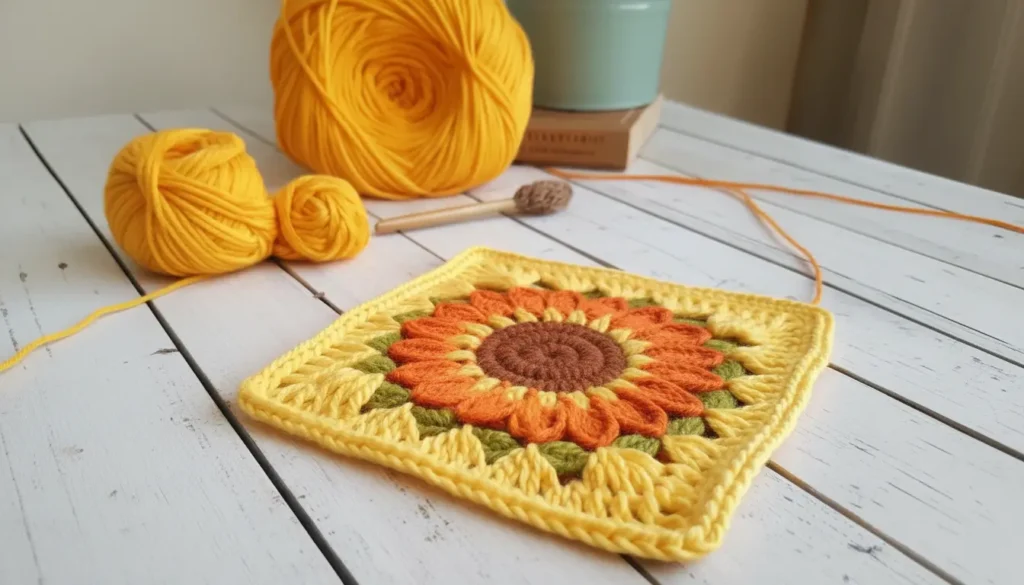
For another floral motif, explore the Sunflower Crochet Applique Pattern and consider a yellow-and-brown color palette for your next embellishment.
You can also visit the Lavender Bell Flower Doily Pattern for a different floral crochet project to explore after this square.
Frequently Asked Questions
Is the Flower Worked Directly into the Square?
No. This 3D floral granny square crochet pattern uses a separately crocheted flower sewn onto a granny square background.
How Many Petals Are There?
There are eight inner petals and eight outer petals. The inner layer uses the front loops of the yellow center, while the outer foundation uses its back loops.
Does Every Beginning Chain Count as a Stitch?
No. The flower center’s beginning ch-2 does not count. The granny square’s beginning ch-3 counts as one dc. Beginning ch-1 stitches do not count.
How Many Stitches Are on Each Finished Side?
There are 17 sc between neighboring corner chain spaces, with 68 sc around the complete border. The four ch-2 corner spaces are counted separately.
Can I Join Several Squares Together?
Yes, provided their finished dimensions and edge counts are compatible. Measure a completed sample and check its fit with the other squares before making a large batch.
Share Your Floral Square
Record the yarn, hook, finished side length, and flower diameter when making this 3D floral granny square crochet pattern. Those details will help you repeat the same proportions for a matching set.
Share your color combination and assembly observations in the comments. If a step needs clarification, include the flower round or square round so the question is easy to follow.