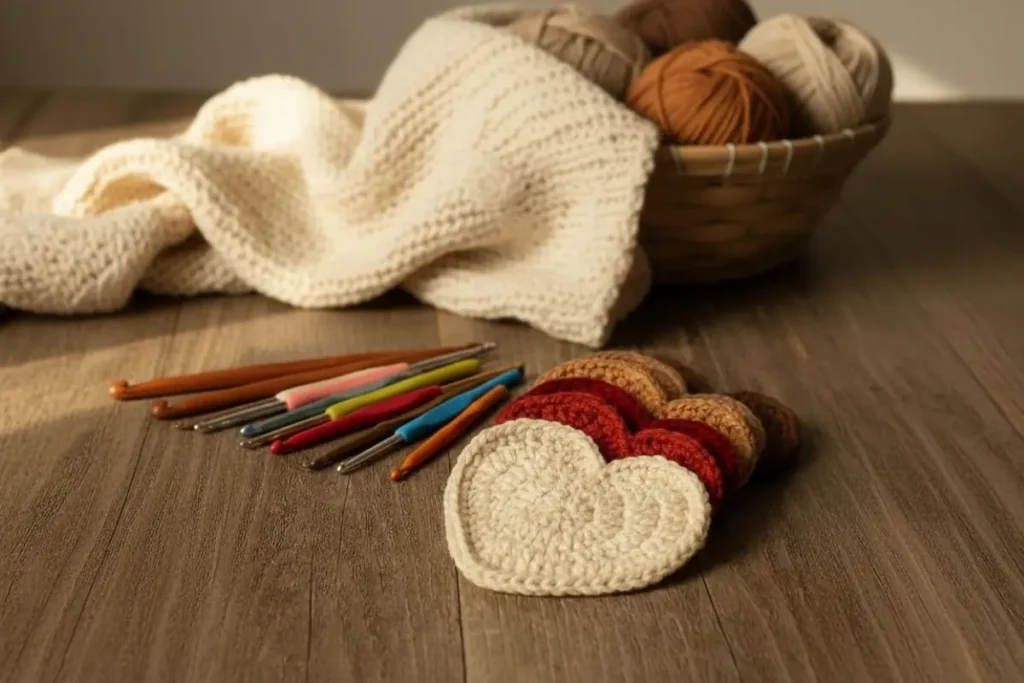
I’ve made this Crochet Angel Ornament Pattern more times than I can count, especially during the holiday season—and it never loses its charm. There’s something incredibly special about seeing these delicate little angels hanging on a Christmas tree or tucked into a thoughtful handmade gift.
What I love most about this design is how lightweight yet structured it becomes after blocking. The first time I tried it, I experimented with different yarns and quickly realized that soft cotton truly makes the stitches shine. It also works up surprisingly fast—I can usually finish one in a relaxed evening, which makes it perfect for last-minute gifts or craft fair prep.
If you enjoy small, meaningful crochet projects with a touch of elegance, this one is a joy to make.

🧶 What You’ll Need
- Lightweight yarn (DK or sport weight recommended)
- Crochet hook: 3.0 mm (or size needed to match tension)
- Yarn needle
- Scissors
📏 Finished Size
Approximately 10–12 cm tall (depending on yarn and tension)
📚 Abbreviations (US Terms)
- ch = chain
- sl st = slip stitch
- sc = single crochet
- dc = double crochet
- tr = treble crochet
- sp = space
- st(s) = stitch(es)
- rep = repeat
- inc = increase
- sk = skip
📝 Pattern Notes
- The angel is worked from the top (halo) down.
- Turn only when instructed.
- Keep stitches loose for the lace effect.
- Ch-3 at the beginning of a row counts as a dc.
👼 Crochet Angel Ornament Pattern
Halo
Round 1:
Ch 4, join with sl st to form a ring.
Round 2:
Ch 1, work 10 sc into ring. Join with sl st. (10 sts)
Round 3:
Ch 3 (counts as dc), work 1 dc in each st around. Join with sl st. (10 dc)
Fasten off or continue directly to head.
Head
Join yarn to any stitch of halo.
Round 1:
Ch 1, work 2 sc in each st around. Join. (20 sts)
Round 2:
Ch 1, 1 sc, 1 inc around. Join. (30 sts)
Round 3:
Ch 1, sc in each st around. Join. (30 sts)
Body (Lace Section)
Row 1:
Ch 4 (counts as dc + ch 1), sk 1 st, dc in next st, ch 1 across. Turn.
Row 2:
Ch 3, work (dc, ch 1, dc) in each ch-1 sp across. Turn.
Row 3:
Ch 3, dc in next dc, ch 2, dc in next dc across. Turn.
Row 4:
Ch 3, (2 dc, ch 2, 2 dc) in each ch-2 sp across. Turn.
Row 5:
Ch 3, dc in each dc, ch 3 at center of shell across. Turn.
Skirt Expansion
Row 6:
Ch 4, dc in next dc, ch 2 across. Turn.
Row 7:
Ch 3, (dc, ch 2, dc) in each ch-2 sp across. Turn.
Row 8:
Ch 3, 5 dc in each ch-2 sp across. Turn.
Edging (Decorative Shell Border)
Work evenly across bottom edge:
Sl st, ch 1, (sc, ch 3, sc) in same st, sk 2 sts — repeat across.
Fasten off and weave in ends.
✨ Finishing Touches
- Lightly block the piece to open the lace pattern.
- Shape the skirt evenly.
- Optional: stiffen with fabric stiffener for a structured look.
💡 My Experience & Practical Tips
After making several versions of this Crochet Angel Ornament Pattern, a few small details really made a difference:
- Watch your tension in the lace rows: If your stitches are too tight, the design loses that airy, delicate look. I like to consciously relax my grip during the body section.
- Blocking is not optional here: The first time I skipped it, the angel looked flat and unfinished. Once blocked, the lace opens beautifully and the skirt gains shape.
- Use cotton if you can: Acrylic works, but cotton gives a crisp definition that really highlights the stitch pattern.
- Halo too floppy? I’ve had this happen—just switch to a slightly smaller hook for the halo round only. It makes a big difference.
- Even edging matters: Try to space your stitches evenly along the bottom edge. Uneven spacing can make the skirt ripple awkwardly.
🌿 Tips & Variations
- Add a small bead or pearl to the center for a delicate detail
- Use metallic thread for a festive holiday version
- Turn it into a hanging ornament by attaching a loop at the top
- Experiment with white, cream, or pastel tones for different styles
If you enjoy floral or decorative crochet, you might also love pairing this angel with soft handmade flowers or granny square pieces for a cohesive holiday theme.
❓ FAQ (Schema Style)
Q: Is this Crochet Angel Ornament Pattern beginner-friendly?
A: Yes, as long as you’re comfortable with basic stitches and working in rows and rounds.
Q: Can I use thicker yarn?
A: You can, but the angel will turn out larger and slightly less delicate.
Q: Do I have to block the finished piece?
A: Highly recommended. Blocking really transforms the final look.
Q: How long does it take to make one angel?
A: Typically 1–2 hours depending on your speed and experience.
🔗 Internal Link Suggestions
If you enjoyed this delicate Crochet Angel Ornament Pattern, you might also like exploring floral crochet designs or beginner-friendly motifs. Patterns like crochet flower appliqués or granny squares are perfect companions, especially if you’re creating handmade gifts or decorative sets.
❤️ Conclusion
This Crochet Angel Ornament Pattern has become one of those projects I return to every year. It’s simple, reliable, and always appreciated—whether you’re gifting it, decorating your home, or adding it to your craft fair collection.
Each angel feels a little special, especially knowing it’s handmade. And once you’ve made one, it’s hard not to make a few more.
💬 Loved this pattern?
Share it with your crochet friends or save it for your next cozy crafting session.
Where can I find a picture of your angel? Ty