If you’re looking for a quick and charming crochet project, this ribbed crochet bow pattern is one of my favorite little makes. I’ve crocheted this bow several times for gift wrapping, hair clips, and even small craft fair items, and it never fails to look adorable.
What I love most about this design is the texture. The ribbing created with back loop stitches gives the bow a soft, elegant look while still being incredibly simple to crochet. Even if you’re fairly new to crochet, you’ll likely finish this project in less than an hour.
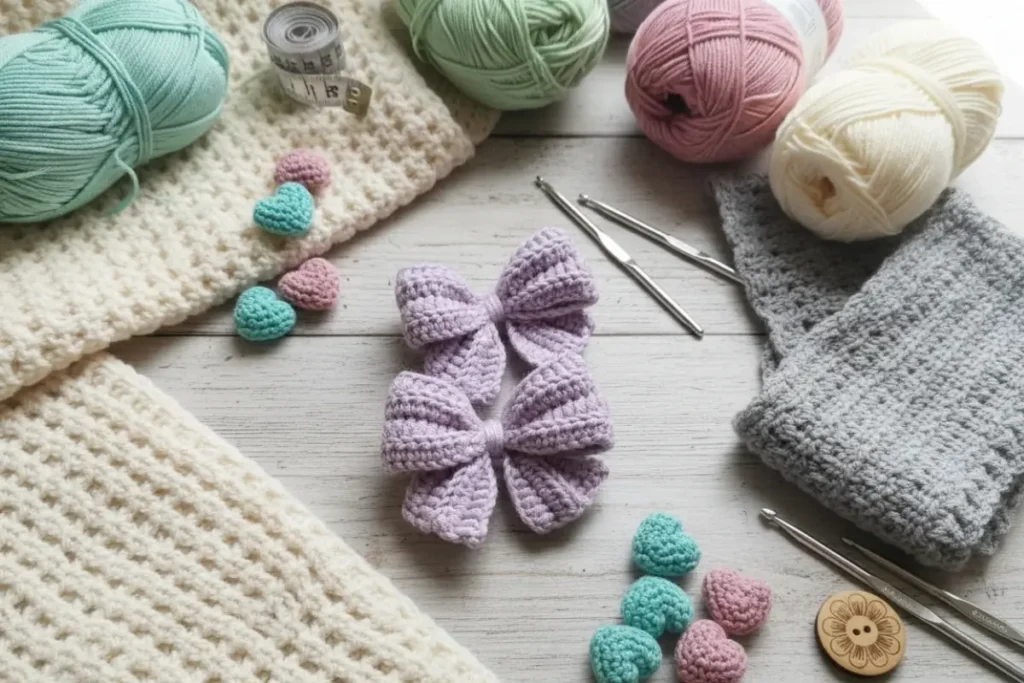
When I first tested this pattern, I tried it with a few different yarns and hook sizes. Medium weight yarn paired with a 4.0 mm or 5.0 mm hook worked beautifully and gave the bow just the right structure without feeling stiff. The finished bow measures about 10 cm wide and 5 cm tall, which makes it perfect for hair accessories, keychains, gift toppers, or decorative touches on handmade items.
Let’s walk through everything you’ll need to make your own.
What You’ll Need
Before starting this ribbed crochet bow pattern, gather these simple materials:
Yarn
Any medium/worsted weight yarn (Category 4) in your preferred color.
The example bow uses a soft light lavender shade.
Hook
4.0 mm (US G/6) or 5.0 mm (US H/8), depending on your yarn thickness and tension.
Notions
- Tapestry needle
- Scissors
Stitch Abbreviations (US Terms)
- ch = chain
- sc = single crochet
- BLO = back loop only
- st(s) = stitch(es)
- sl st = slip stitch
- FO = fasten off
My Experience & Practical Tips
After making this ribbed crochet bow pattern multiple times, I discovered a few small tricks that make the finished bow look even better.
- Watch your tension in the ribbing rows
Because the ribbed texture comes from working in the back loop only, tight tension can make the fabric curl. Try to keep your stitches relaxed and consistent. - Don’t over-stretch the rectangle
When you finish the base piece, resist pulling or stretching it too much. Let the ribbing sit naturally so the folds look soft and full once the bow is assembled. - Choose yarn with good structure
Cotton yarn produces a crisp bow that holds its shape well. Acrylic yarn creates a softer look. Both work beautifully, but they give slightly different styles. - Stuffing isn’t needed — but shaping matters
Unlike amigurumi projects, this bow doesn’t require stuffing. Instead, gently fluff and shape the sides after assembling. That little step makes the bow look fuller. - Beginners often wrap the center too loosely
When attaching the center wrap, pull it snugly around the middle. This is what gives the bow those lovely folds.
Step-by-Step Instructions
This ribbed crochet bow pattern is made in two small pieces:
- A ribbed rectangular base
- A narrow strip used as the center wrap
Once both parts are finished, they’re assembled to form the bow.
Part 1: The Main Base Piece
Note: This piece is worked back and forth in rows to create a ribbed rectangle. The ribbing effect is achieved by crocheting into the back loop only (BLO).
Foundation:
ch 26 (This counts as 25 stitches + 1 turning chain).
Row 1:
sc into the 2nd ch from the hook. sc in each ch all the way across.
(Total: 25 sts). ch 1, turn.
Row 2:
sc in the BLO of the first st, and in the BLO of each st across.
(Total: 25 sts). ch 1, turn.
Rows 3 – 8:
Repeat Row 2. You will have a total of 8 rows of ribbed stitching.
Finish:
FO and weave in the ends with your tapestry needle.
Part 2: The Center Wrap
Note: This small strip will be used to cinch the bow together. It is worked in standard single crochet.
Foundation:
ch 7 (This counts as 6 stitches + 1 turning chain).
Row 1:
sc into the 2nd ch from the hook. sc in each ch across.
(Total: 6 sts). ch 1, turn.
Rows 2 – 12:
sc in each st across. (Total: 6 sts). ch 1, turn.
(Note: You can add or subtract rows here if you need the wrap to be slightly longer or shorter to fit your pinch).
Finish:
FO, but leave a long yarn tail (about 8–10 inches). You will use this tail to sew the wrap around the bow.
Assembly Instructions
Fold
Lay the Main Base Piece flat on your table. Fold the rectangle in half lengthwise.
Pinch
Pinch the exact center of the folded rectangle tightly with your fingers. You should immediately see the bow shape form with distinct folds on either side.
Wrap
Take your Center Wrap piece and wrap it tightly around the pinched center of the main piece to hold the folds in place.
Secure
Overlap the two short ends of the Center Wrap at the back side of the bow. Thread your long yarn tail onto the tapestry needle and sew the two ends of the wrap firmly together.
You can also run a stitch or two right through the center of the main bow piece to ensure the wrap never slides off.
Final Touch
Secure your knot tightly, FO, and weave in all remaining yarn ends.
Finally, fluff and shape the wings of the bow with your fingers until everything looks balanced and soft.
Tips & Variations
One of the fun things about this ribbed crochet bow pattern is how easy it is to customize.
You can experiment with different yarn colors for seasonal bows — pastel shades for spring, warm tones for autumn, or classic red and green for holiday decorations.
Try attaching your bow to:
- Hair clips
- Headbands
- Handmade gift boxes
- Crochet bags
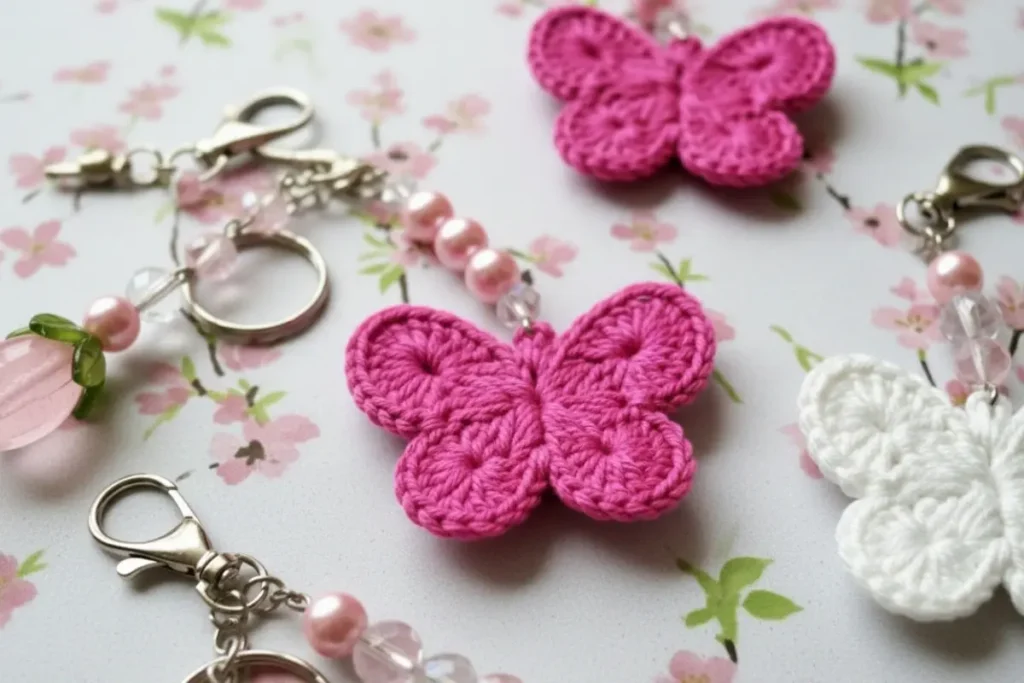
- Keychains
You can also crochet several bows in different colors and sew them onto blankets, baby hats, or amigurumi accessories.
Finishing Touches
Before calling your bow finished, take a moment to shape it with your fingers. Gently pull the sides outward so the folds sit evenly.
If you plan to use the bow for hair accessories, you can sew or glue a small clip or elastic band to the back. For keychains or bag charms, simply stitch a small loop at the back.
These tiny details make the finished piece look polished and professional.
FAQ (Frequently Asked Questions)
Is this ribbed crochet bow pattern beginner friendly?
Yes! The pattern only uses basic stitches like chains and single crochet, making it perfect for beginners.
How long does it take to crochet this bow?
Most crocheters can complete the project in about 30–45 minutes.
What yarn works best for this crochet bow?
Medium weight yarn works beautifully, but cotton yarn gives the bow a slightly firmer shape.
Can I make a larger bow?
Yes. You can increase the starting chain of the base piece to make a wider bow while keeping the same technique.
Internal Link Suggestions
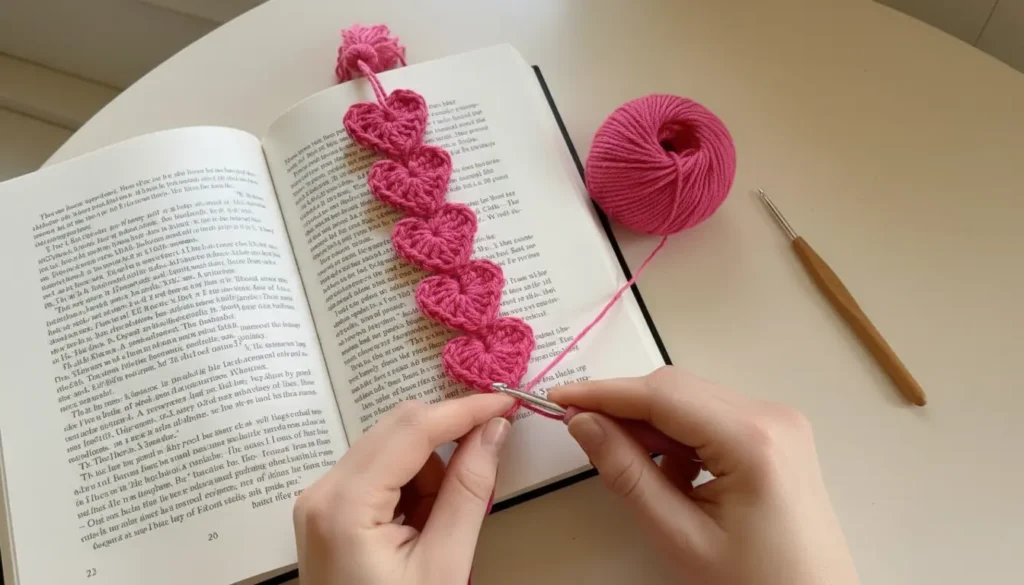
If you enjoy making quick projects like this ribbed crochet bow pattern, you might also love exploring beginner-friendly crochet accessories, small decorative appliqués, and simple crochet patterns that can be finished in under an hour.
These kinds of quick projects are perfect when you want something relaxing to crochet without committing to a large piece.
Conclusion
This ribbed crochet bow pattern is one of those simple projects that always feels rewarding to make. I’ve tested it with different yarns and hook sizes, and it consistently produces a beautiful little bow that holds its shape well.
Whether you’re making hair accessories, decorating handmade gifts, or preparing items for a craft fair, these bows are quick, practical, and surprisingly versatile.
Once you make one, it’s very easy to fall into the habit of making several more in different colors — they’re that fun.
Loved this pattern? Share it with your crochet friends! 🧶