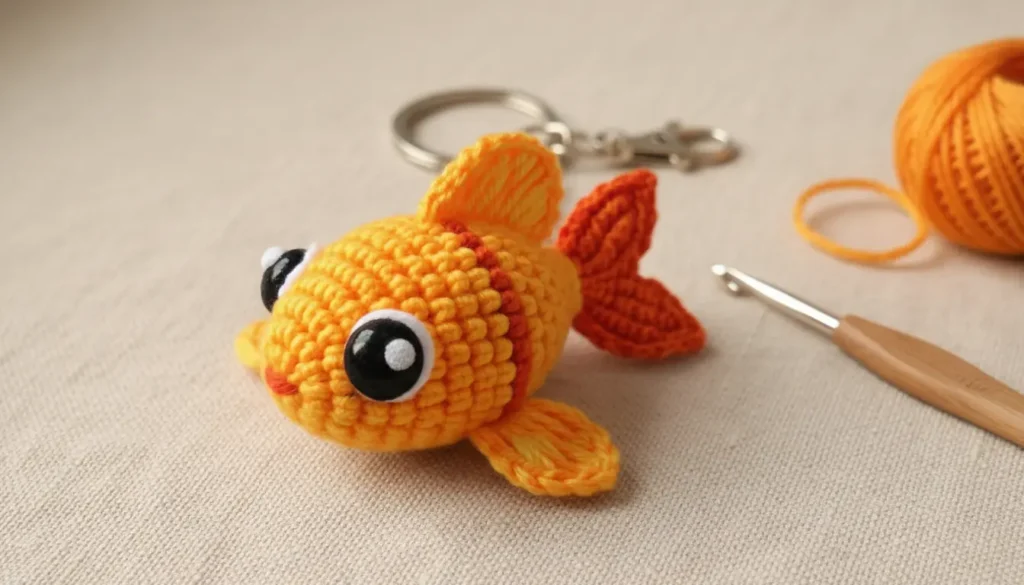
I’ve made this little goldfish more times than I can count – Crochet Goldfish Keychain Pattern — usually “just one” that somehow turns into a handful by the end of the evening. It’s one of those patterns that works beautifully in real life: small enough to finish quickly, sturdy enough for everyday use on keys or bags, and charming enough to gift without overthinking it.
The first time I tested it, I used a slightly softer cotton and noticed the shape came out a bit rounder and gentler. Switching to a firmer cotton and tightening my tension made a big difference—the fish held its form better and looked cleaner, especially around the decreases. It’s a small detail, but it really elevates the final result.
If you enjoy quick, satisfying projects that don’t sit unfinished in a basket, this one is a quiet favorite. Let’s dive in 🐠
🧶 What You’ll Need
Before you start your Crochet Goldfish Keychain Pattern, gather these materials:
- Worsted weight cotton yarn:
- Orange (main color)
- Yellow (accent)
- Crochet hook: 2.5 mm / C
- Safety eyes: 8–10 mm
- Fiberfill stuffing
- Yarn needle
- Stitch marker
- Keychain ring with clasp
📚 Abbreviations (US Terms)
- MR = Magic Ring
- sc = single crochet
- inc = increase (2 sc in same stitch)
- dec = invisible decrease
- sl st = slip stitch
- ch = chain
- st(s) = stitch(es)
- rnd = round
🐠 Pattern
(All instructions below remain exactly as provided to ensure accuracy.)
🐠 Body (Worked in continuous rounds)
With orange yarn:
Rnd 1: 6 sc in MR (6)
Rnd 2: inc in each st around (12)
Rnd 3: (sc, inc) x6 (18)
Rnd 4: (2 sc, inc) x6 (24)
Rnd 5–9: sc in each st around (24)
➡️ Insert safety eyes between Rnds 5–6, about 6 stitches apart.
Rnd 10: (2 sc, dec) x6 (18)
Rnd 11: (sc, dec) x6 (12)
➡️ Start stuffing firmly.
Rnd 12: dec x6 (6)
Fasten off and close.
🐟 Tail (Make 2 pieces)
With orange yarn:
Rnd 1: 6 sc in MR (6)
Rnd 2: (sc, inc) x3 (9)
Rnd 3: sc around (9)
Rnd 4: (2 sc, inc) x3 (12)
Rnd 5: sc around (12)
Fasten off, leave long tail for sewing.
➡️ Flatten slightly before attaching.
🐟 Top Fin
With yellow yarn:
Ch 6
Row 1: Starting in 2nd ch from hook: sc, hdc, dc, hdc, sc
Fasten off, leave tail.
🐟 Side Fins (Make 2)
With yellow yarn:
Ch 5
Row 1: Starting in 2nd ch: sc, hdc, dc, hdc
Fasten off, leave tail.
🧵 Assembly
- Sew the tail pieces to the back of the body, slightly angled outward.
- Attach the top fin centered on top (around Rnds 4–7).
- Sew the side fins on each side, slightly below the eyes.
- Use a small piece of orange yarn to embroider a simple smile.
🔑 Keychain Attachment
- Insert a small loop of yarn at the top of the fish.
- Attach securely to the keychain ring.
📝 Pattern Notes
- This Crochet Goldfish Keychain Pattern is worked in continuous rounds—no joining unless stated.
- Use a stitch marker to keep track of your rounds.
- Adjust hook size if your stitches feel too loose or too tight.
- Finished size may vary slightly depending on your tension.
💡 My Experience & Practical Tips
- Keep your stitches tighter than usual
This pattern looks best when the fabric is dense. If you can see tiny gaps between stitches, go down a hook size. It makes a noticeable difference, especially after stuffing. - Don’t rush the stuffing step
Add stuffing in small amounts and shape as you go. If you overfill all at once, the body can stretch unevenly and distort your decreases. - Flatten the tail pieces before sewing
It might seem like a small step, but gently pressing them flat gives that classic goldfish silhouette instead of a bulky back. - Watch your decrease technique
Beginners often use regular decreases, which can leave visible gaps. Taking a moment to learn invisible decreases keeps the surface smooth—this is one of those details that makes your work look more polished. - Placement matters more than you think
Before sewing fins and tail permanently, pin them or hold them in place and look from different angles. A slight shift can completely change the personality of your fish.
✨ Finishing Touches
Take a moment to shape your fish gently with your fingers. A little adjustment goes a long way—round out the body, align the fins, and make sure everything feels balanced.
That tiny smile you stitched? That’s what brings it to life.
❓ FAQ (Schema Style)
Q: Is this Crochet Goldfish Keychain Pattern beginner-friendly?
A: Yes! If you’re comfortable with basic stitches like single crochet and increases, you’ll do great.
Q: Can I use acrylic yarn instead of cotton?
A: Absolutely. Cotton gives a firmer finish, but acrylic works well too.
Q: How do I keep the shape neat?
A: Use tight stitches and stuff firmly, especially before closing.
Q: Can I sell finished items made from this pattern?
A: Yes, handmade items are typically fine to sell—just avoid redistributing the pattern itself.
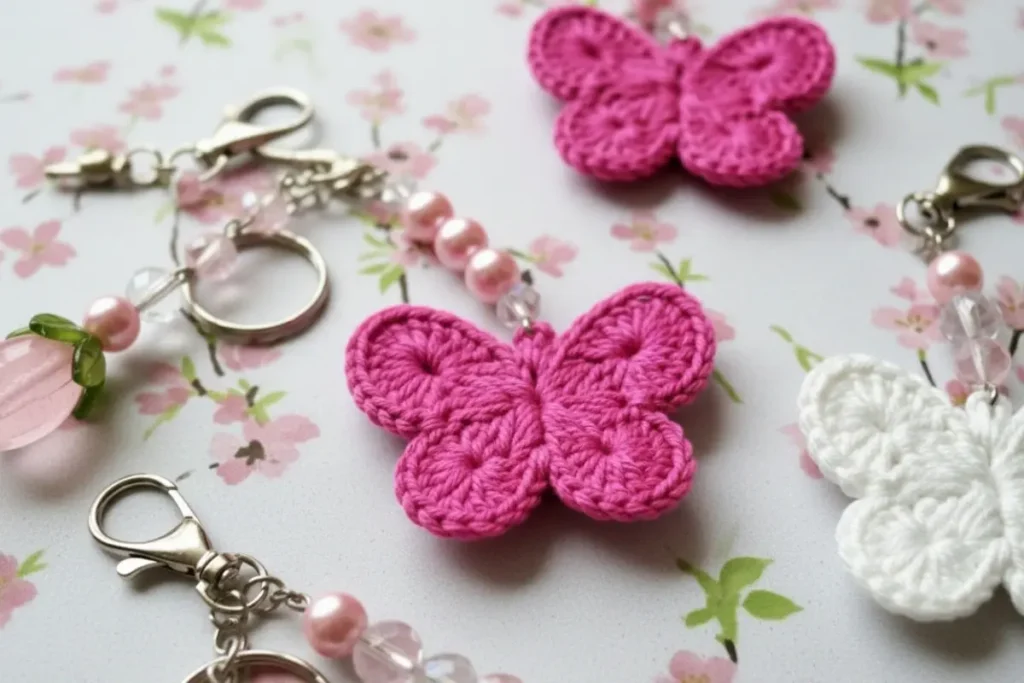
IIf you’d like to keep exploring projects in this same playful style, there are a few that fit perfectly alongside this one. The Crochet Butterfly Keychain Pattern is light, delicate, and great for adding a handmade touch to bags or gifts. The Crochet Cloud Keychain Pattern brings a soft, whimsical feel and works up quickly when you want something relaxing to make. And if you enjoy creating themed pieces, the Sun & Moon Amigurumi Keychain offers a charming duo that’s especially popular for meaningful handmade gifts.
💛 Final Thoughts
I’ve made and remade this pattern enough to know it holds up—it’s simple, reliable, and consistently turns out charming. Whether you’re adding it to your keys, gifting it to a friend, or making a small batch for a craft fair, it’s one of those pieces that people naturally pick up and smile at.
And honestly… it’s the kind of project you come back to when you just want something easy and satisfying on your hook.
📣 Call to Action
If you end up making one, don’t be surprised if it turns into a whole little school. These tiny goldfish have a way of multiplying—and bringing a bit of joy with them 🧶✨